Vogue 7693, Mock Wrap Dress
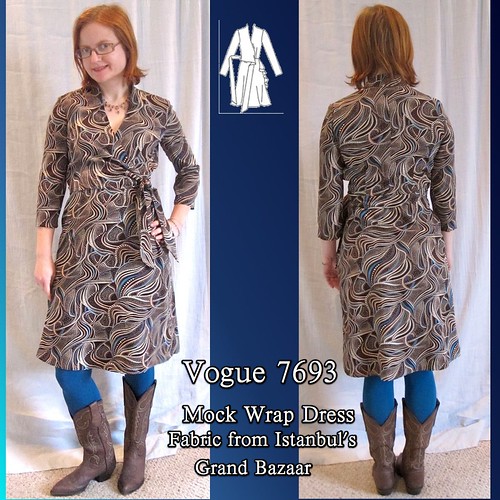
I've been wanting to make Vogue 7693 for a while. So long, in fact, that the pattern has gone out of print. Which is to your benefit, because I'm going to tell you up front that I do not recommend this pattern. It is poorly drafted, the directions are bizarre, there is no way to complete the project without a lot of hand sewing (I don't even mind hand-sewing, but this is just because it was drafted without a way to finish it by machine, not for a high-end couture look), and the end result--while nice--is not special enough to warrant all this woe.
This is one of the fabrics I bought from the Grand Bazaar in Turkey in 2010. Crazily enough, the Selfish Seamstress ended up getting the same fabric (with the same line about it being cotton) on her visit last year. When I proudly told the boyfriend I had sewn up one of the fabrics I bought on our trip to Turkey, he was like, "What? You're only now getting to it?" Oh dear, you have *no* idea. I reminded him that he has seen my sewing room and that it is stuffed with fabric waiting to get sewn. He conceded the point.
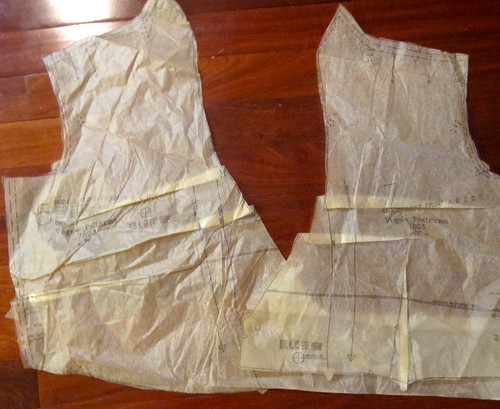
I did my usual broad back and swayback adjustments on the back.
On the front, I did my usual SBA for a wrap style of shortening the diagonal neckline edge. Because I find that the Big 4 need huge amounts of length taken out to avoid gaping, I did it in two folds rather than one. Make sure to do it to both pieces! I also narrowed the dart in the left front. The right front has no dart and I made no additional adjustments. Luckily, the end fit is very good with a secure, non-gaping wrap.
The instructions for this dress are awful. They show the most convoluted, time-consuming, tedious method possible to finish everything. I ignored them. The instructions talk about something crazy with hand-sewing the shoulders of the lining after everything is done, I don't even know. I stitched the shoulder seams in both fashion fabric and lining and stitched together at the neck, as per usual, and the sky did not fall.

One of the many drafting errors on this pattern is on the skirt. The left front (underlayer of front) does not extend all the way to the side seam, so the waist edge of the skirt must be finished separately beyond that point. The marking on the skirt from which you are supposed to finish is about 5/8 inch from the side seam. However, the actual difference in length is closer to 3 inches. I walked the pattern pieces to make sure it was not my error. It was not. (This is in addition to the length problem with the right front bodice identified by Mickey Fan.)
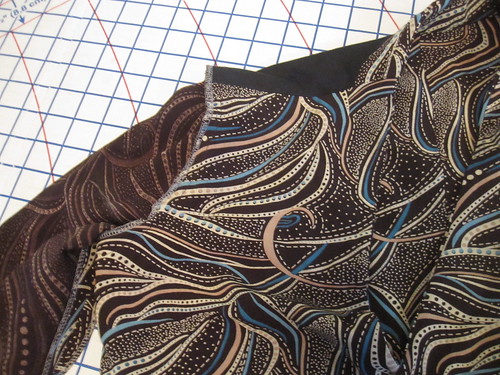
For an opening that large, I felt the skirt needed more stabilization than just being turned under and stitched (as per the instructions). The A line skirt is meant to be cut on the bias (I did not have enough fabric to do so, and this rayon has enough drape that it didn't need it), which makes stabilization even more important.
I clipped into the seam allowance from the actual joining point--not the marked joining point, and stitched a piece of ribbon on the right side with the edge just above the seamline and then flipped to the inside and topstitched. I extended the ribbon a little bit into the joining point of the left front and skirt for full stabilization.
After the dress was completed, I had to tack the tie for the underlap to this finished edge of the skirt, because it was distorting the hang of the dress when it extended from the side front rather than the side seam.

Because the lower edge of the right front (the layer that wraps over in front) extends below the waist seam, that inner side seam on the lining must be closed by hand (leaving a gap to pass the underside tie to go through).
As drafted, the skirt is not lined, and I followed the pattern instructions on that (in retrospect, I really should have lined the skirt--rayon is quite flimsy). So I also had to hand-stitch the lower edge of the lining to the seam allowance at the waist. For that you, can stitch in the ditch but I am not a skilled ditch stitcher (and somehow my lining ended up short).
Once the side seams of both layers were sewn, I treated the fashion fabric and lining as one at the armscye. The sleeve on this is quite narrow, which I didn't notice in cutting. I stitched it with a tiny seam allowance but still have some restricted movement.
 |
| Custom Piece from Etsy |
The best part about the pattern is the little back collar and the shaping in the front. I will probably re-use that detail at some point. I like this custom lace outfit from Etsy. I can see doing something like the lace top without the full collar using the neckline from V7693.

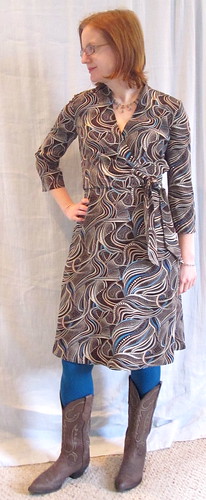
In the end, the dress is pretty and flattering, but the drafting is just so terrible! This look is generally drafted as a full front with a front overlay, as in Simplicity 2369. S2369 is for knits, but you get the general idea. I think that is the better way to achieve this style and there are better patterns for this look.
All photos are here and the pattern review is here.


Comments
Post a Comment