DVF Grandie Blouse: Pattern Experimentation

There are a lot of PR contests that I enjoy, and the Ready To Wear contest is one I look forward to every year. I am quite content to sew with patterns and very quick to correct real-life non-sewing friends who think I am a "designer," but drafting the occasional pattern challenges me intellectually and increases my knowledge of how to adjust and sew already-drafted patterns.
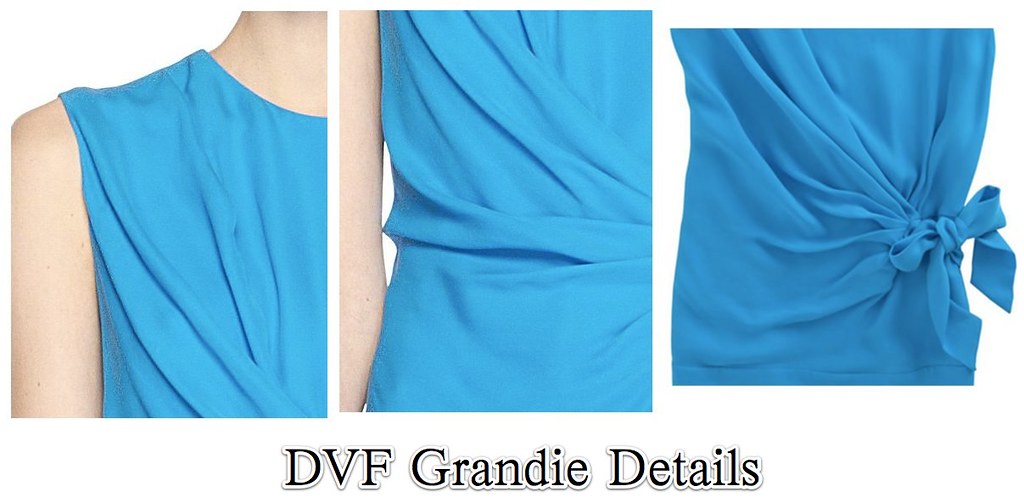
This year I went through my Pinterest boards and settled on Diane von Furstenberg's Grandie Top (originally $245). It's a (deceptively) simple shape, and would be lovely with sleeves for Fall/Winter. It's a great way to show off a beautiful piece of silk, and is office-appropriate without being boring. Kind of the holy grail of patterns! How hard can it possibly be to draft?
Oh boy.
The thing about this top, is that it has all that volume in the front, but after carefully looking at all available detail shots (it's available on multiple websites, all of which did their own photos, so I saw it from as many angles as possible), there do not appear to be any seams where fabric was added. So the front *seems* to be all one piece.
I started by developing my base pattern, which I'll have to write about at a later date because I haven't taken photos of that. I started with an old BWOF tunic because I don't have a darted woven pullover top base. I would like to finish the process of fully developing that pattern.
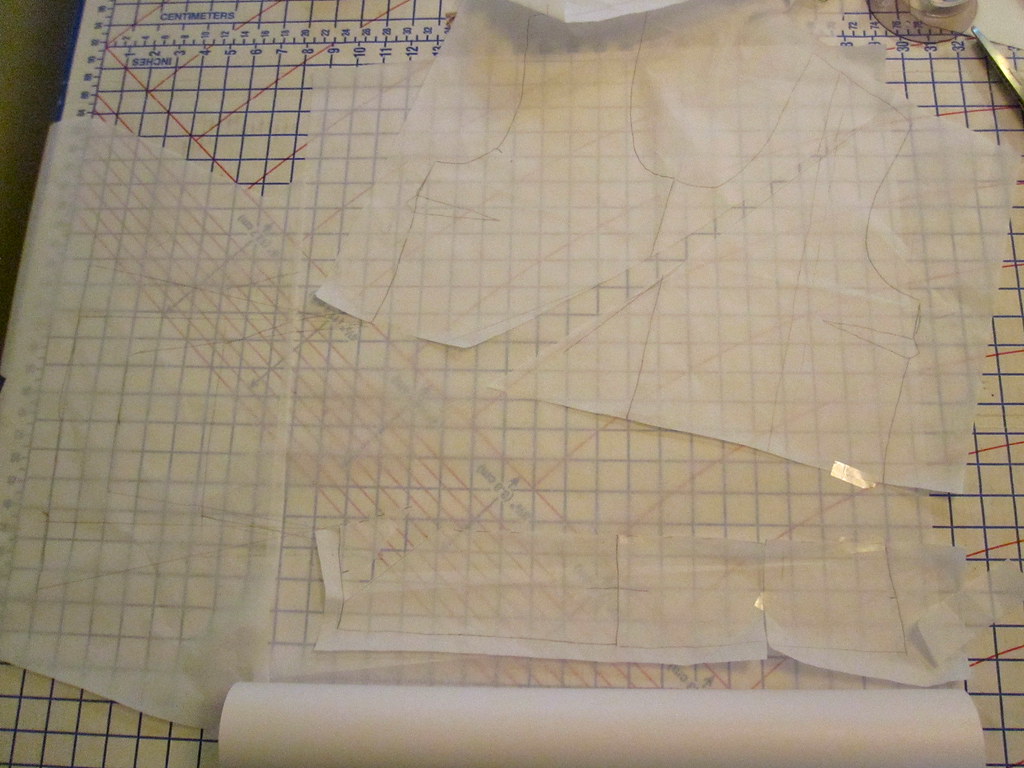
My first idea was to play off the pattern drafting for my McCall 6363 knockoff. I figured I'd truncate the growth and add a tie on the end and Voila!
I also thought I'd try out the idea I had at that time of splitting the pattern vertically about 1/3 in from the opposite side seam to reduce the growth. I do not have a 3D mind people; I did not realize that would add huge amounts of width to the neckline or the shoulder seam. So I split the pattern just along the waist as before.


Um, not voila.
It was absolutely nothing like the Grandie top. At that point I almost gave up on the idea. I was so sure that my plan would work and when it was not even close I had absolutely no idea where to go next.
But after thinking about it for a while, I went on to muslin 2.0. I determined that the fabric all had to be added into the body of the blouse, no growths or extensions. That means slicing and spreading, but where? The Grandie top has a few small pleats in the side seam, so I started there, splitting at the side seam.
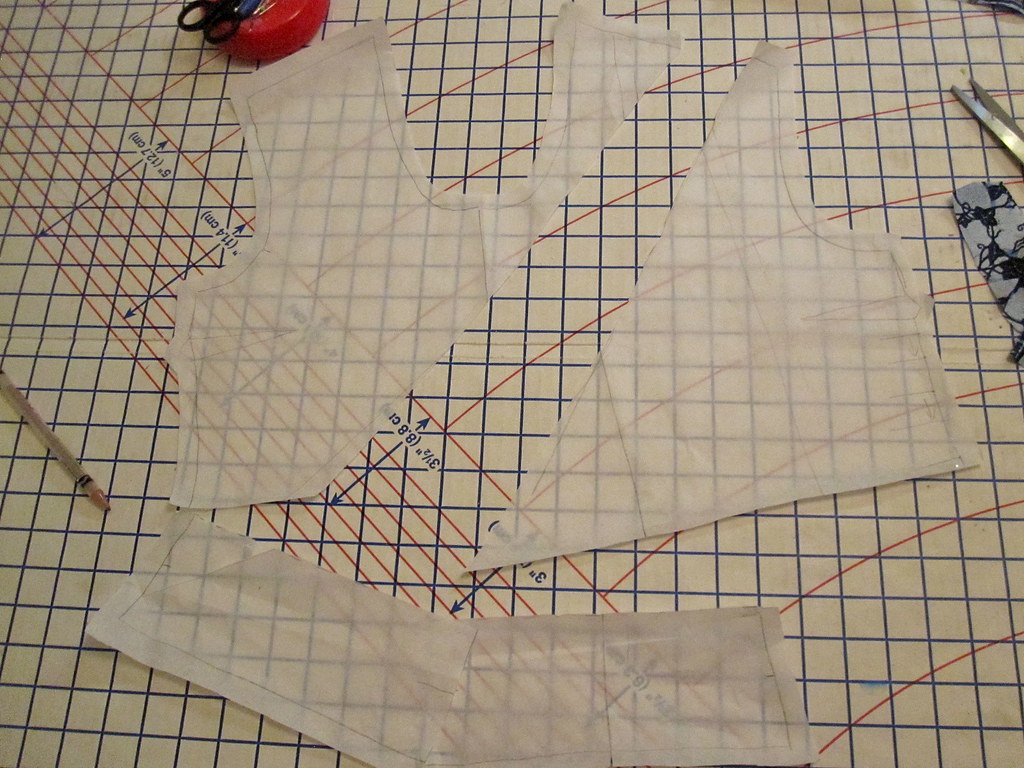
I was still not getting nearly enough volume. I took another look at the inspiration top and noticed it had a pleat in one shoulder. Another point for adding volume. So I split at the shoulder and the waist, adding volume from both locations.
Apparently I didn't take a photo of muslin 2.0, sorry about that. Suffice it to say there was not enough volume.
So I went on to muslin 2.1, splitting muslin 2.0 to add yet more volume. Although the top drapes and cascades down from the armscye, the armscye itself is smooth with no pleats. However, I thought that I might be able to get that cascade if I added some pleats there.
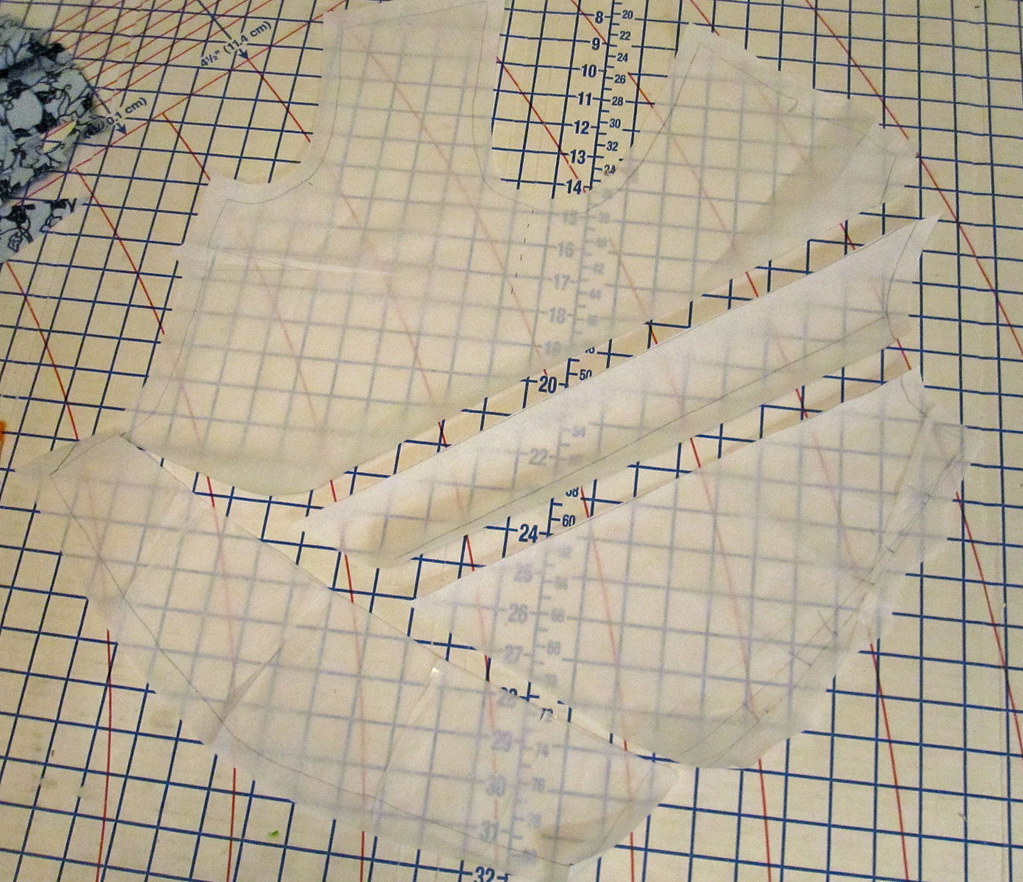
I stitched up muslin 2.1 to see what I had.

Just ok. Not that much like the original. A whole lot of length added to the side seam, which is not the case for the original, and not enough width underneath the crossover. The armscye pleats didn't add much to the volume needed for the front faux-crossover, so I did not keep that in the final pattern.
I was making progress but success was not guaranteed. I went back to the drawing board to do some more thinking.
All photos are here.


Comments
Post a Comment