Burda 05-2011-108, Panel Princess Dress: The Muslins
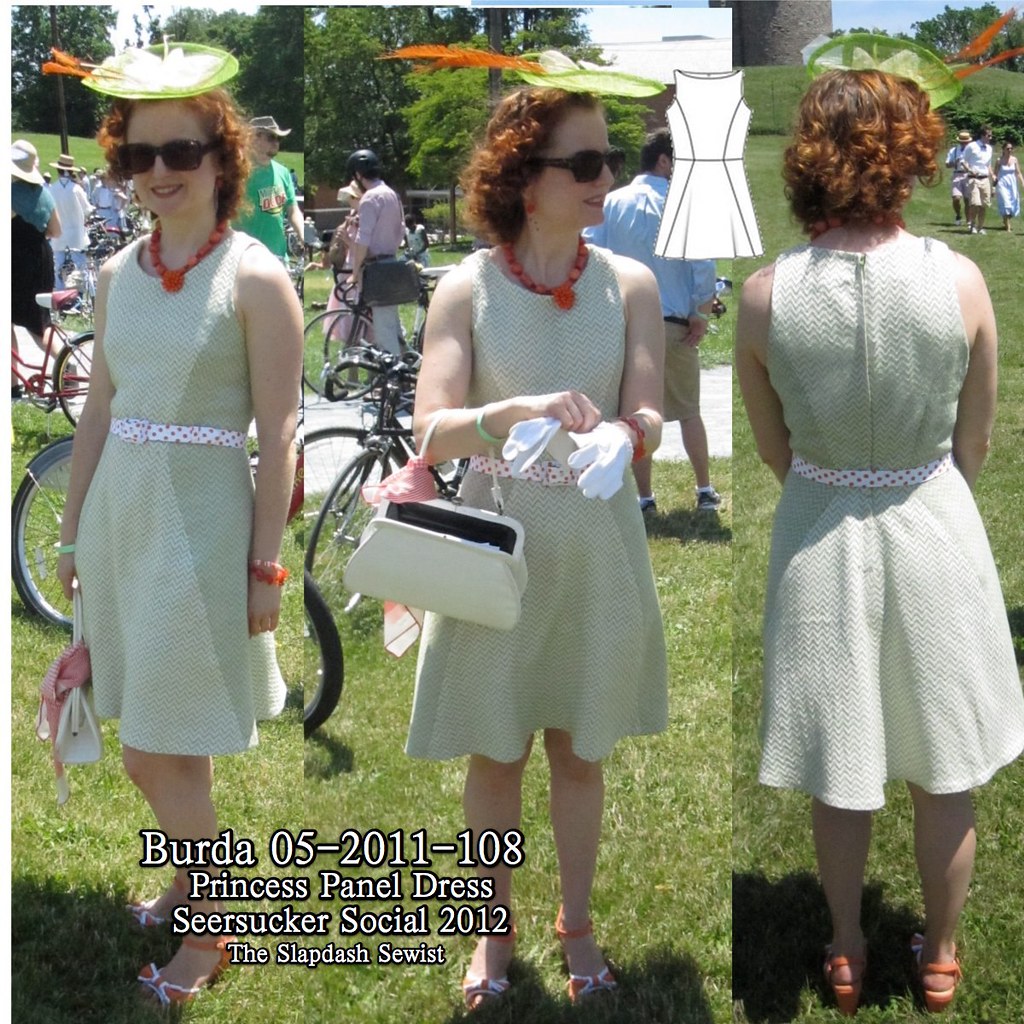
I spent a lot of time on this dress, Burda 05-2011-108 (available for purchase from BurdaStyle at the link--I am not affiliated or compensated, just trying to be helpful), so I have a lot to say! I realized it will make waaaaaay too long of a post to say it all at once, so bear with me.

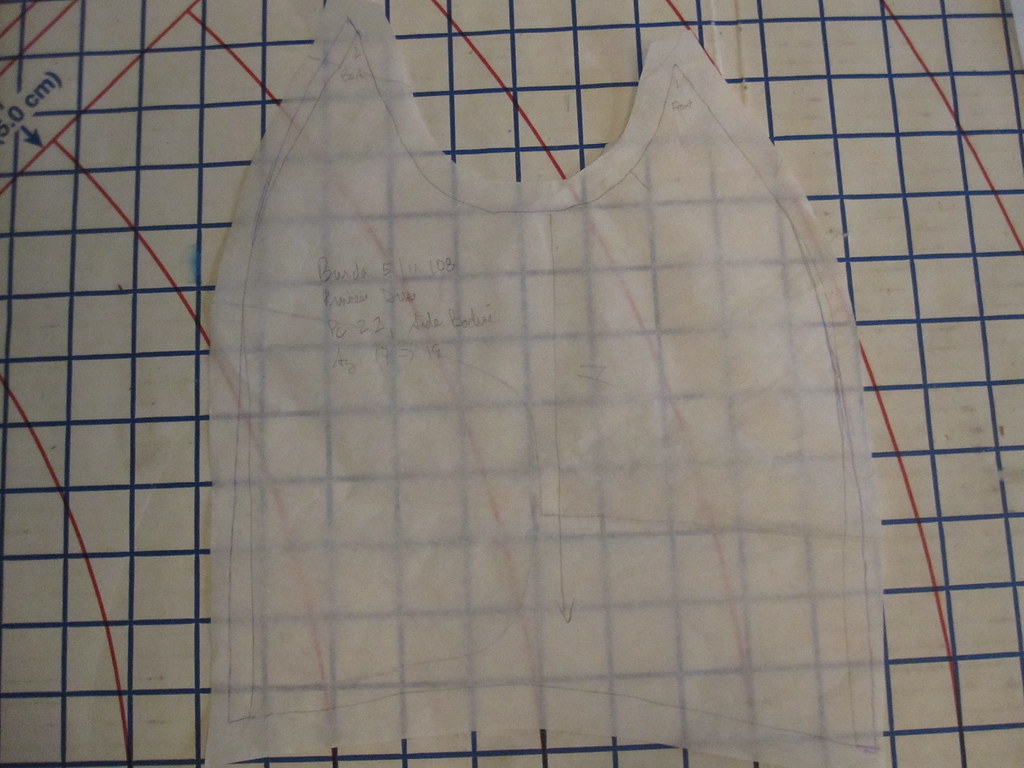
I made not one, but two bodice muslins. However, before I even started the muslins I narrowed the neckline and widened the shoulder strap, as you can see at left.
As drafted that shoulder is so narrow that it wouldn't cover a bra strap, not to mention would be a nightmare to line.
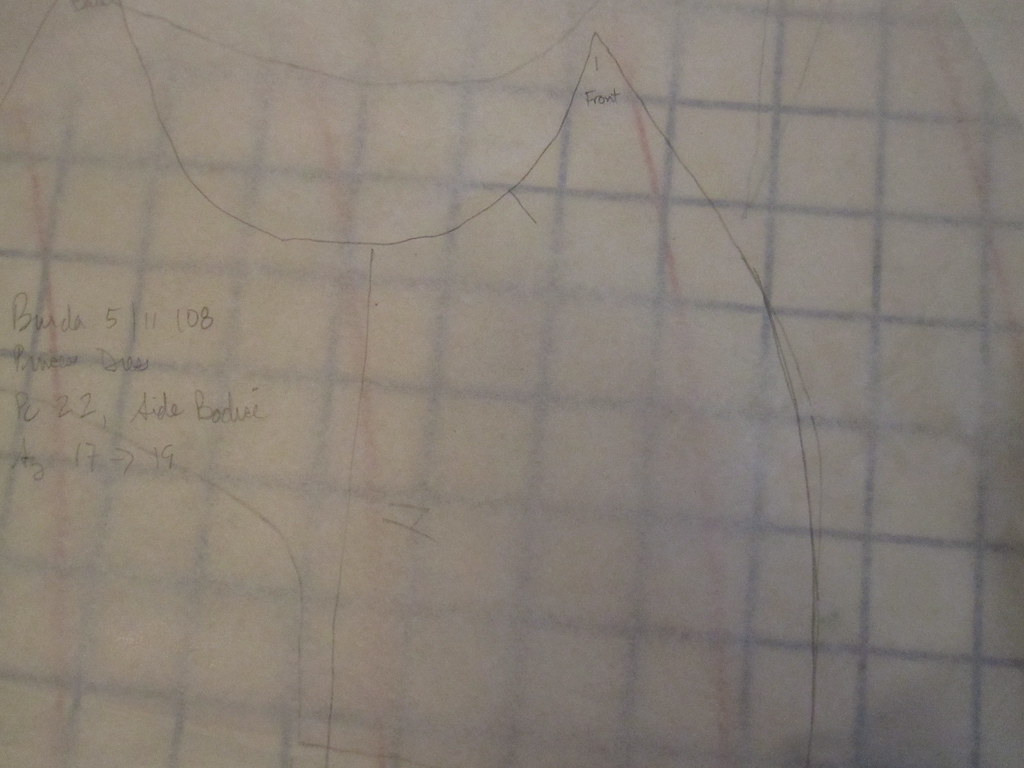
I also made a small bust adjustment by flattening the curve on the side panel piece. I found it very helpful in working with this side panel piece (no side seam) to mark the front and the back of it. I wrote on the pattern piece, and also added a notch at the back so that I would have no trouble on the cut pieces.
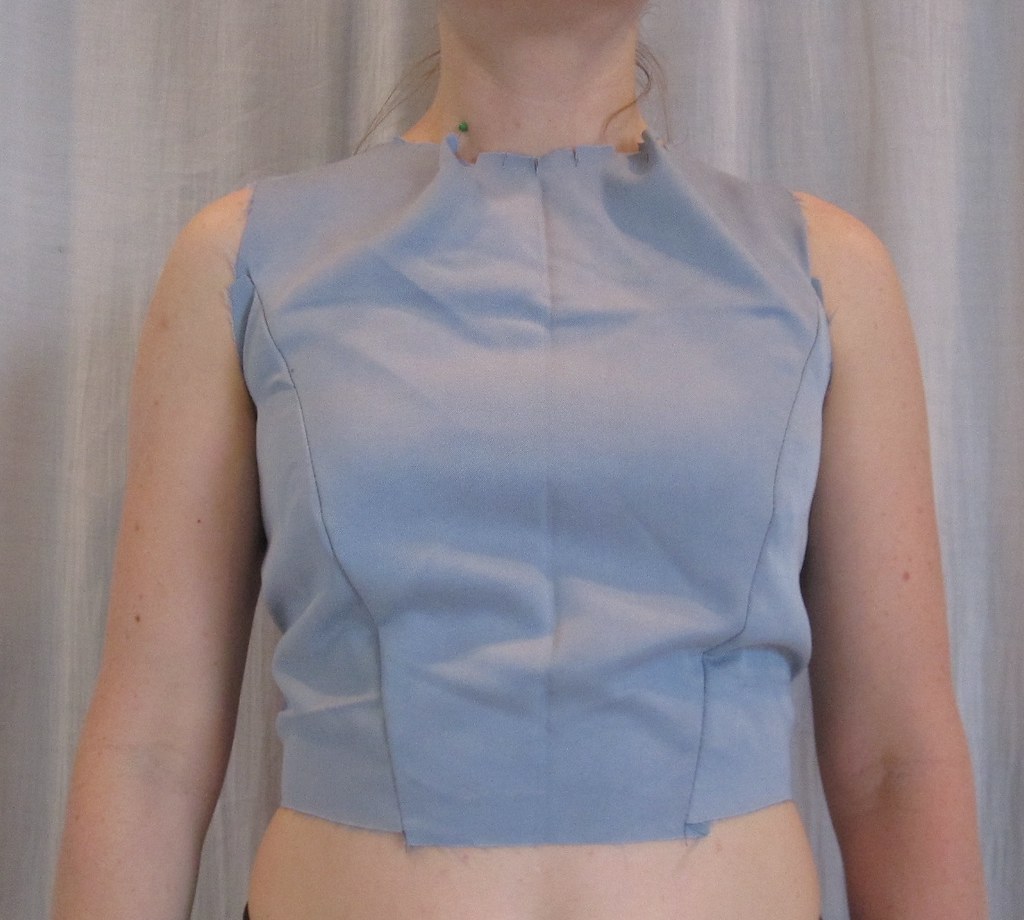
I knew to expect the neckline to be too wide, both from the photos in the magazine and from the reviews on Pattern Review. I'm not really sure why Burda does this. I made a dress several years ago (never got around to reviewing it) that had the same problem. Looking back at the magazine photo I could see that's how the dress was drafted? I honestly don't know if it's a drafting error or a design feature. I'm not sure in what universe a gaping neckline is a design feature, but I think it's clear that none of us live in Burda's universe.

I also found I needed just a touch more room in the upper back. It's not totally evident in the photo, but it was pretty tight across the latissimus with some impeded movement. A Broad Back Adjustment is normal for me so I expected it.
The back neckline was just as gapey as the front.
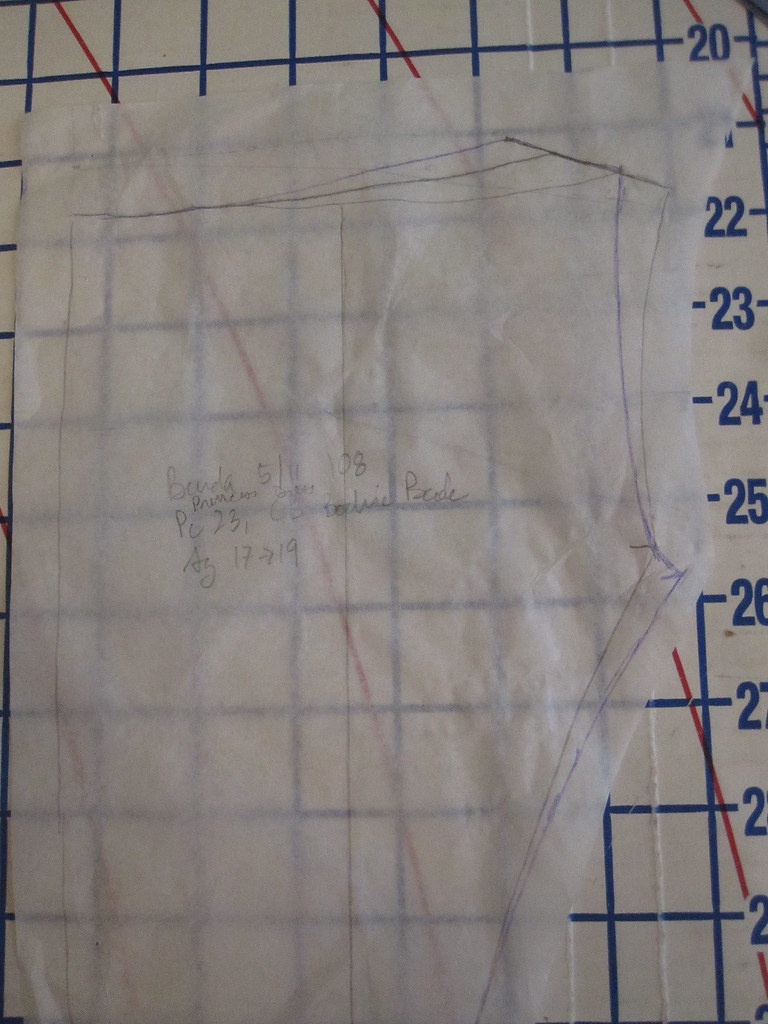
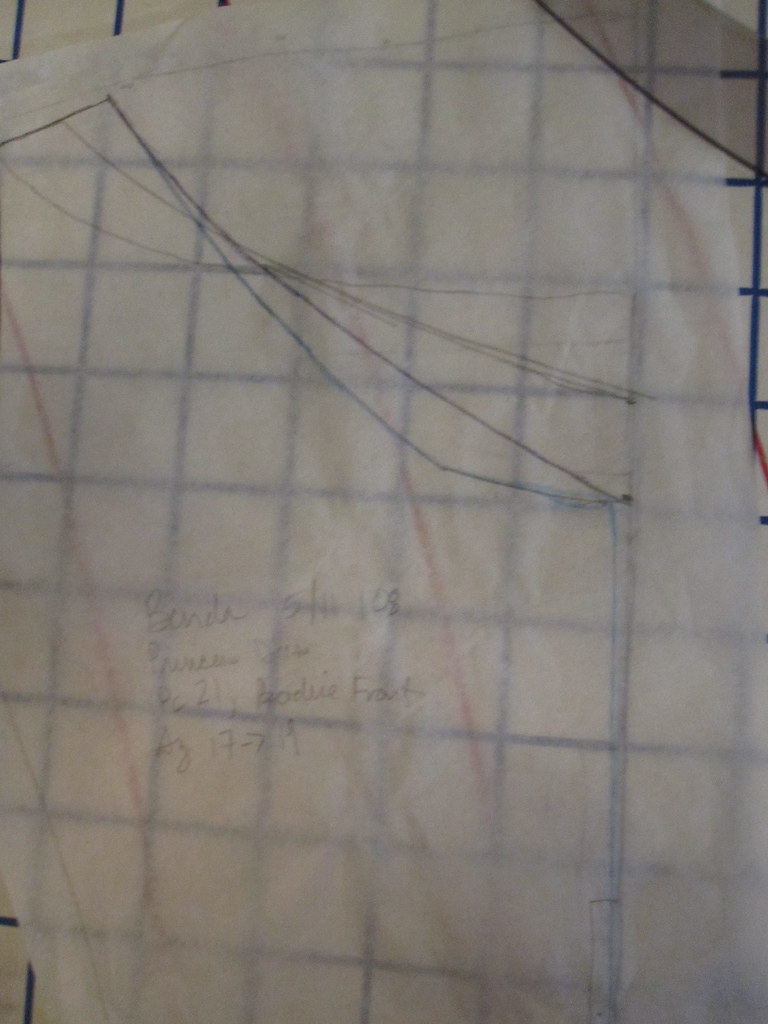
Here you can see where I have redrawn the shoulder straps closer into the neckline--I simply moved the shoulder straps inward.
You can also see my Broad Back Adjustment on the upper back piece, extending from the armscye.
Here you can see my Broad Back Adjustment on the side piece. I added a little width to the side panel at the top of the back seam.
I also added to the side seams on both the bodice and skirt, but in fitting the actual dress ended up taking that width out. My muslin fabric was more tightly woven than the fashion fabric, and adding the skirt may have made a difference in fit.
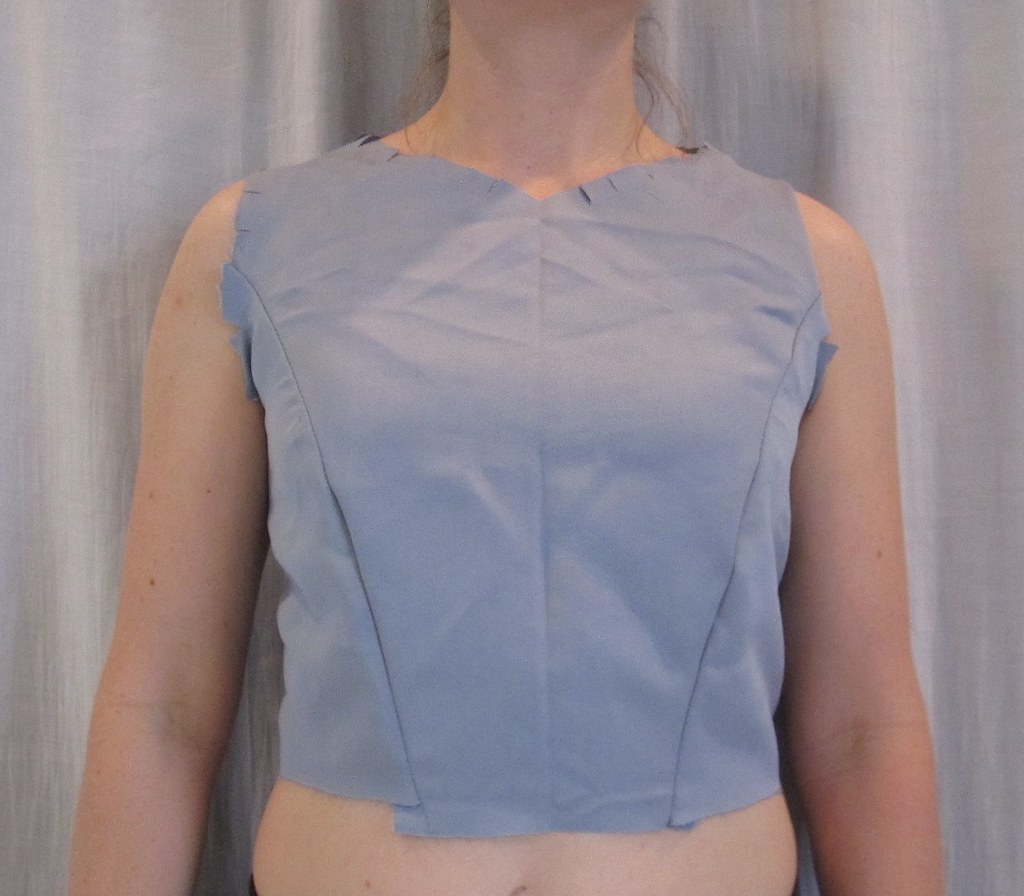
Here is Muslin 2, much improved! I found the front neckline still a little bit gapey, which is not evident in the photo because I am standing up unnaturally straight.
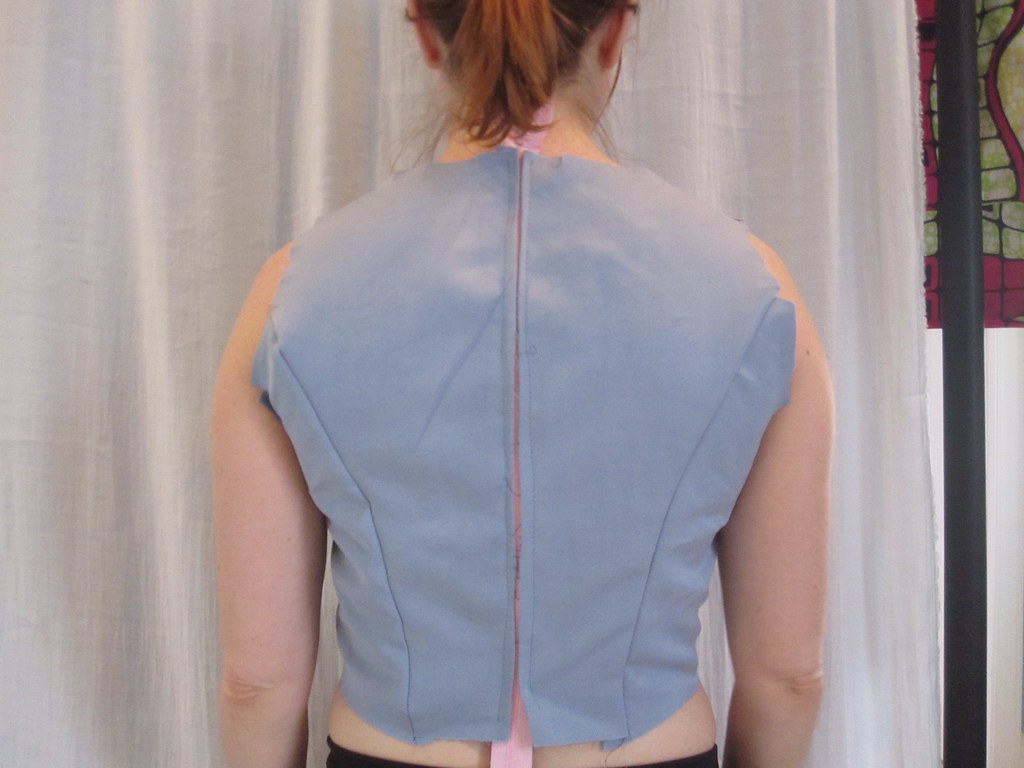
The back is much more comfortable with the added room. The pull lines you could see a little bit of in the first muslin are gone.
The back neckline looks good, too. No more gaping. (Why, Burda, why?)
In addition to narrowing the front neckline just a little bit more (you can see the three lines in the photo at left--I ended up narrowing the neckline by over 1 inch).
I also lowered the neckline. A high neckline is just not flattering on my short, flat-chested self. The neckline is lowered two inches from its original draft.
Now it was time to undertake the truly arduous process of cutting the fabric. What's worse than stripes? Zigzag stripes. Worse than plaid, even.
All photos are here. You can read about how I lined the bodice here and construction details of the real dress here. The pattern review is here.


Comments
Post a Comment