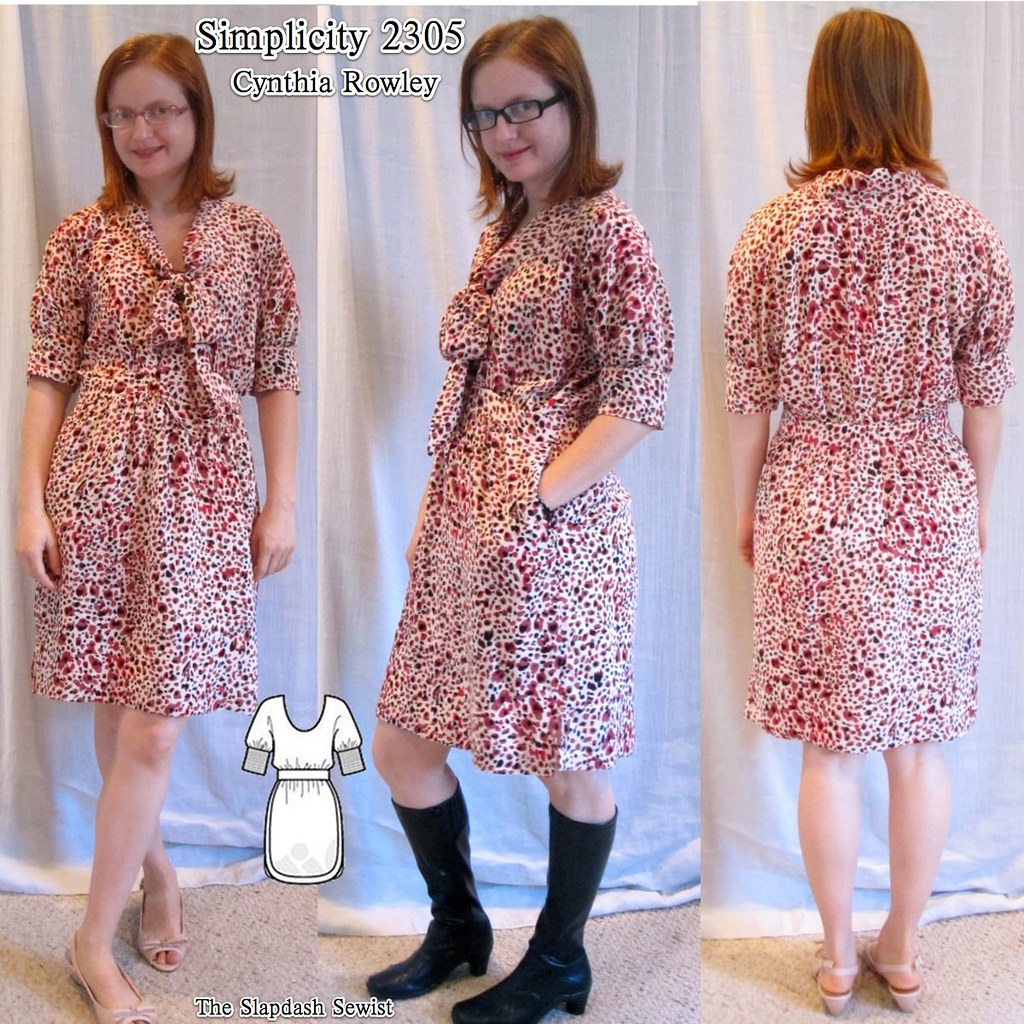
Simplicity 2305, Tie Neck Dress
 |
| Dolce & Gabbana |
When I got this rayon print in a free bundle from Fabric Mart, I immediately knew it wanted to be a tie neck dress. I was very much influenced by this Dolce & Gabbana ($2,495). My project is more in the style of the inspiration than a literal copy, but I liked the smaller scale animal print and the voluminous bow.
Simplicity 2305 fit the bill for the shape I was looking for. I feel like Cynthia Rowley is a bit of a one trick pony--half of her dresses are sacks and the other half are sacks interrupted by a midriff, like this one and the ruffle collar dress, Simplicity 2497. It's an on-trend pony, though, so one trick is probably good enough (not to strain the metaphor too far).
While I like S2497 enough to make it twice--in purple silk and in swiss dot--I'm not sure this one is going to enter the repertoire.
First, a batwing/dolman sleeve in a voluminous gathered bodice is not kind to a flat chest. They're under there somewhere, but you'd really have to get up close and personal with me to find them.
Second, the sleeve cuff needs redrafting, and I don't know if it's worth it. The cuff is just an unshaped rectangle that is stitched in place and doubled over (I did my wrong-side-first and topstitched the right side in place). I was concerned about length so after stitching the wrong side I pinned the right side in place. Well, something about the length of the sleeve (a couple inches below the elbow) and the length of the dress (my hem was 3 inches from the cut lower edge) was a little too Big Love for my taste. So I shortened the cuff by 2 1/2 inches.
You really want a little blouson effect from the sleeve, but as mentioned, the cuff is just a rectangle. I made sure it would fit my bicep comfortably, which it does, but that meant it was very loose closer to the elbow--right where it needs to fit to ensure blouson rather than just falling down below the elbow. I took it in an inch at the bottom of the cuff, tapering to nothing where it attaches to the sleeve. It's an imperfect solution, but good enough for this project.
The other big change I made to this was to make a tie neckline, rather than just the faced scoop as drafted.
I raised the neckline about 1 inch in cutting and it is still really low, so beware. Cynthia Rowley necklines are lower than Burda's, in my experience.

I interfaced around the neckline to stabilize this floppy rayon fabric. Then I clipped into the seam allowance about 1/2 inch on either side of center front.
I stitched the tie in place on the inside then folded over to the outside and topstitched in place, using the method described here, then finished the tie ends by sewing right sides together from the end to within a couple inches of the dress neckline, turned right side out and pressed, and then closed the gap with hand stitching.
Most patterns I've made with ties want you to cut the tie on the bias. Not only does this create huge waste, but it also means that once you wash the item the tie is forever twisted and yucky looking at the neckline. I cut this tie on the cross-grain. It does not hug the back neck the way a bias-cut tie would, but that doesn't bother me.

My biggest issue with tie neck items has been the heaviness of the tie. A knot is just so heavy that it lolls around and pulls the front neckline too low. To avoid that here, I made a loop of fabric and pulled the ties through it to create the look of a bow without actually tying a knot. I stitched the loop to the dress slightly below the neckline (after experimentation). I am really happy with this solution; the bow looks neat and does not loll around and weigh down the already low front neckline.
For some reason, I felt compelled to have pockets on this dress. I was going to do the side-zip-with-pockets magical but annoying thing, but then remembered that I don't like a side zip with a fuller skirt. The zipper acts as a sort of boning that causes the skirt to stick out more on one side than the other and it's just not attractive. However, I had already cut the dress with the back on the fold.
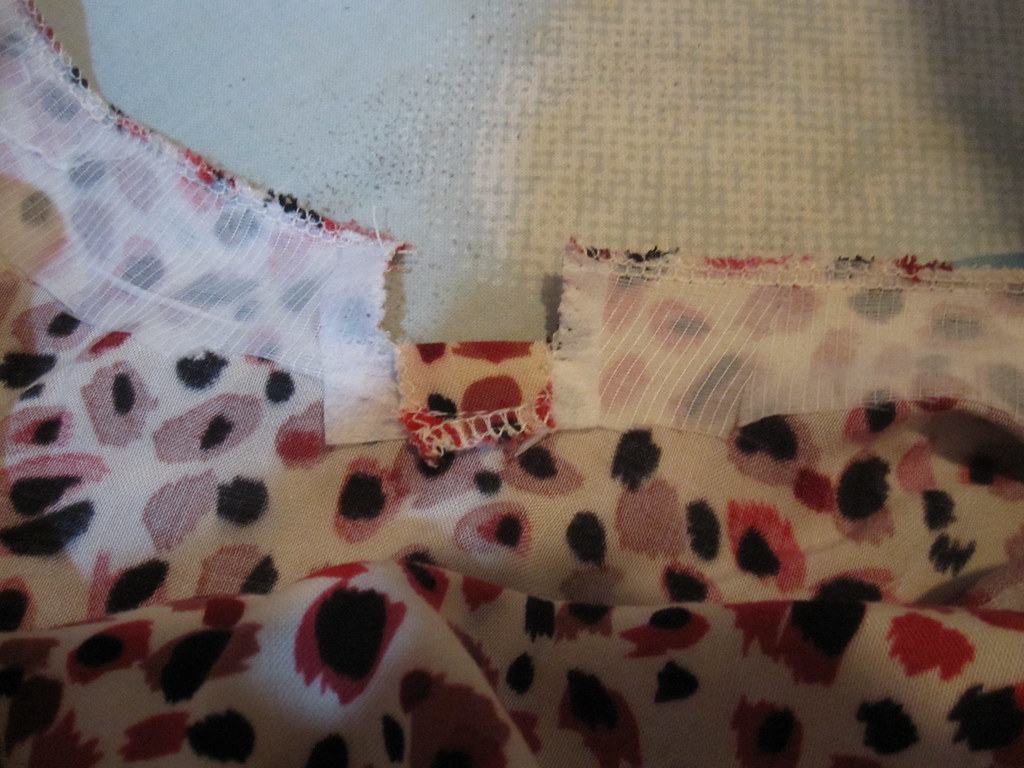
What to do? I decided to insert a center back zip anyway. I had enough volume in this dress that I could take a little bit of it from CB for a zipper seam allowance without affecting fit or look. I had enough fabric to recut the midriff with a seam allowance, so I needed to create an opening for the zipper in the bodice and skirt.

I started by interfacing the spot where the zipper would be inserted. I then marked a line down center back for the opening.
The next step was to stitch darts, about 1 1/2 inches long, at the top and bottom of the markings.
Then I cut along my marked lines and into the darts for about 1/2 inch, pressing open at the darts.
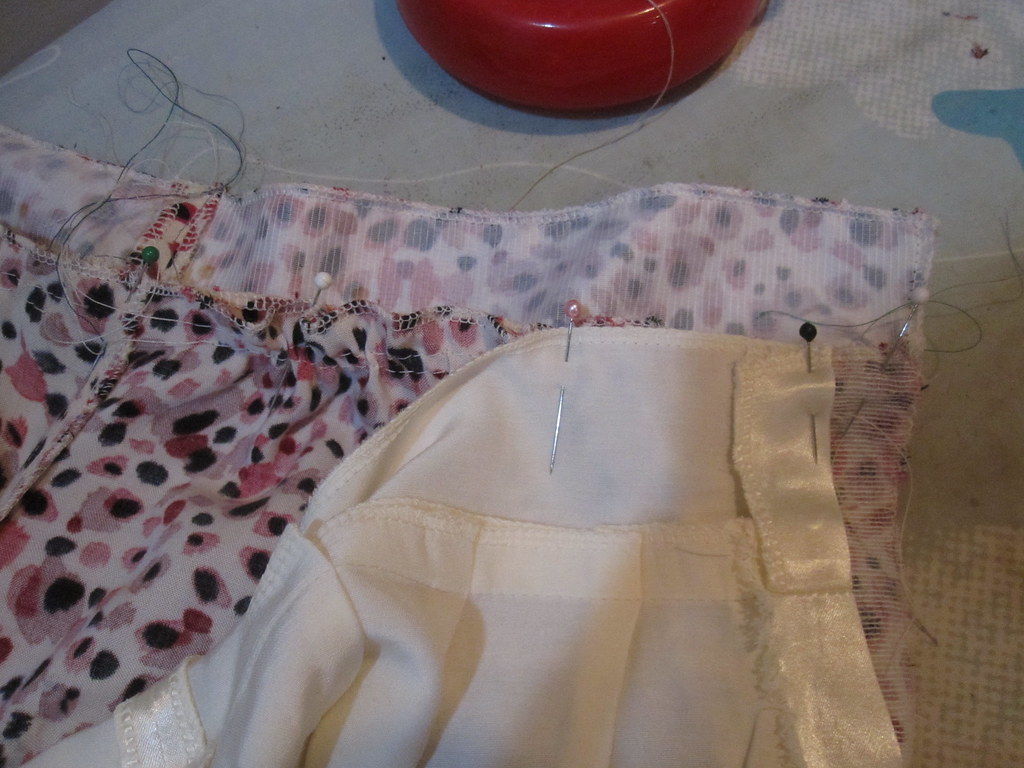
The next step was to stitch the midriff to the front and back. I did not line the bodice of this dress but did line the midriff and skirt. I turned the midriff lining in at the center back so it would not get caught in the zipper (here's the finished effect).
Next, insert the zipper as usual. Place the top zipper stops in the area of the dart that has been slit (so there is no gap where skin shows through above the zipper). Sew the zipper to within 1/2 inch of the lower dart (mark the bottom of the zipper), then go in and extend the dart to the end of the zipper stitching.
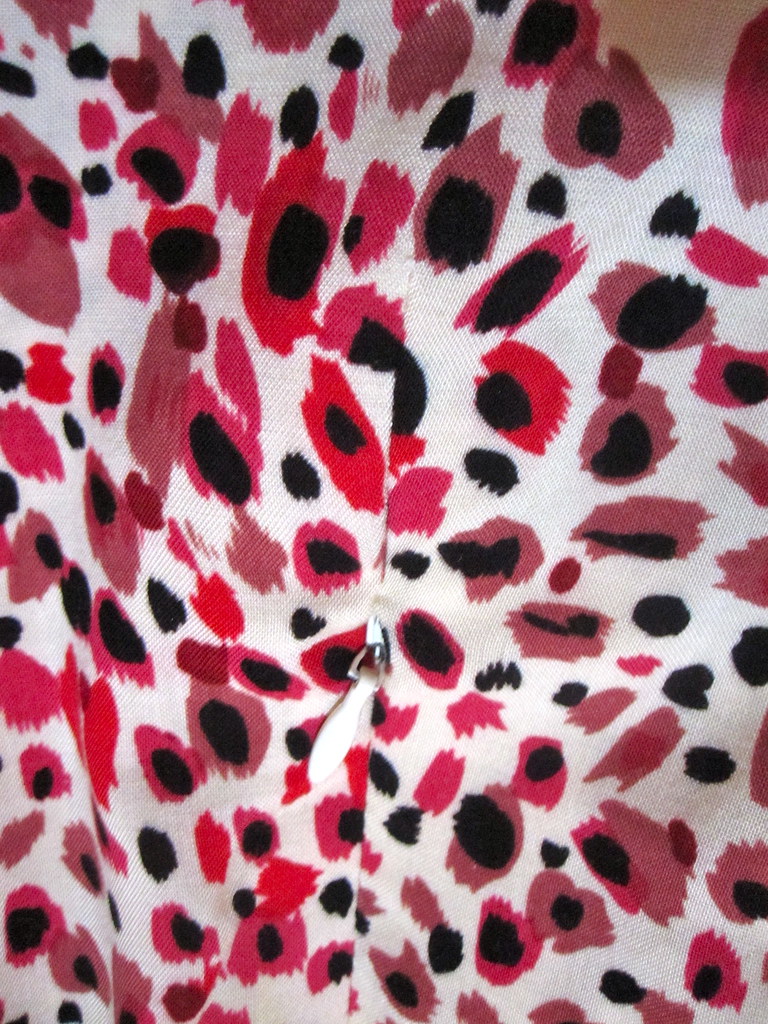
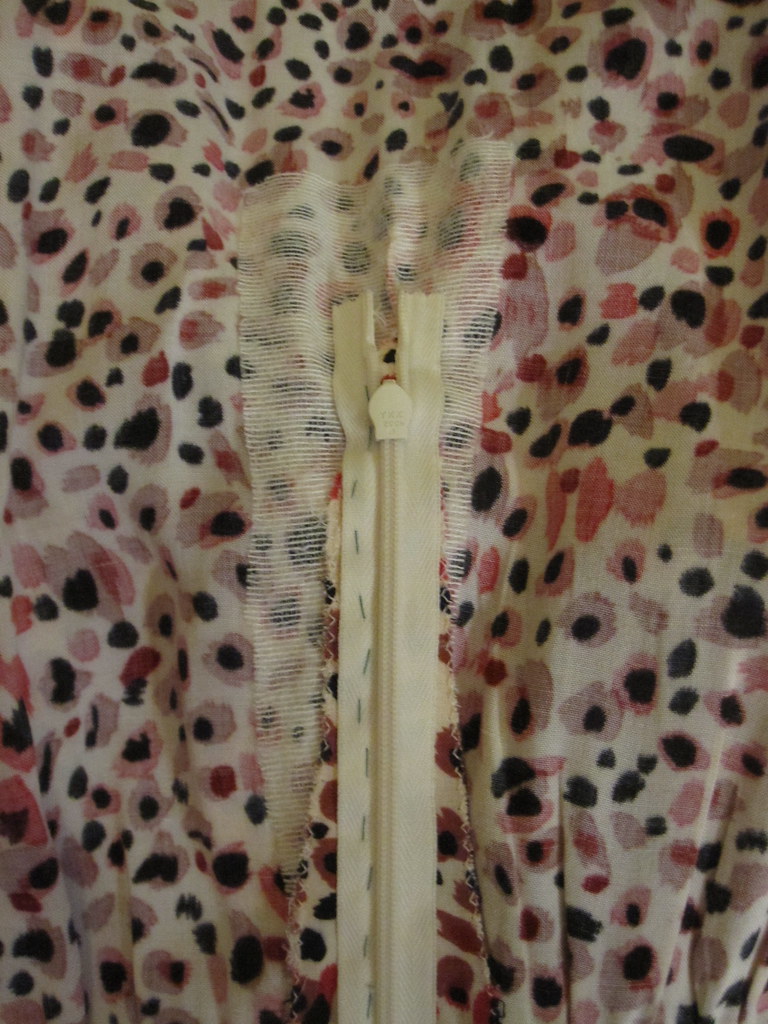 I was a little nervous about this, as I just sort of made it up as I went along, but I think it worked out very well. The zipper does not look incongruous and sits just as nicely as a zipper inserted in an actual seam.
Here you can see how it looks on the inside and on the outside. You sort of have to hunt for the zipper tab in the photo on the right, but it shows how the little dart looks just fine above it.

One of the features on the pattern is the side vents on the skirt. There is an option of a shaped hem or a straight hem. The shaped hem seemed a little too trendy for me to pile on top of the bow and the print, so I went with the straight hem. I did keep the idea of vents and made small ones in the side seams. To keep the lining from showing through, I topstitched it to the fashion fabric at the vents (with a big bar tack at the top of the vent to keep the seam from popping). I was concerned about sewing lining to fashion fabric at the hem--I never seem to get this right and everything always hangs all wonky. However, I somehow got good placement and this actually turned out really great. The lining attachment gives the skirt weight it would otherwise lack.
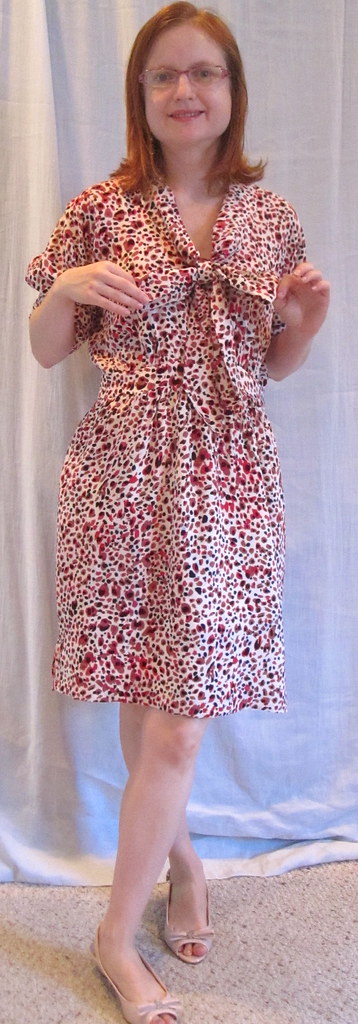

While I don't know that I'll be making this pattern again, I am really happy with the way this dress turned out. It can be worn in Fall with boots and Spring and early summer with sandals (a little too warm for very hot summer days).
Adding the tie neck turned out to be super easy. I am about 3 years late on this trend, which I keep saying can't possibly last any longer but then it does. So I don't know if I'll do more tie necks or not but I should be able to wear this dress for a while.
All photos are here and the pattern review is here.


Comments
Post a Comment