Basic Woven Pullover Top
I have been so thrilled with my TNT t-shirt draft that I've been wanting the same for a woven pullover top. I have made many Simplicity 2938 tank tops, but (1) a recent attempt to add sleeves to the pattern was a disaster, and (2) I don't always want the front pleat detail or the front princess seams to break up a print.
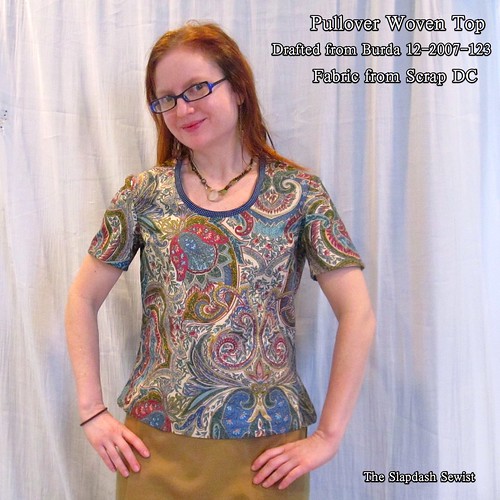
I started with Burda 12-2007-123 and got it about 85% of the way there last year when I was attempting to duplicate the DVF Grandie Top. As warm weather approaches (I hope? pretty please?), my thoughts turned again to a basic pullover woven tank so I pulled out my pattern and brought it over the finish line...or at least to 95%. I went to ScrapDC to find a muslin fabric and found this perfect piece! I think I need to shorten it a teeny bit between the shoulder and bust in the front and the hem is difficult, as explained below.
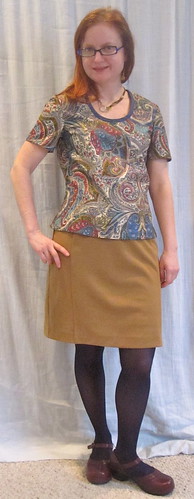
In the closeup photo it looks like the hips are winging out (the dreaded Mickey Mouse Hips where they stick out like round ears), but I think it's just the camera angle. You can see in the full-length shots that the hips have an appropriate but not excessive amount of ease. In the fitting process, I narrowed them as much as possible. If I take out more than a smidge of width they will be too tight and the top will ride up. I could also make them less obvious by adding to the waist, thus reducing the curve. But the point of this top is that I want to be able to wear it without a belt, so I don't want to give up the waist definition.
I will most likely make this pattern sleeveless most of the time, but I wanted to make sure it could accommodate sleeves as well. For this piece, I thought I would baste the sleeves in to confirm they worked and then take them off and have it as a tank.
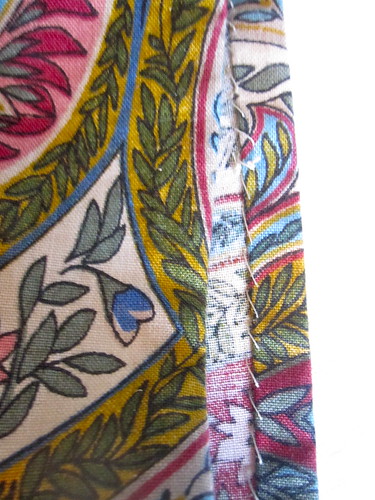
But I actually liked the way the sleeves looked so I kept them. I didn't have much length for a hem allowance, so I did a narrow hand hem on the sleeves.
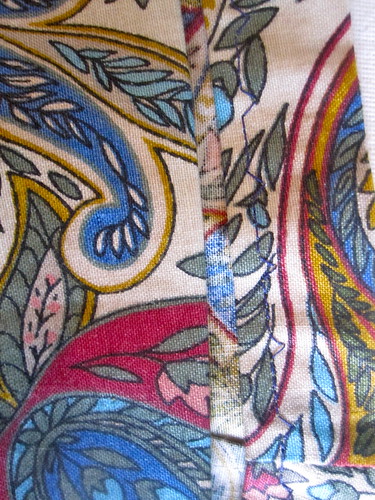
For the lower hem I used a machine blind stitch.
I found the lower hem the most difficult part of the whole top! The long back darts meant that the lower edge was too wide to be folded up. I had to put mirror darts into the hem allowance before I could get the hem to sit smoothly. I would like to figure out a way to make the hem easier on later editions. I might need to use a hem facing.
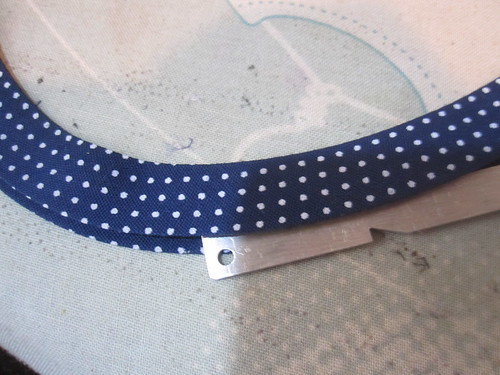
I finished the neckline with vintage(?) bias tape from Scrap. The tape was folded so that one edge is longer than the other. Maybe all commercial bias tape is still done like that--I haven't bought bias tape in forever because I make my own.

Because of the fold, I could sew with confidence right at the edge of the shorter side, knowing the longer side underneath the garment would catch.
I used my blind hem foot and clicked the needle to the right. I ran the shield thingy (don't know the actual name of the metal part) along the fold, and had the needle to the right of the shield to catch the tape.

I would normally do a double-fold bias tape finish in a two-step process, but with the fold of this I was able to stitch it in one.
I suspect this fabric is a home dec; it's a rather stiff cotton that had a satiny finish on it. The pre-wash took out a little of the stiffness and the finish.
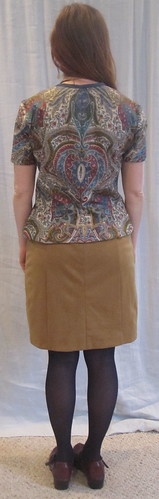
Anyway, it was an oddly shaped remnant, and only the front or the back could be sewn with the paisley in a symmetric pattern.
With the symmetry in the front, it was very "Behold my sacred heart and my exploding spleen!" From the back, it is more, "Observe the elegant architecture of my spine." So I went with placing the symmetry in the back.
One thing I realized when making this and deciding on the length is that skirts and jeans call for different lengths. I wear skirts at natural waist, but even my relatively high-waisted jeans are well below natural waist. On the pattern I marked a hem 1 1/2 inches shorter for tops to be worn with jeans.
Now I'm eager to find ways to chop up and reassemble the pattern! Any suggestions for tops that start with a woven pullover base?
All photos are here and the pattern review is here.
=================================

The skirt is Burda 01-2008-127, which I made three years ago in a green silk. I'd always meant to come back to the pattern, and this Halogen Seamed Pencil Skirt ($69 at Nordstrom)--a favorite of Corporette readers--reminded me.
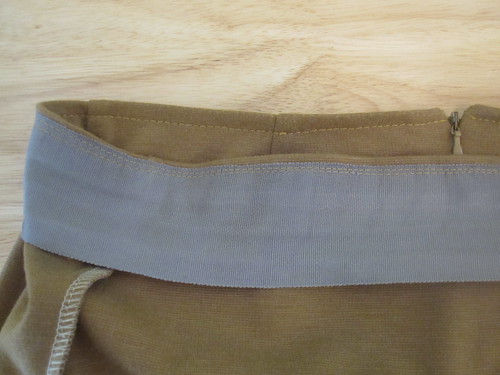
I re-used the petersham waistband of the fail skirt that ended up with my niece. I wasn't sure whether it would be uncomfortable to put a non-stretch waist treatment on a stretch skirt, but it wears well.
I wish I'd thought to stitch the petersham to the wrong side of the skirt rather than the right side of the skirt before folding it down and topstitching. The seam allowance of the ponte makes a noticeable ridge in wearing. If the seam allowance was hanging over the petersham, rather than underneath, it wouldn't show.
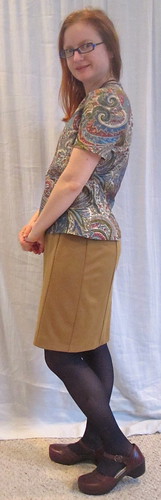
In the past, I've always made ponte skirts as a simple two-piecer with an elastic waist. I realized with the last one that I really needed to add back darts. With that much work, it's better just to make them real skirts rather than elastic waist. I don't mind putting in zippers. It's a flattering skirt in a nice shape, though there is a little bit of tummy-danger-zone arrow-pointing depending on how recently I've eaten.
I have a couple of ponte pencil skirts planned--unlike woven pencil skirts, they are fairly bikeable--so I took the time to perfect the pattern and it's on my TNT bulletin board. Although now I'm wondering if there's a way to eliminate the side seam....


Comments
Post a Comment