Burda 05-2011-108, Malaysia Fabric Sundress
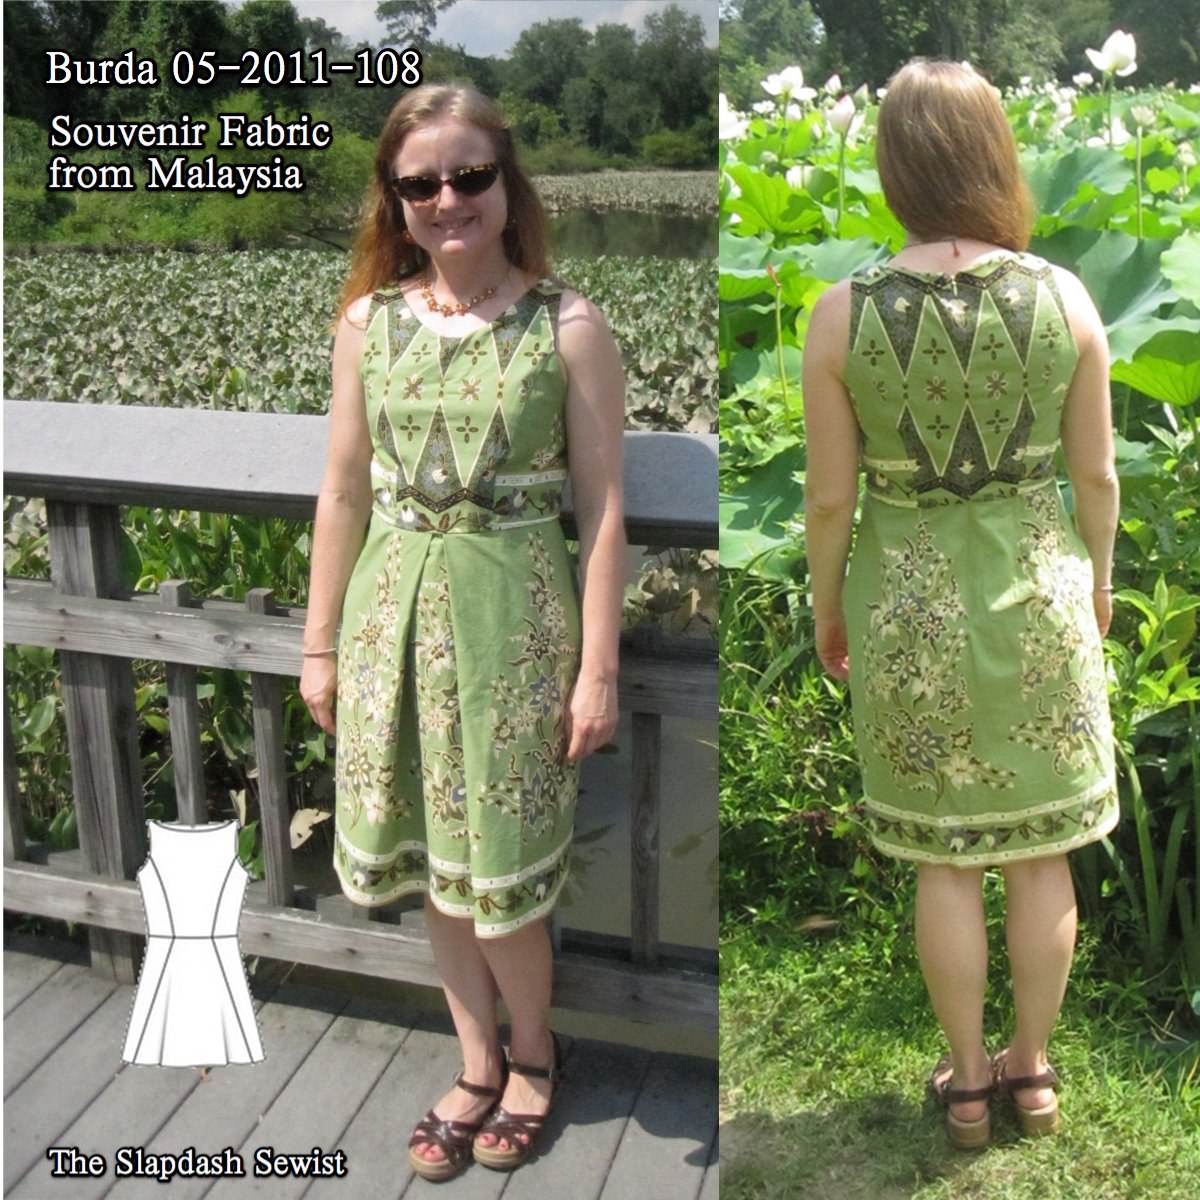
The piece de resistance of my stashbusting during the stash contest was finally making something out of this fabric I bought in Malaysia in 2009. I was there for work, and one of our excursions was to the local department store (our hosts, understandably, wanted to show off their modern marvels).

They had packaged sarong lengths for about $6, so I bought 3 of them. This was the last one left (one of them was made into a shopping bag, the other into Simplicity 2177). This print was meant to be shown to advantage when folded as a wrap skirt in the traditional manner, so it was a double border print with a decorative panel at one end. In all, I had 75 inches of fabric.
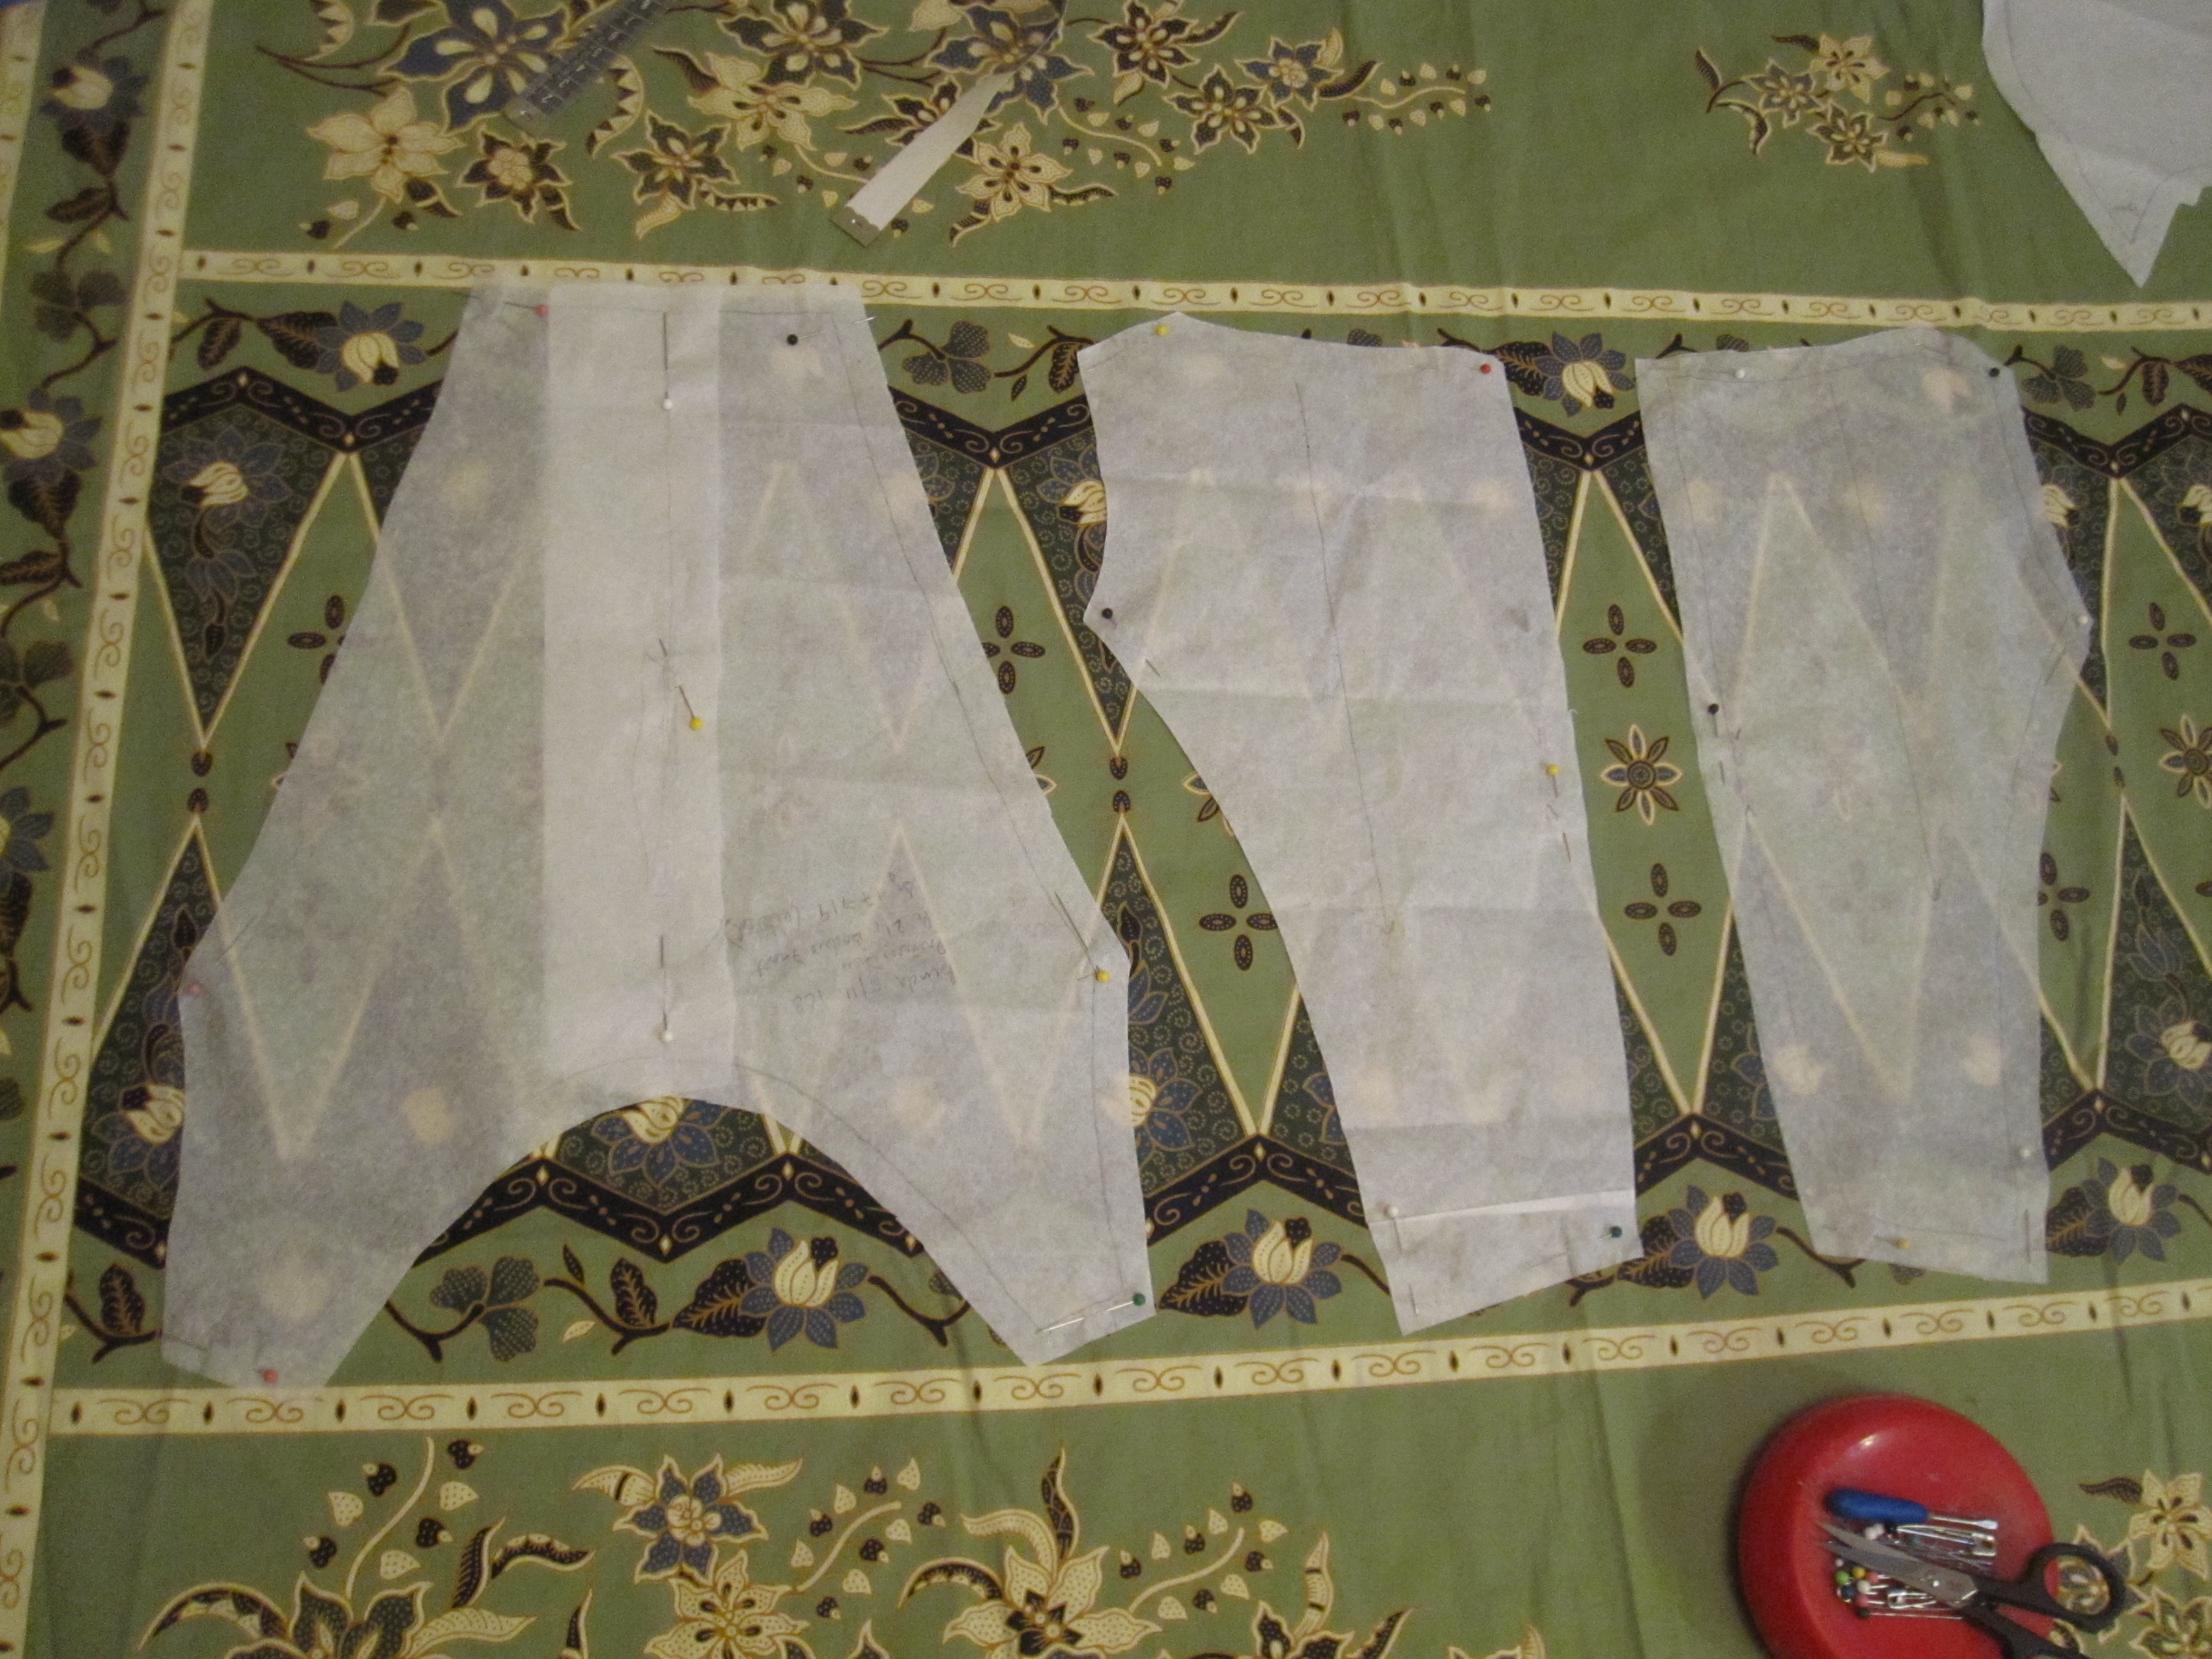
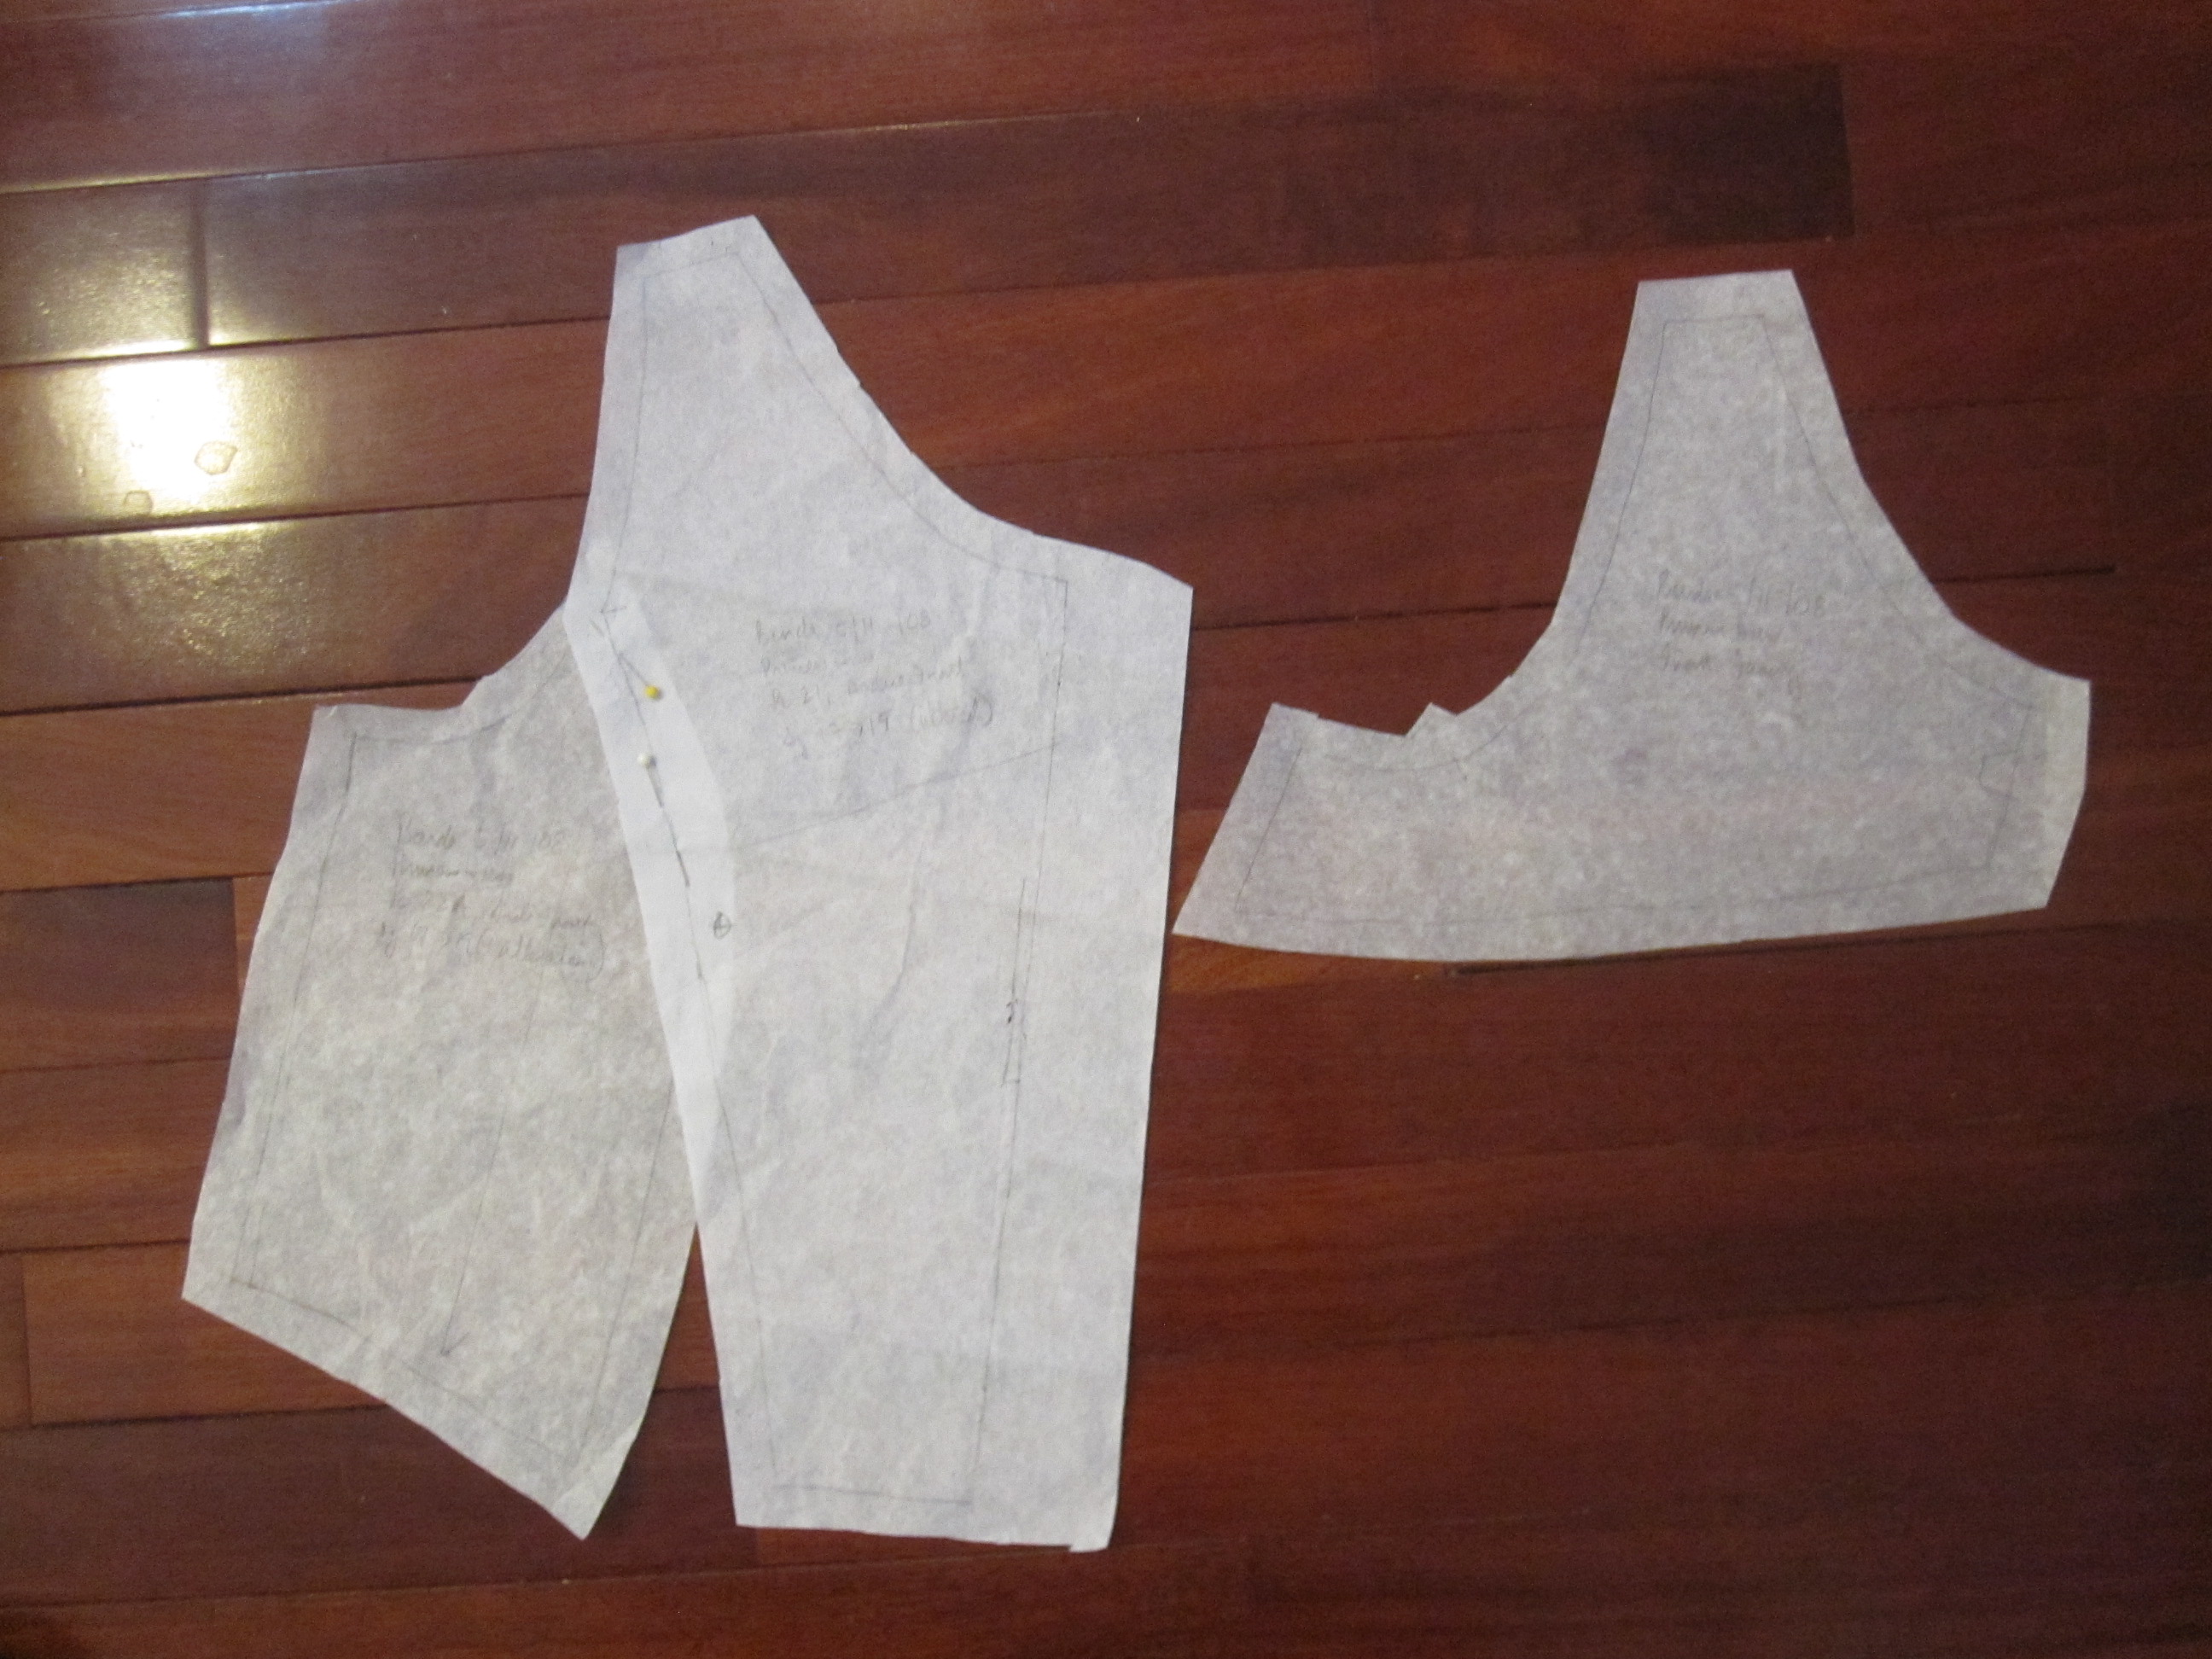
My first plan was to make a simple darted sundress using Burda 08-2009-128. I planned to use the decorative diamond-shape section as the bodice. Well, with the double borders and relatively narrow fabric, I couldn't fit the whole bodice in the diamond-shape section. Dangit! I had to fall back on princess seams; since I had already fitted and made Burda 05-2011-108 for last year's Seersucker Social, I figured it would be easy.
Is anything ever easy? I wanted to use some of the floral motifs in the side panels, but because of they way they were placed, I had to add a side seam to the pattern. To find the side seam, I put on the previous version and marked with a row of pins what seemed to be the side. Very scientific. I transferred my pin marking to the side panel pattern piece, and then split it along the marking. This allowed me to further refine the fit (and by "refine the fit" I mean "add more room at the waist").
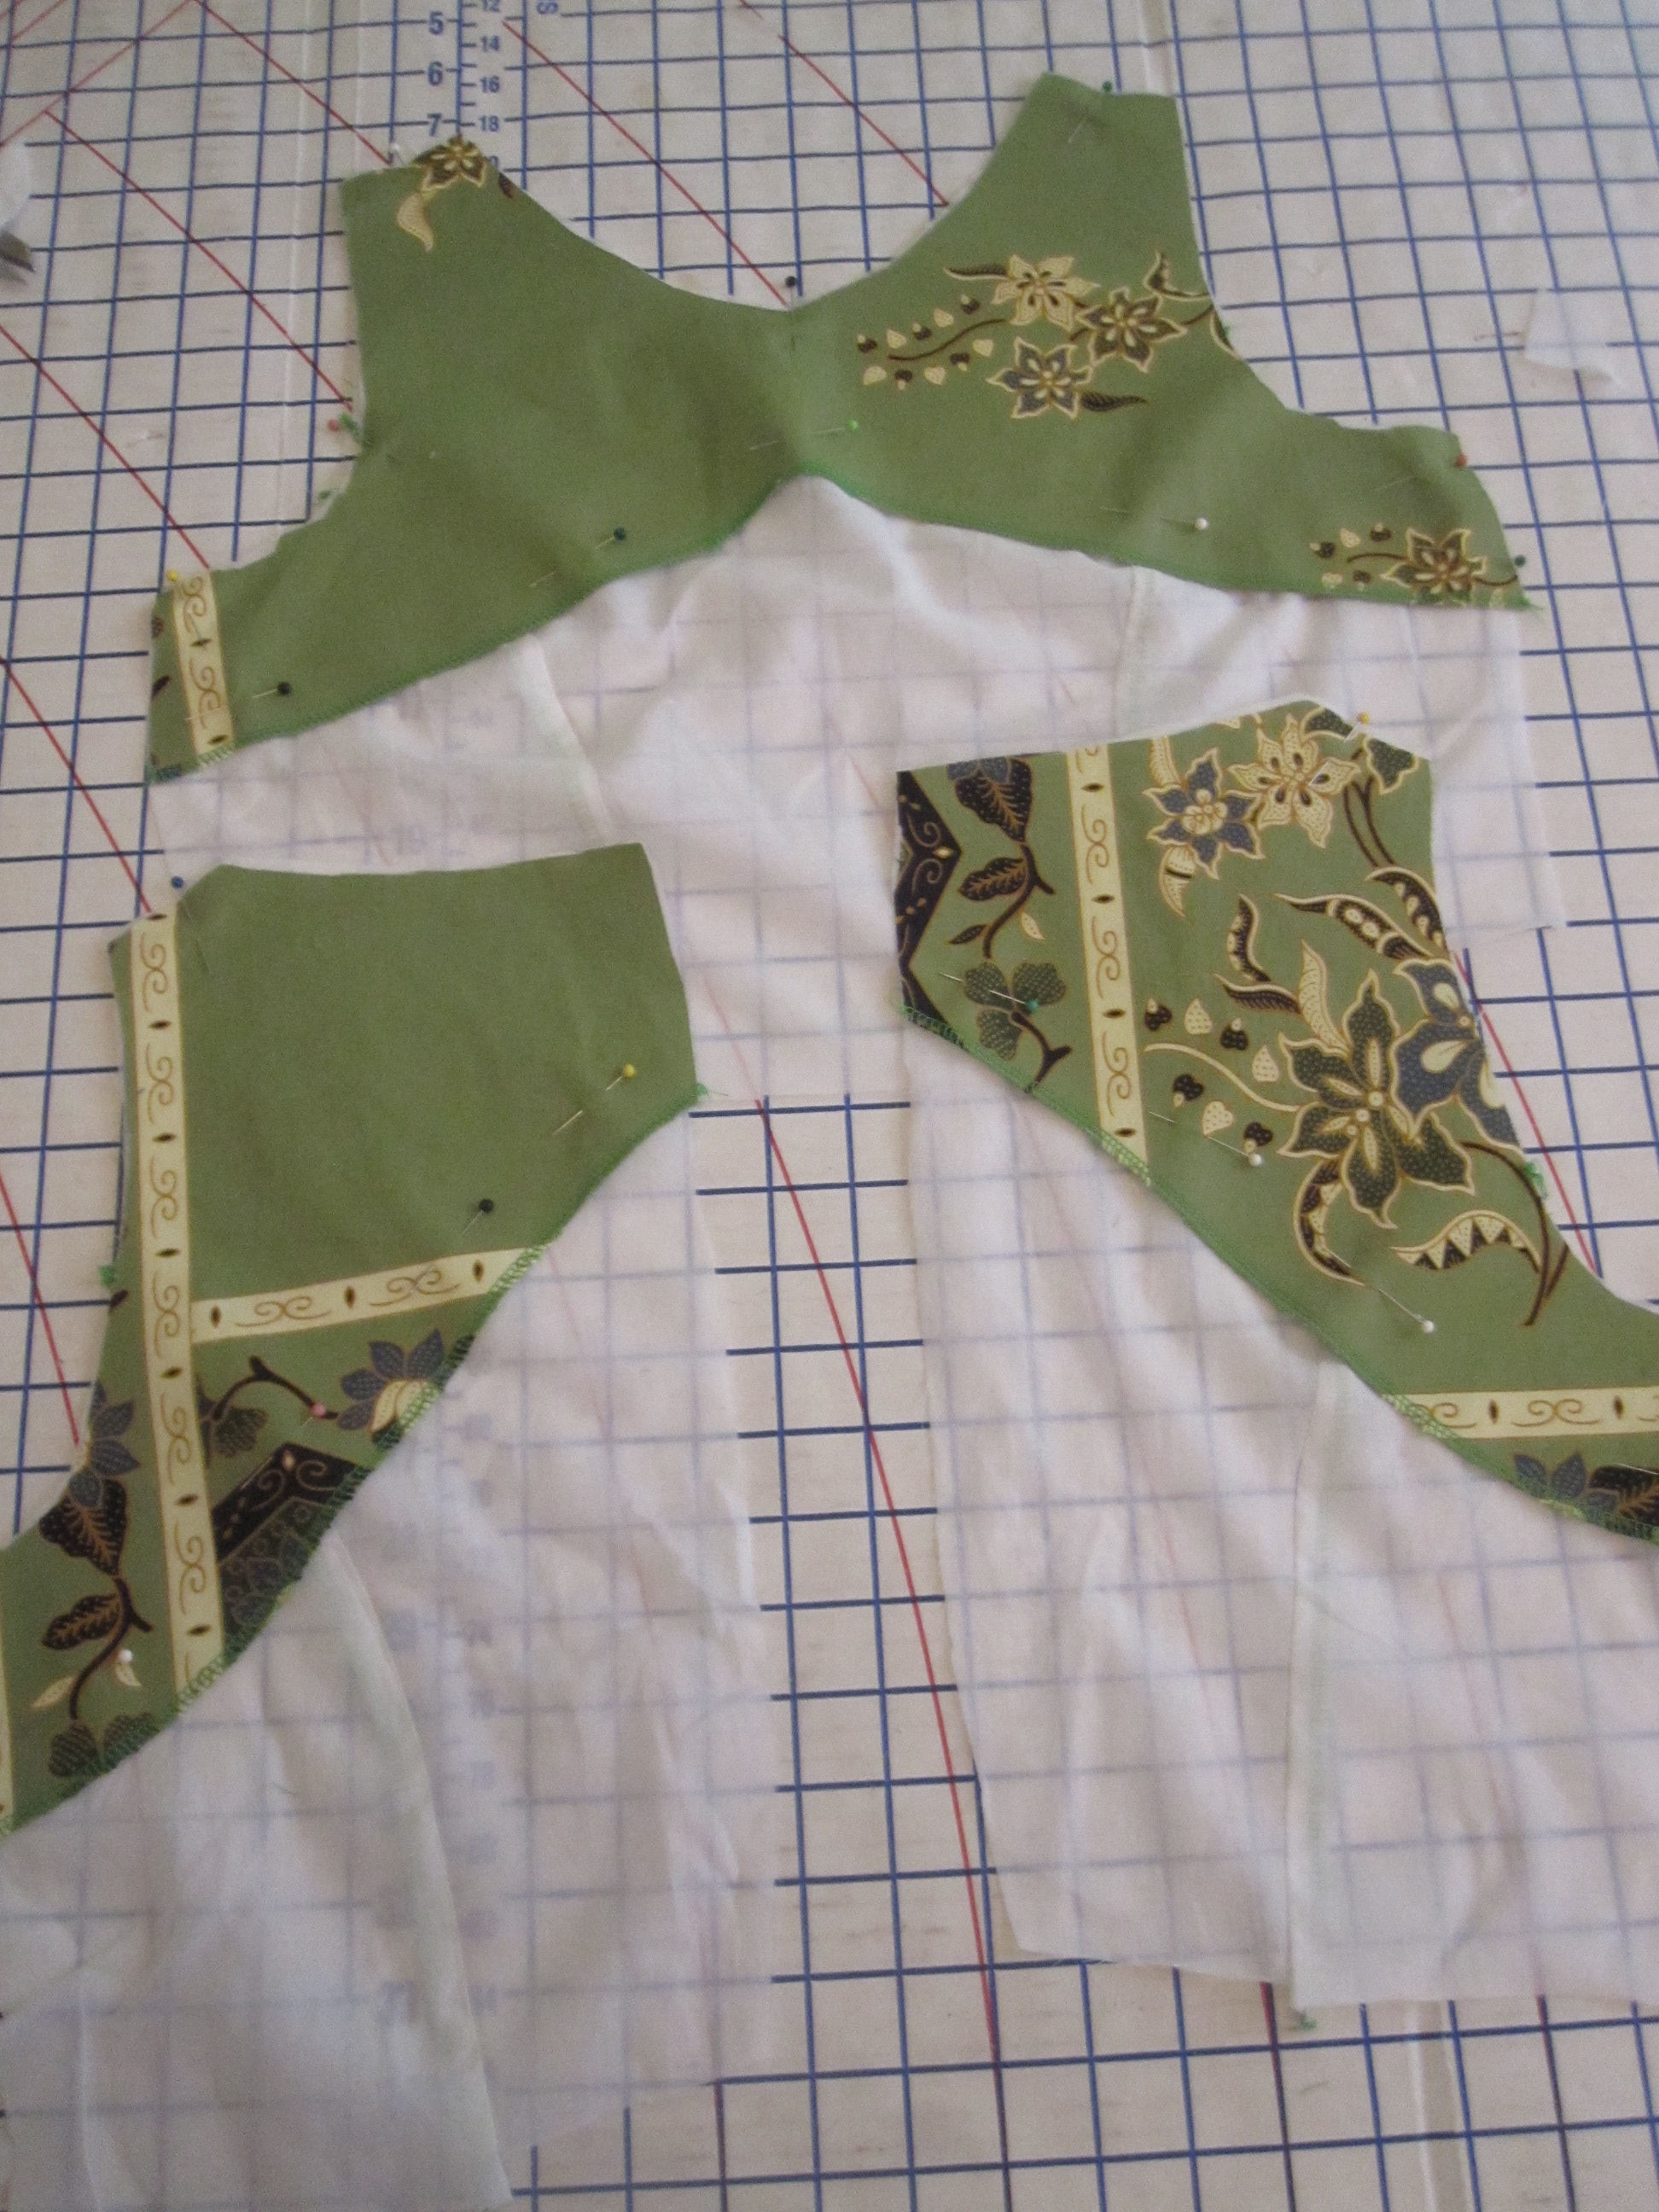
But then once I got the bodice put together those side panels looked so plain, even with the floral motifs I had so carefully placed. Ugh!
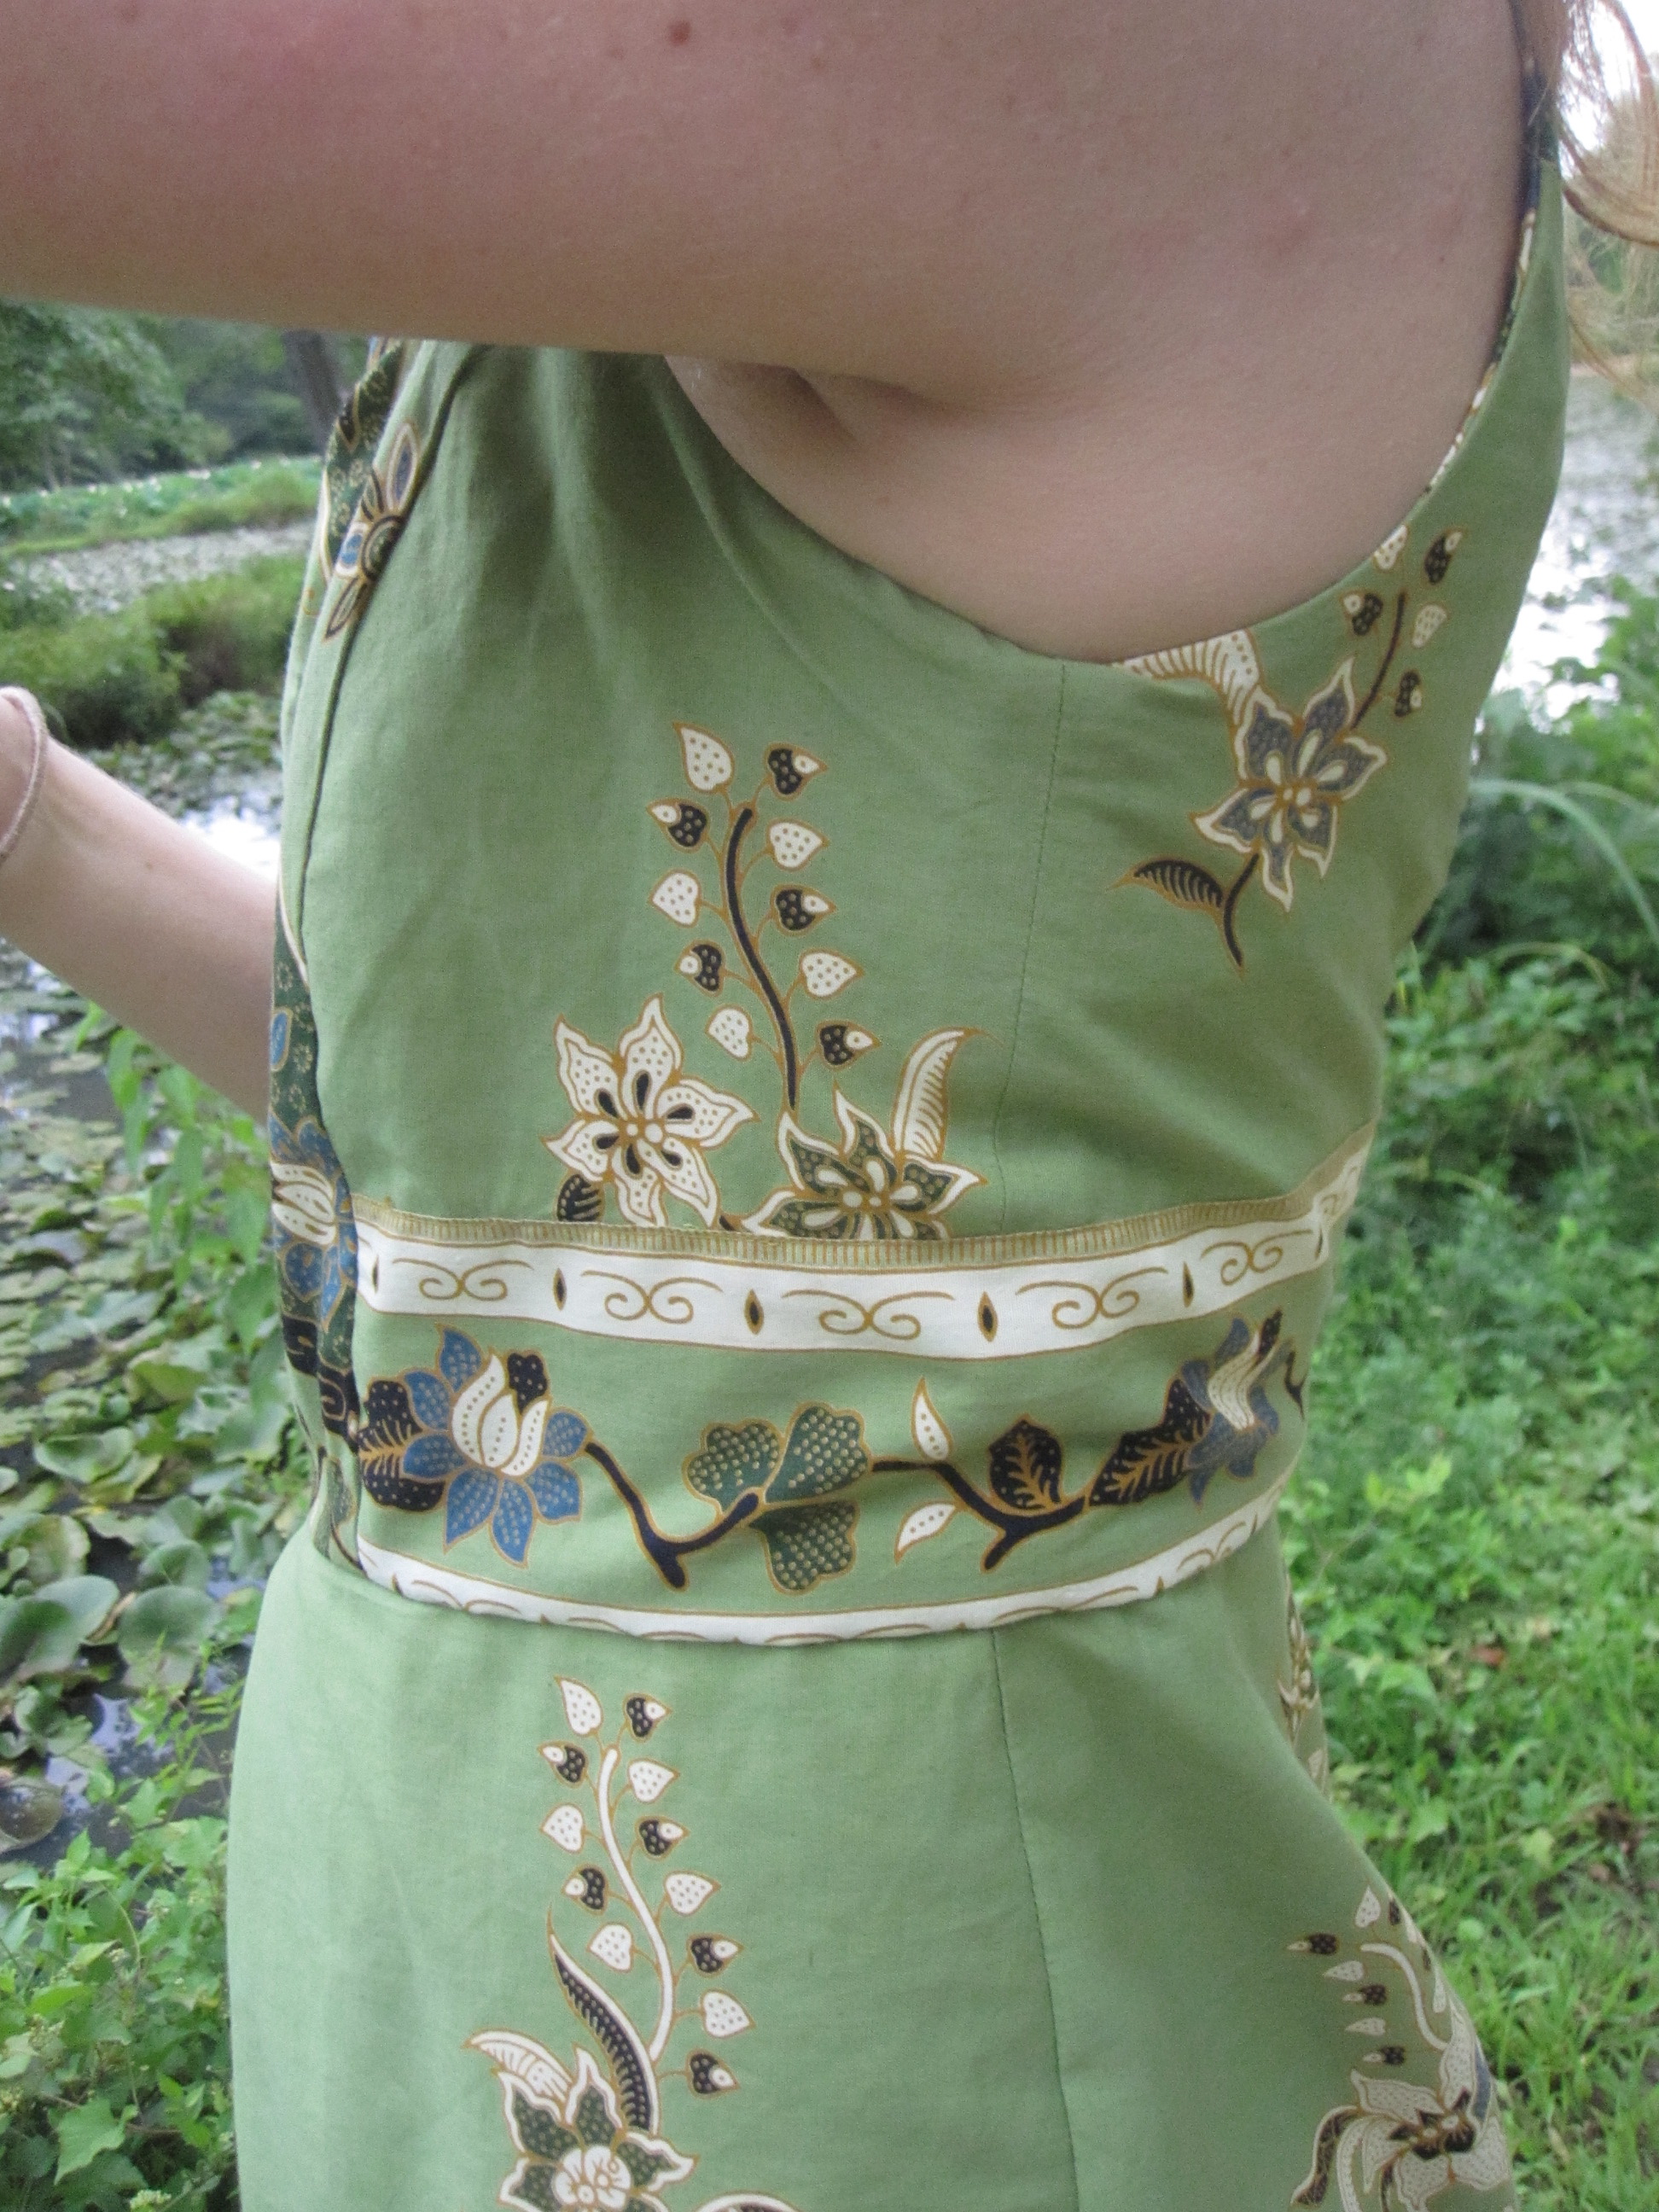
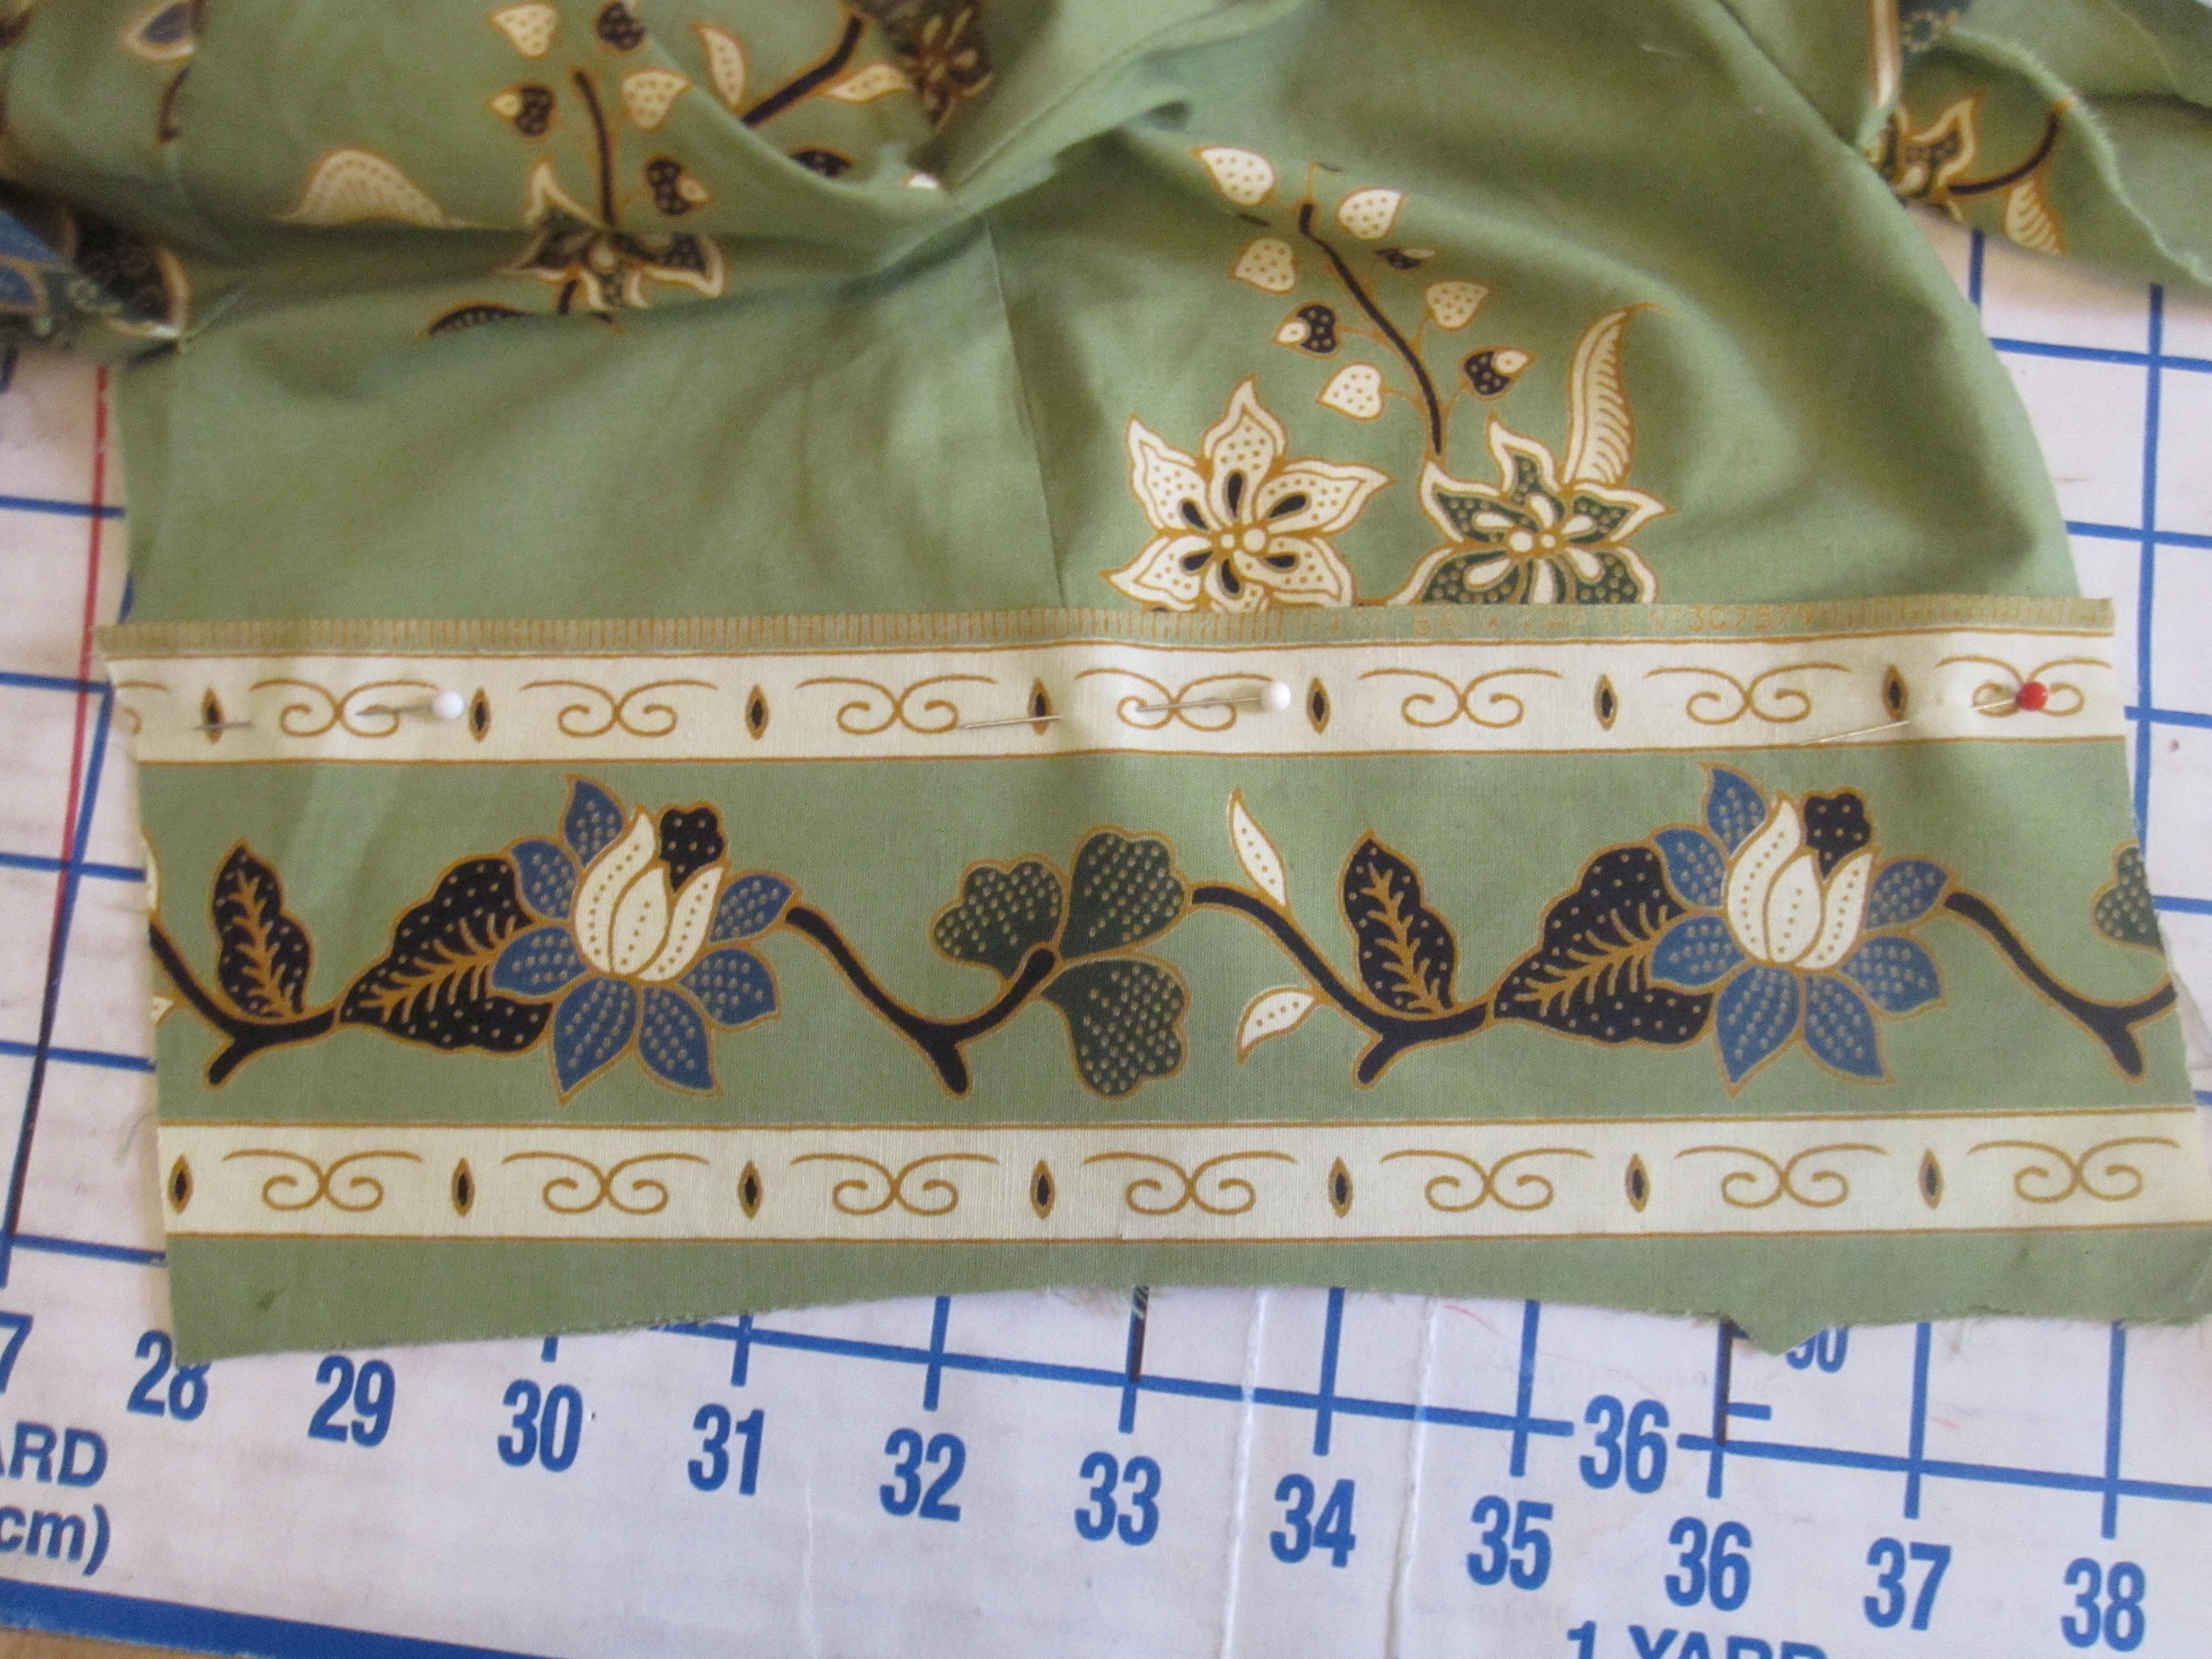
I slept on it and decided to add some of the border fabric to the side panels to jazz them up a bit. I traced the lower curve and panel seams and cut out lengths of border. I put the border on "upside down"--with the selvage at the top--and stitched very close to the edge of the selvage using my blind hem foot to keep the panel in place.
The center back bodice is perhaps the pinnacle of my sewing to date. I took great care in cutting so that I could perfectly match up the motifs along the CB zipper.
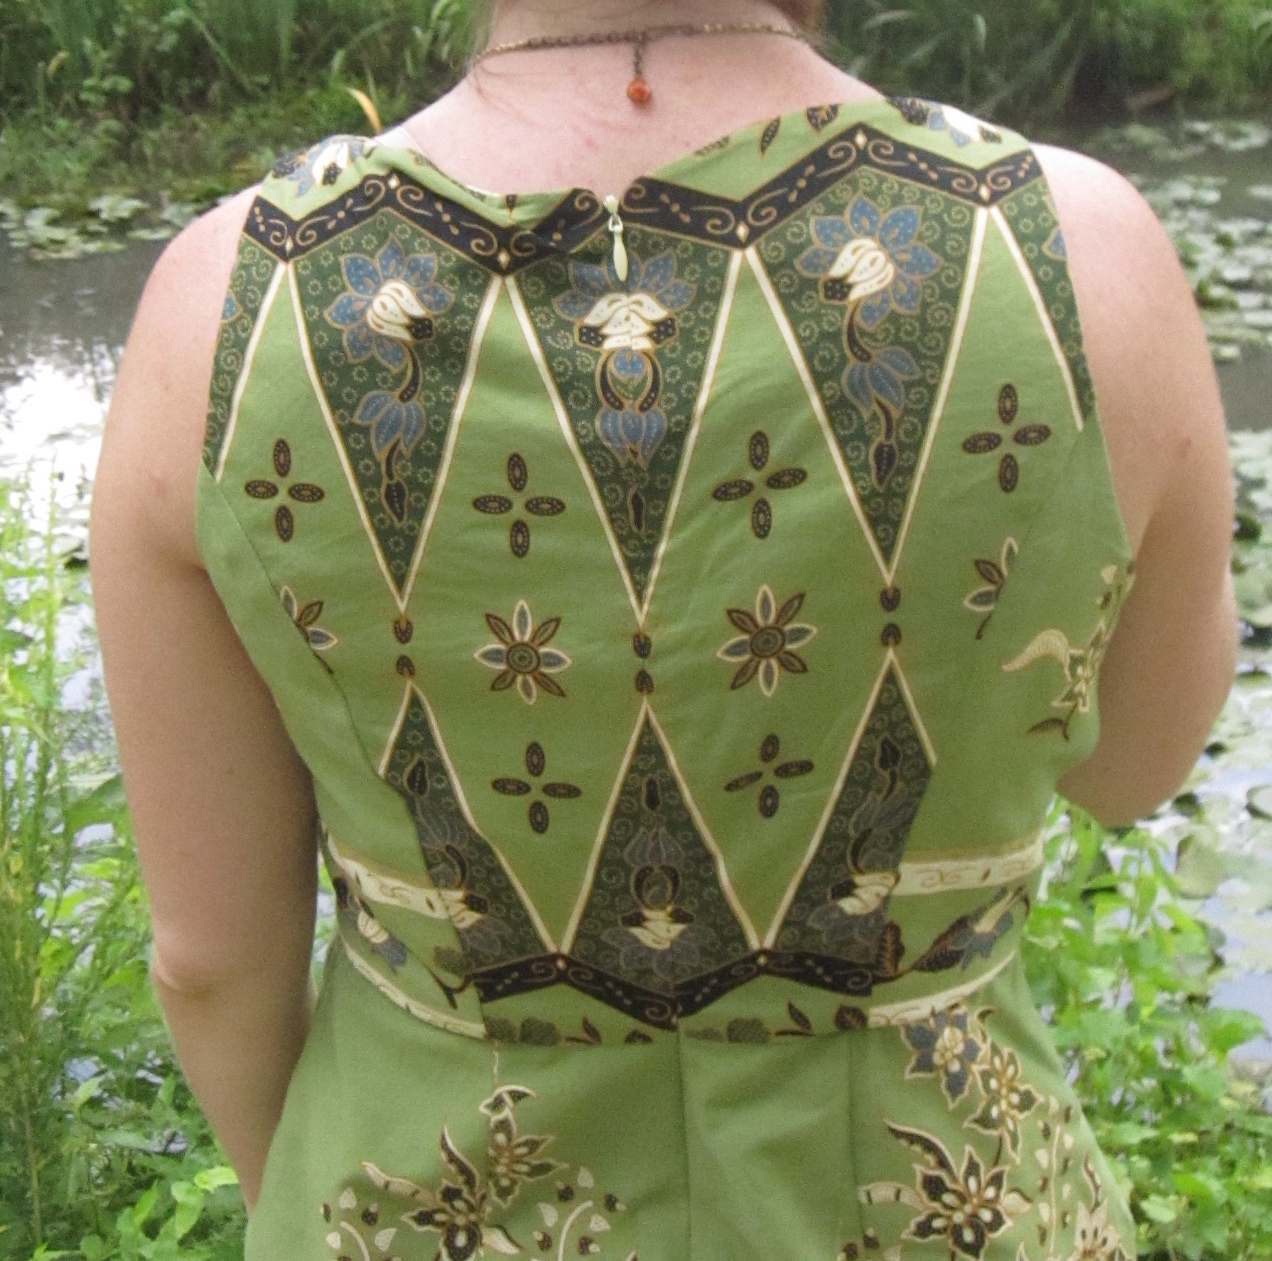
As long as you pay no attention starting at the dark border on the bottom of the lower diamonds (why did this happen?), the back looks seamless, much less zipperless. While I have done projects in plaids and stripes, I have never matched a print before. So proud, y'all.
I didn't have enough fabric to fully self-line the bodice, so I used batiste for the lining. I didn't want the white lining to peek out the neckline or armscyes so I did yet more drafting to create front and back facings without the princess panel seam.
I found scraps of fabric to cut out the facings, interfaced them, serged the lower edges, and then carefully placed them on the lining and stitched in place at the lower edge using my walking foot. This trouble was worth it to get a nice finish.
Luckily, the skirt part was easy! I didn't want any seams to break up my print, so I made the panel as wide as I could and used the selvage as the hem edge. I added darts in the back to align with the princess seams, and also put in darts to align with the side seam. Then I did a large inverted pleat at center front with the remainder of the extra width.
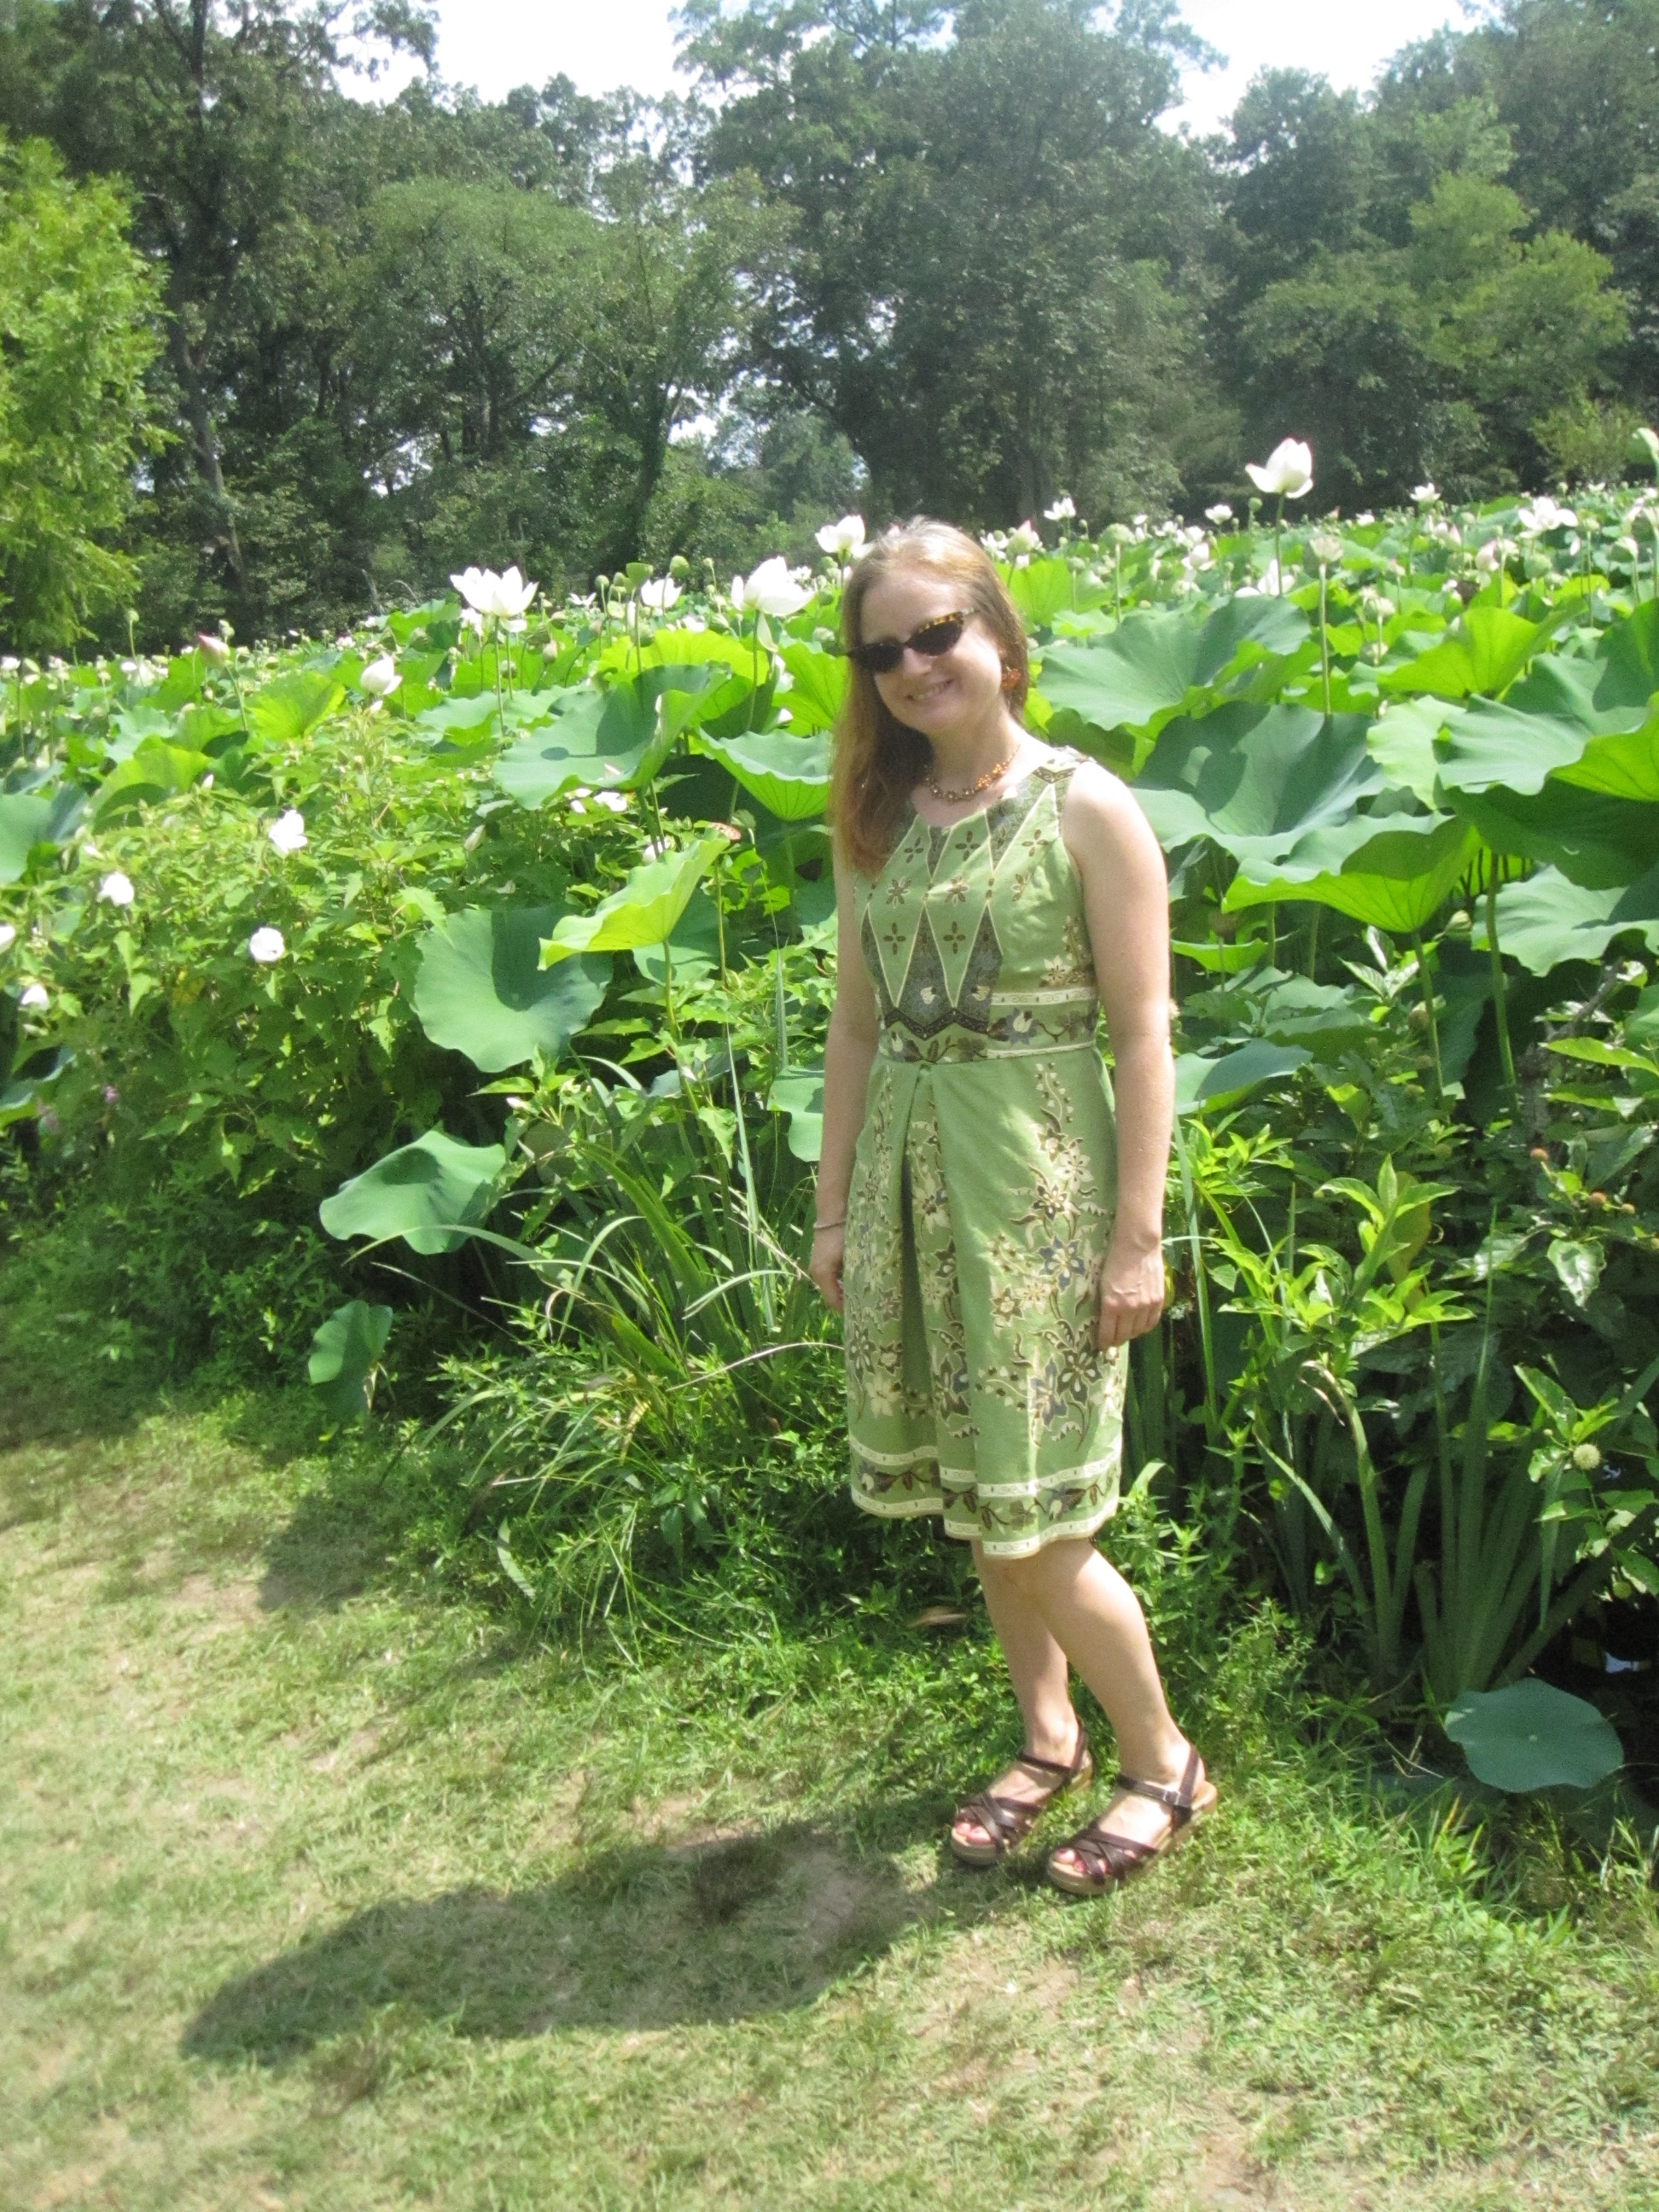
For a simple dress, this ended up being a ridiculous amount of work, especially given what I had planned in the first place! When I first finished it I wasn't sure about the diamond shapes and wished I'd done a plain bodice and used the diamond panel in the skirt. But the longer I wore it, the more I liked the exuberance of the bodice. It seems like an appropriate way to use the fabric, where that panel would be the star.
This fabric is not, alas, my oldest piece in stash, but it was one that had been weighing on me to sew it up already. So yay for that! Only hundreds more pieces to go...
The photos were taken on a visit to the Kenilworth Aquatic Gardens in the DC area; you can read more about our visit here. If you have access to a car and live around here, you really must visit! It's gorgeous and free.
All photos are here and the pattern review is here.
====================
There are still a few more days to enter my swimsuit elastic giveaway if you haven't done so yet....
Comments
Post a Comment