Burda 05-2009-102, The Agony of Plaid Matching (aka Blazer for Tweed Ride)
Tweed Ride was a couple of weeks ago. I wasn't sure I'd be able to attend so I hadn't put any thought into an outfit, but I ended up being free that day and I had one week to pull it together. Eek! I had just returned from vacation, before which I had engaged in an absolute orgy of sewing and was still kind of worn out. So of course the logical thing to do was make a jacket. A lined jacket. In plaid. In one week. But last year I vowed that if I did it again this year I *would* finally make this wonderful plaid (a wool/poly blend, as it turns out) from The Carol Collection into a jacket.
I went through my BWOFs and decided I just loved Burda 05-2009-102. Unfortunately, the smallest size it comes in is 36 and the pieces are complicated enough that I skipped grading to a 34 at the shoulders and bust as I would normally do. Luckily, I was able to narrow the shoulders a bit on sewing and the fit in the upper part was pretty good.

Because the jacket was intended for a long bike ride, I wanted to make sure I had plenty of room for my broad back--reaching for the handlebars gets awfully old when your arms are restricted. For armscye princess seams, you have to first pin the back and side back together at the stitch lines, mark your L, and then cut along the L and open out your wedge.
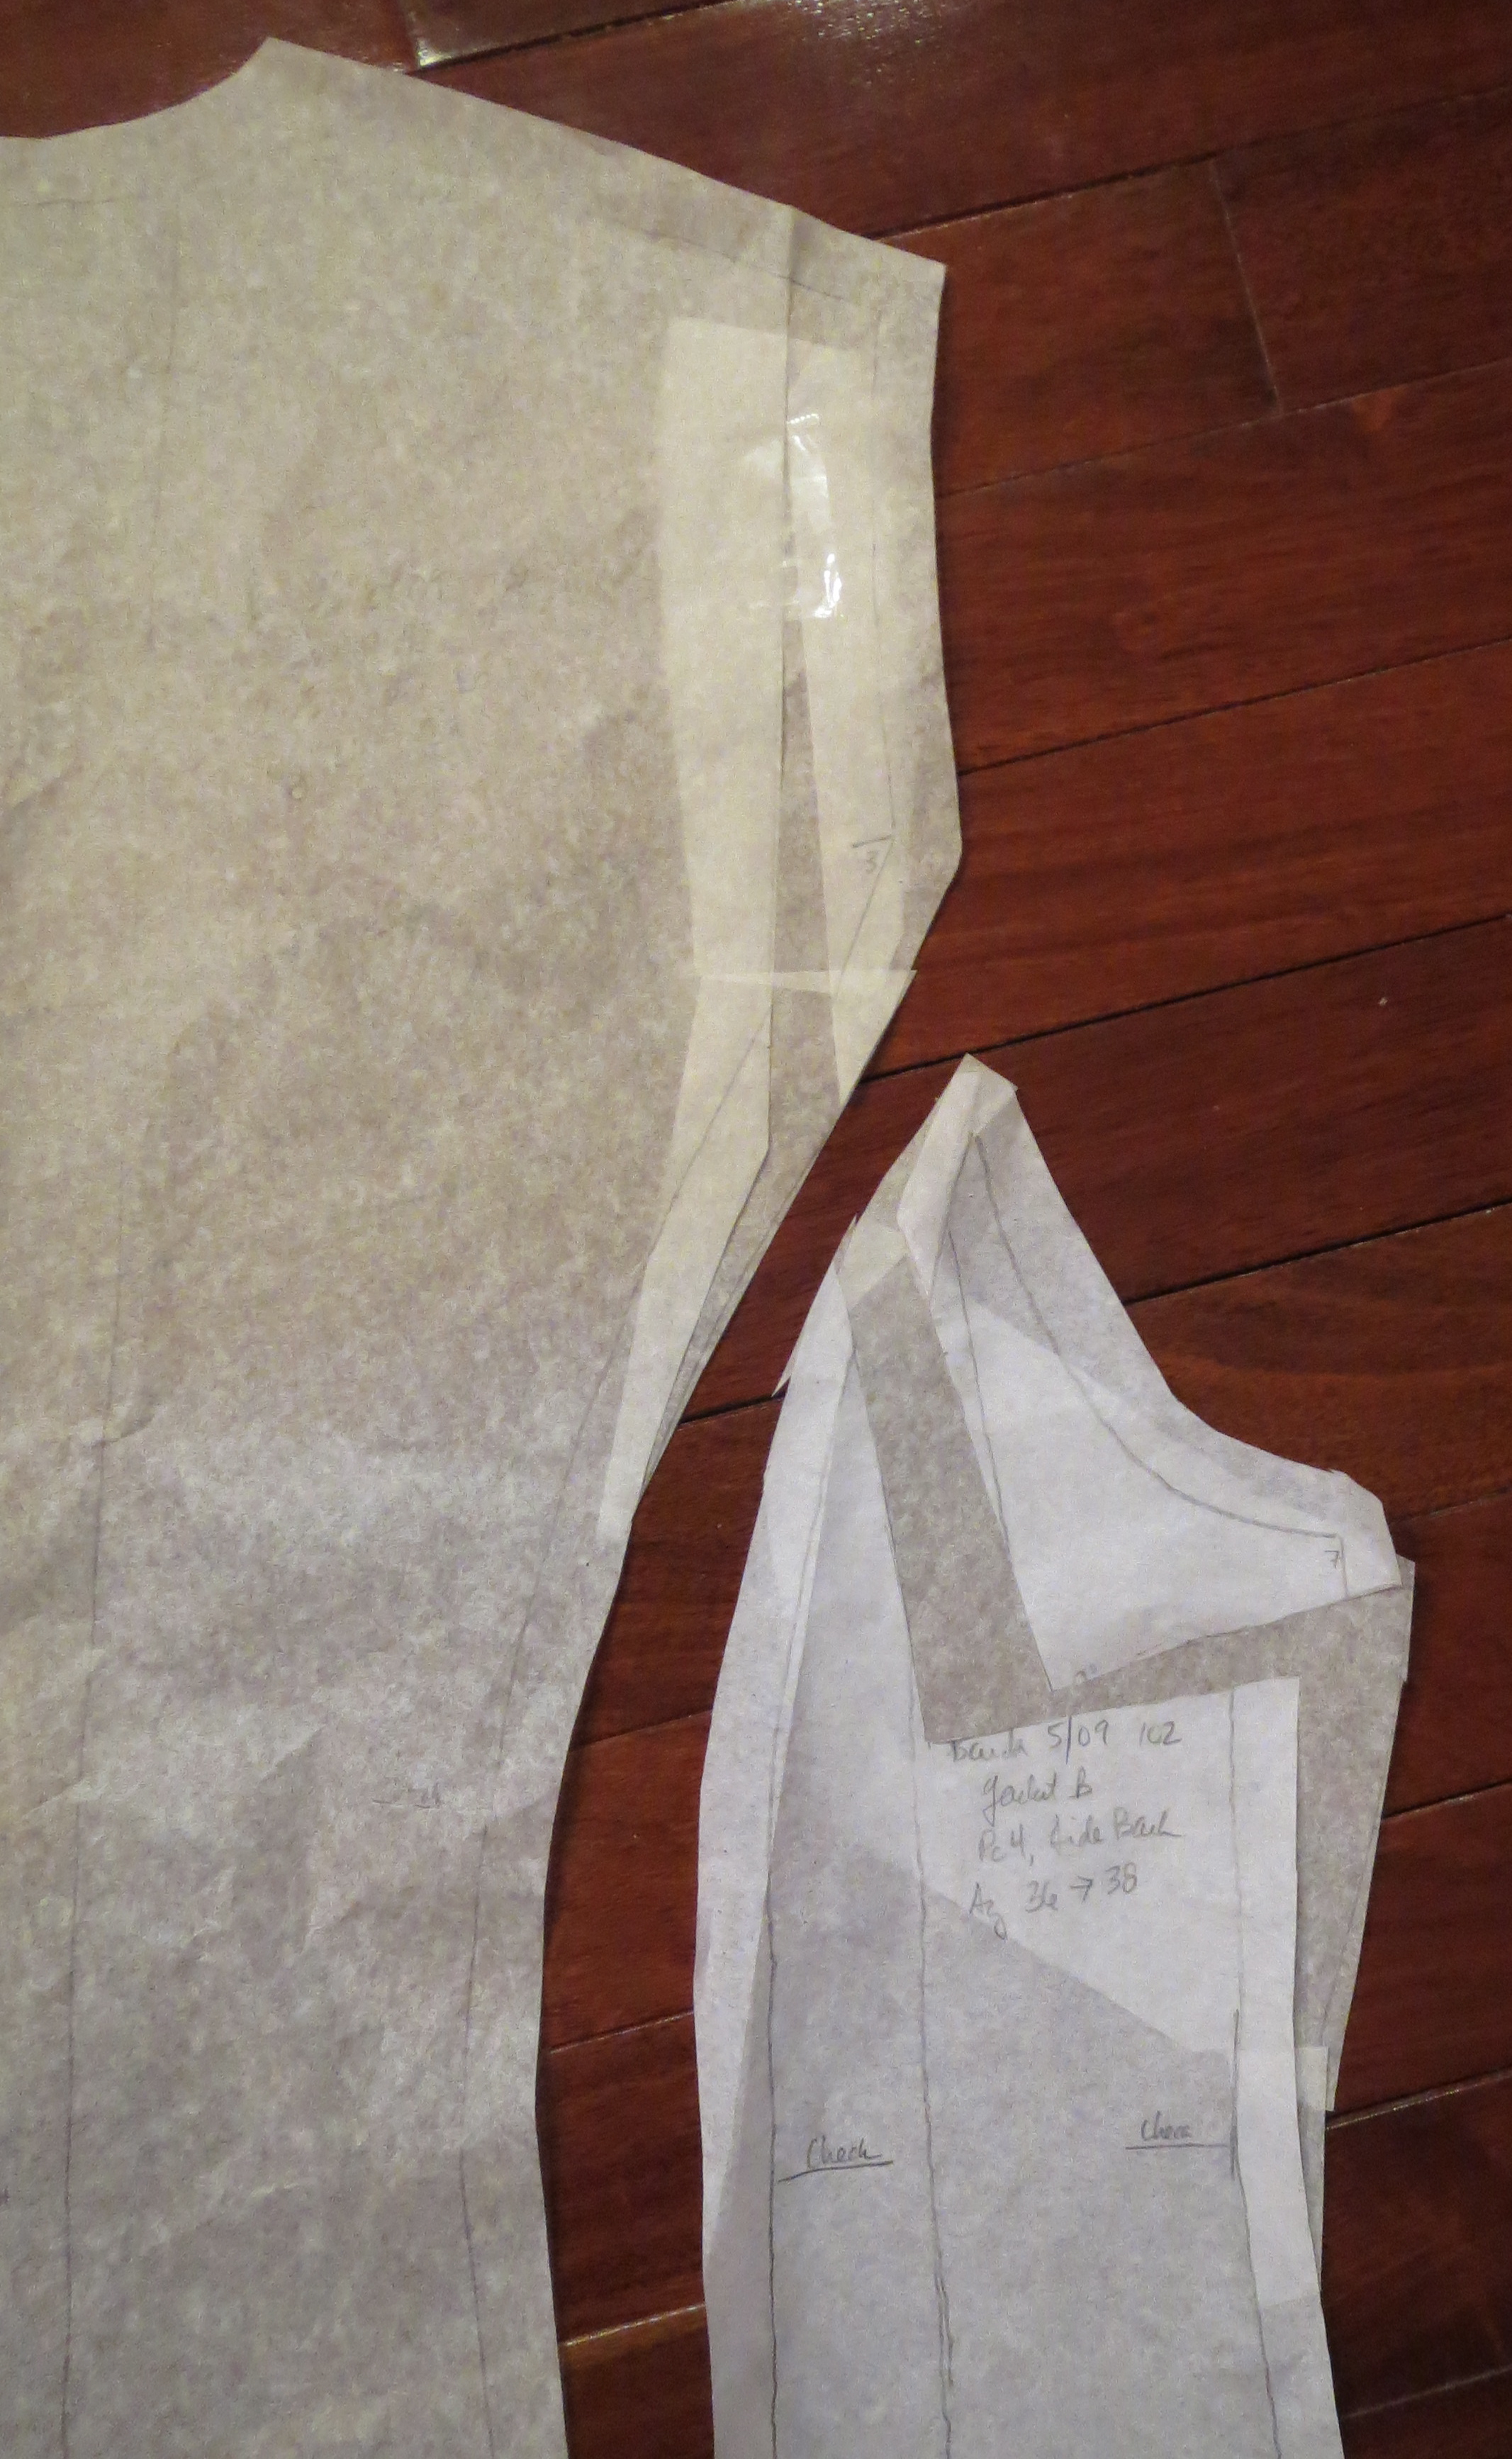
Put extra tissue underneath and tape it to your pattern pieces to the extent you can while the pieces are still pinned together so you preserve the same angle on both pieces, then separate them and fill in the extra area.

I fused all the body pieces onto lightweight, flexible interfacing (except the collar and lapel, for which I used a stiff interfacing). I turned my cutting table aka kitchen table into a pressing table by putting an old wool blanket down, then covering the wool blanket with a white fitted sheet I keep for that purpose. This protects the table and allows me to use lots of steam without worry.

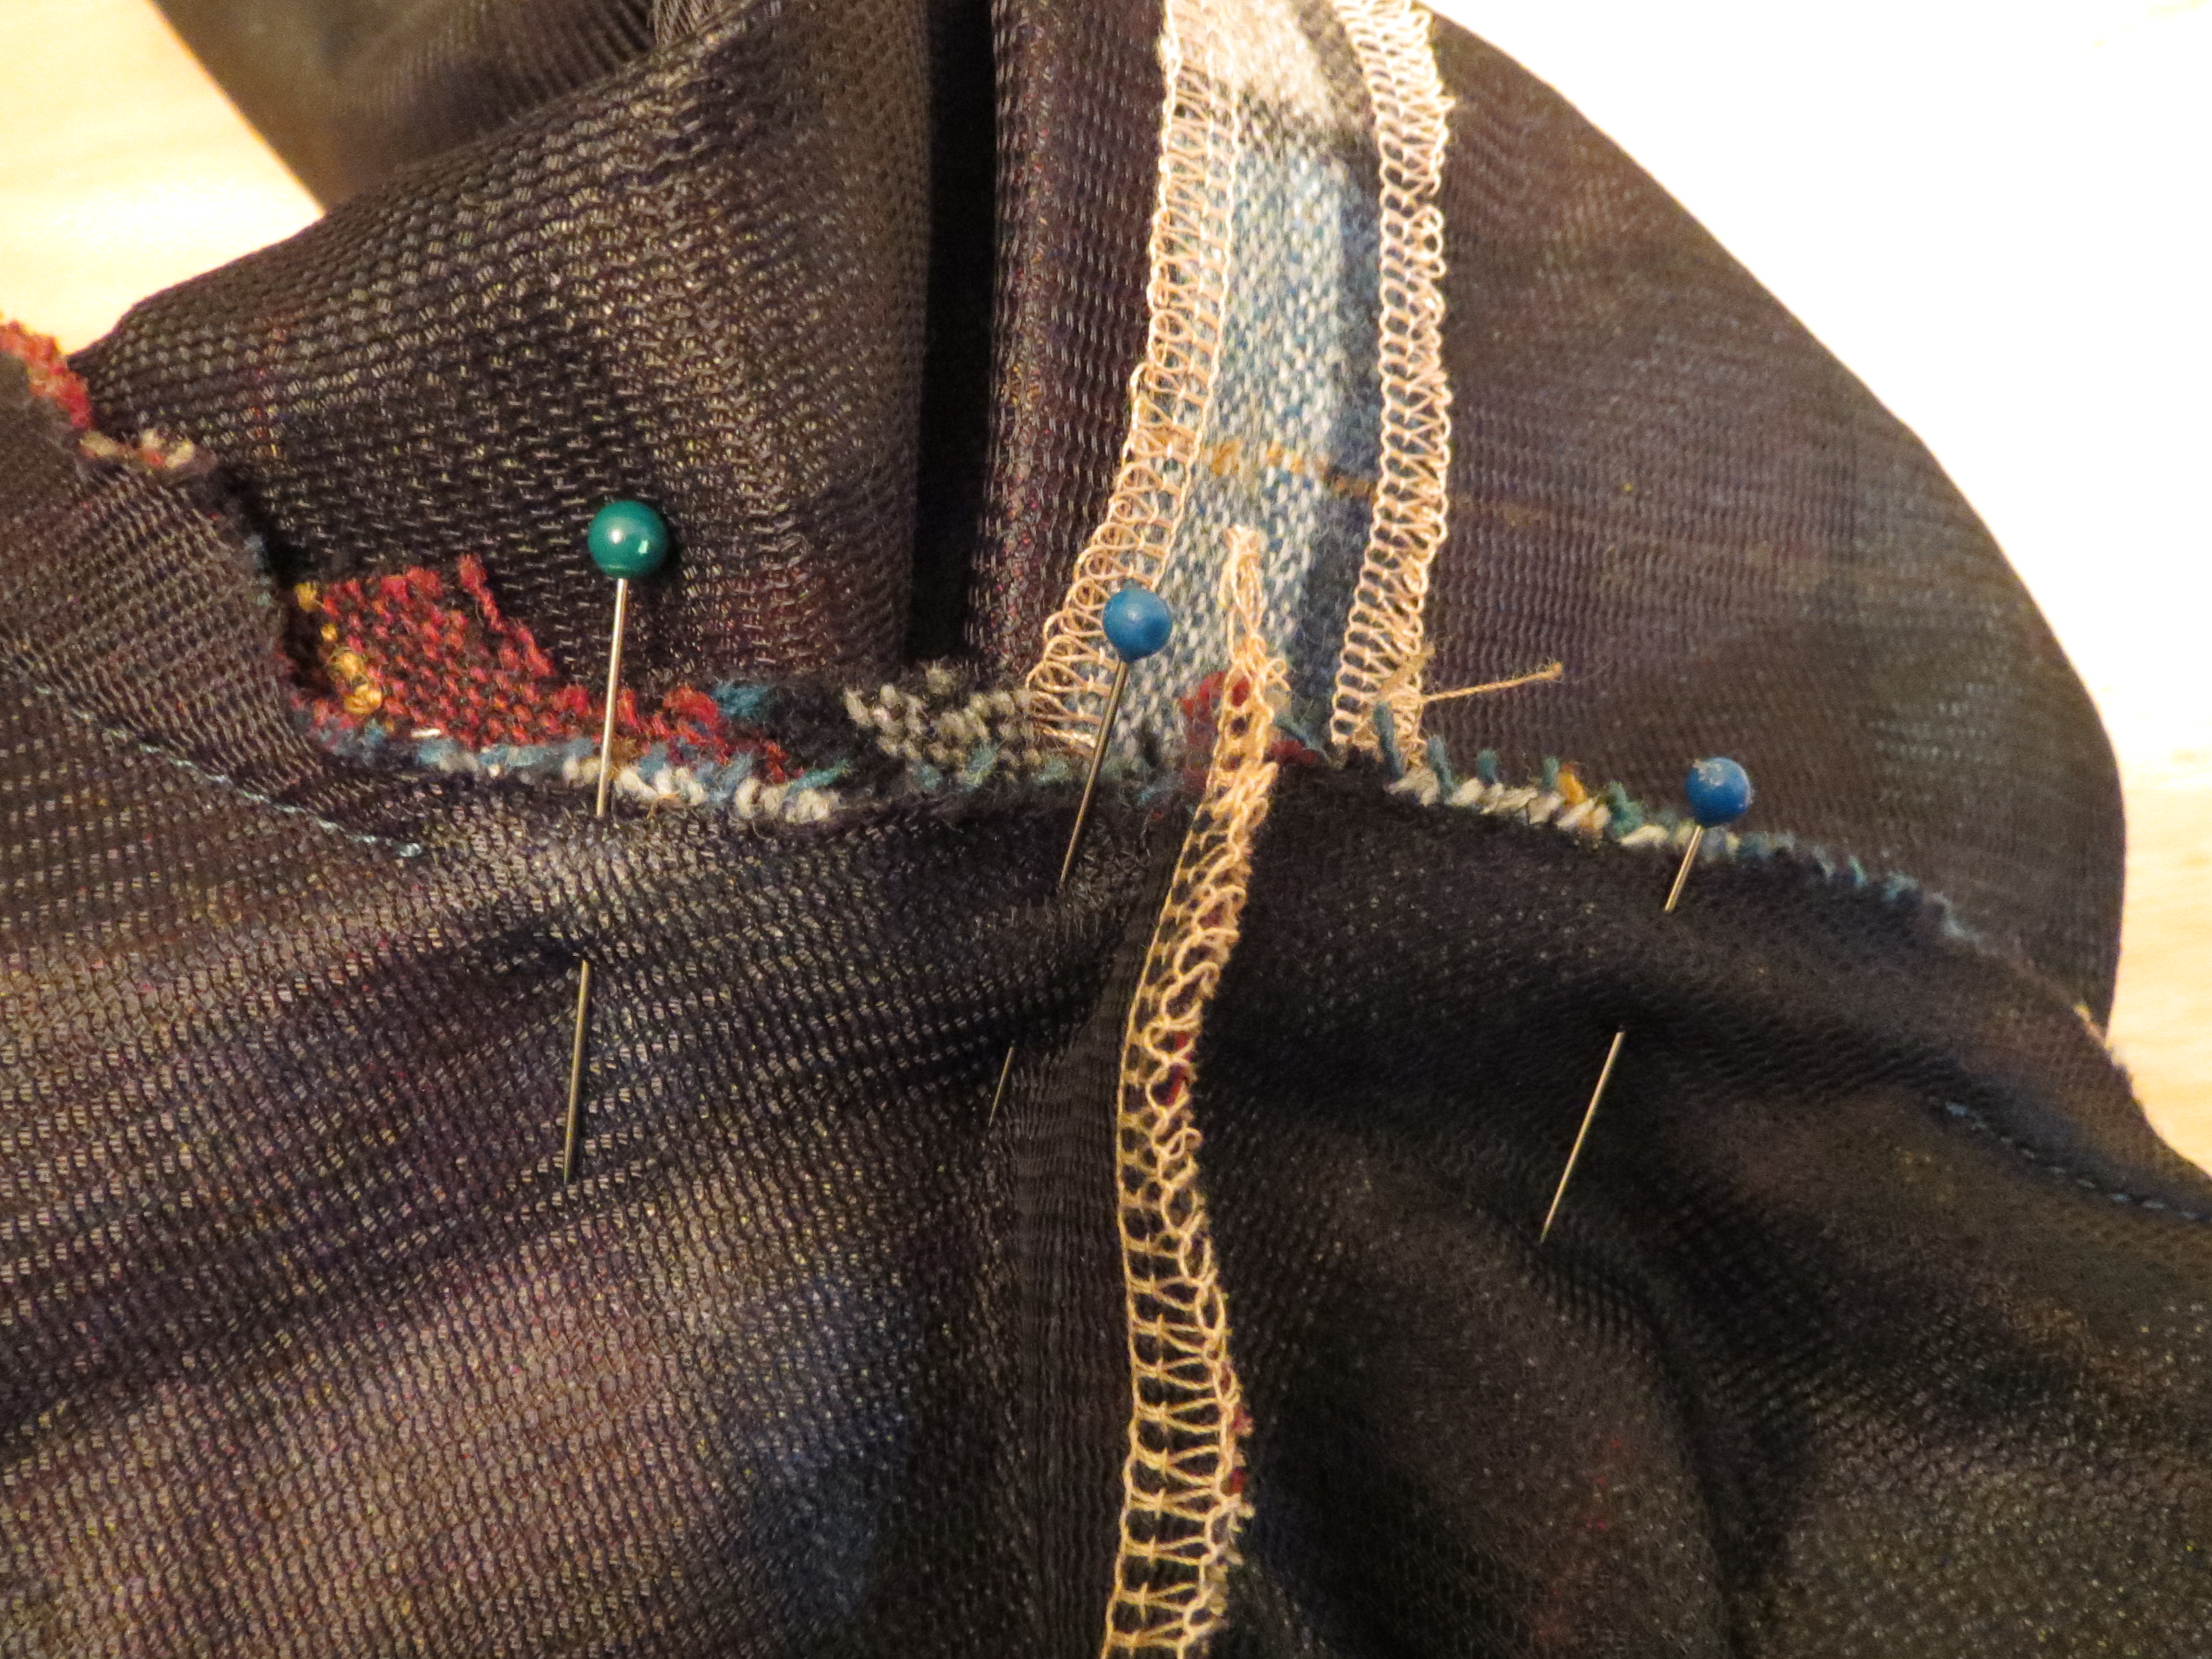
When choosing the pattern, I figured that shaped front, single welt, and side with integrated pocket would be tricky. It turns out, it was actually quite easy. You start by sewing the welt into the front, and sewing the front pocket bag into the seam allowance. Then you clip into the corner at the welt intersection (the photo shows the right side of one half and the wrong side of the other).
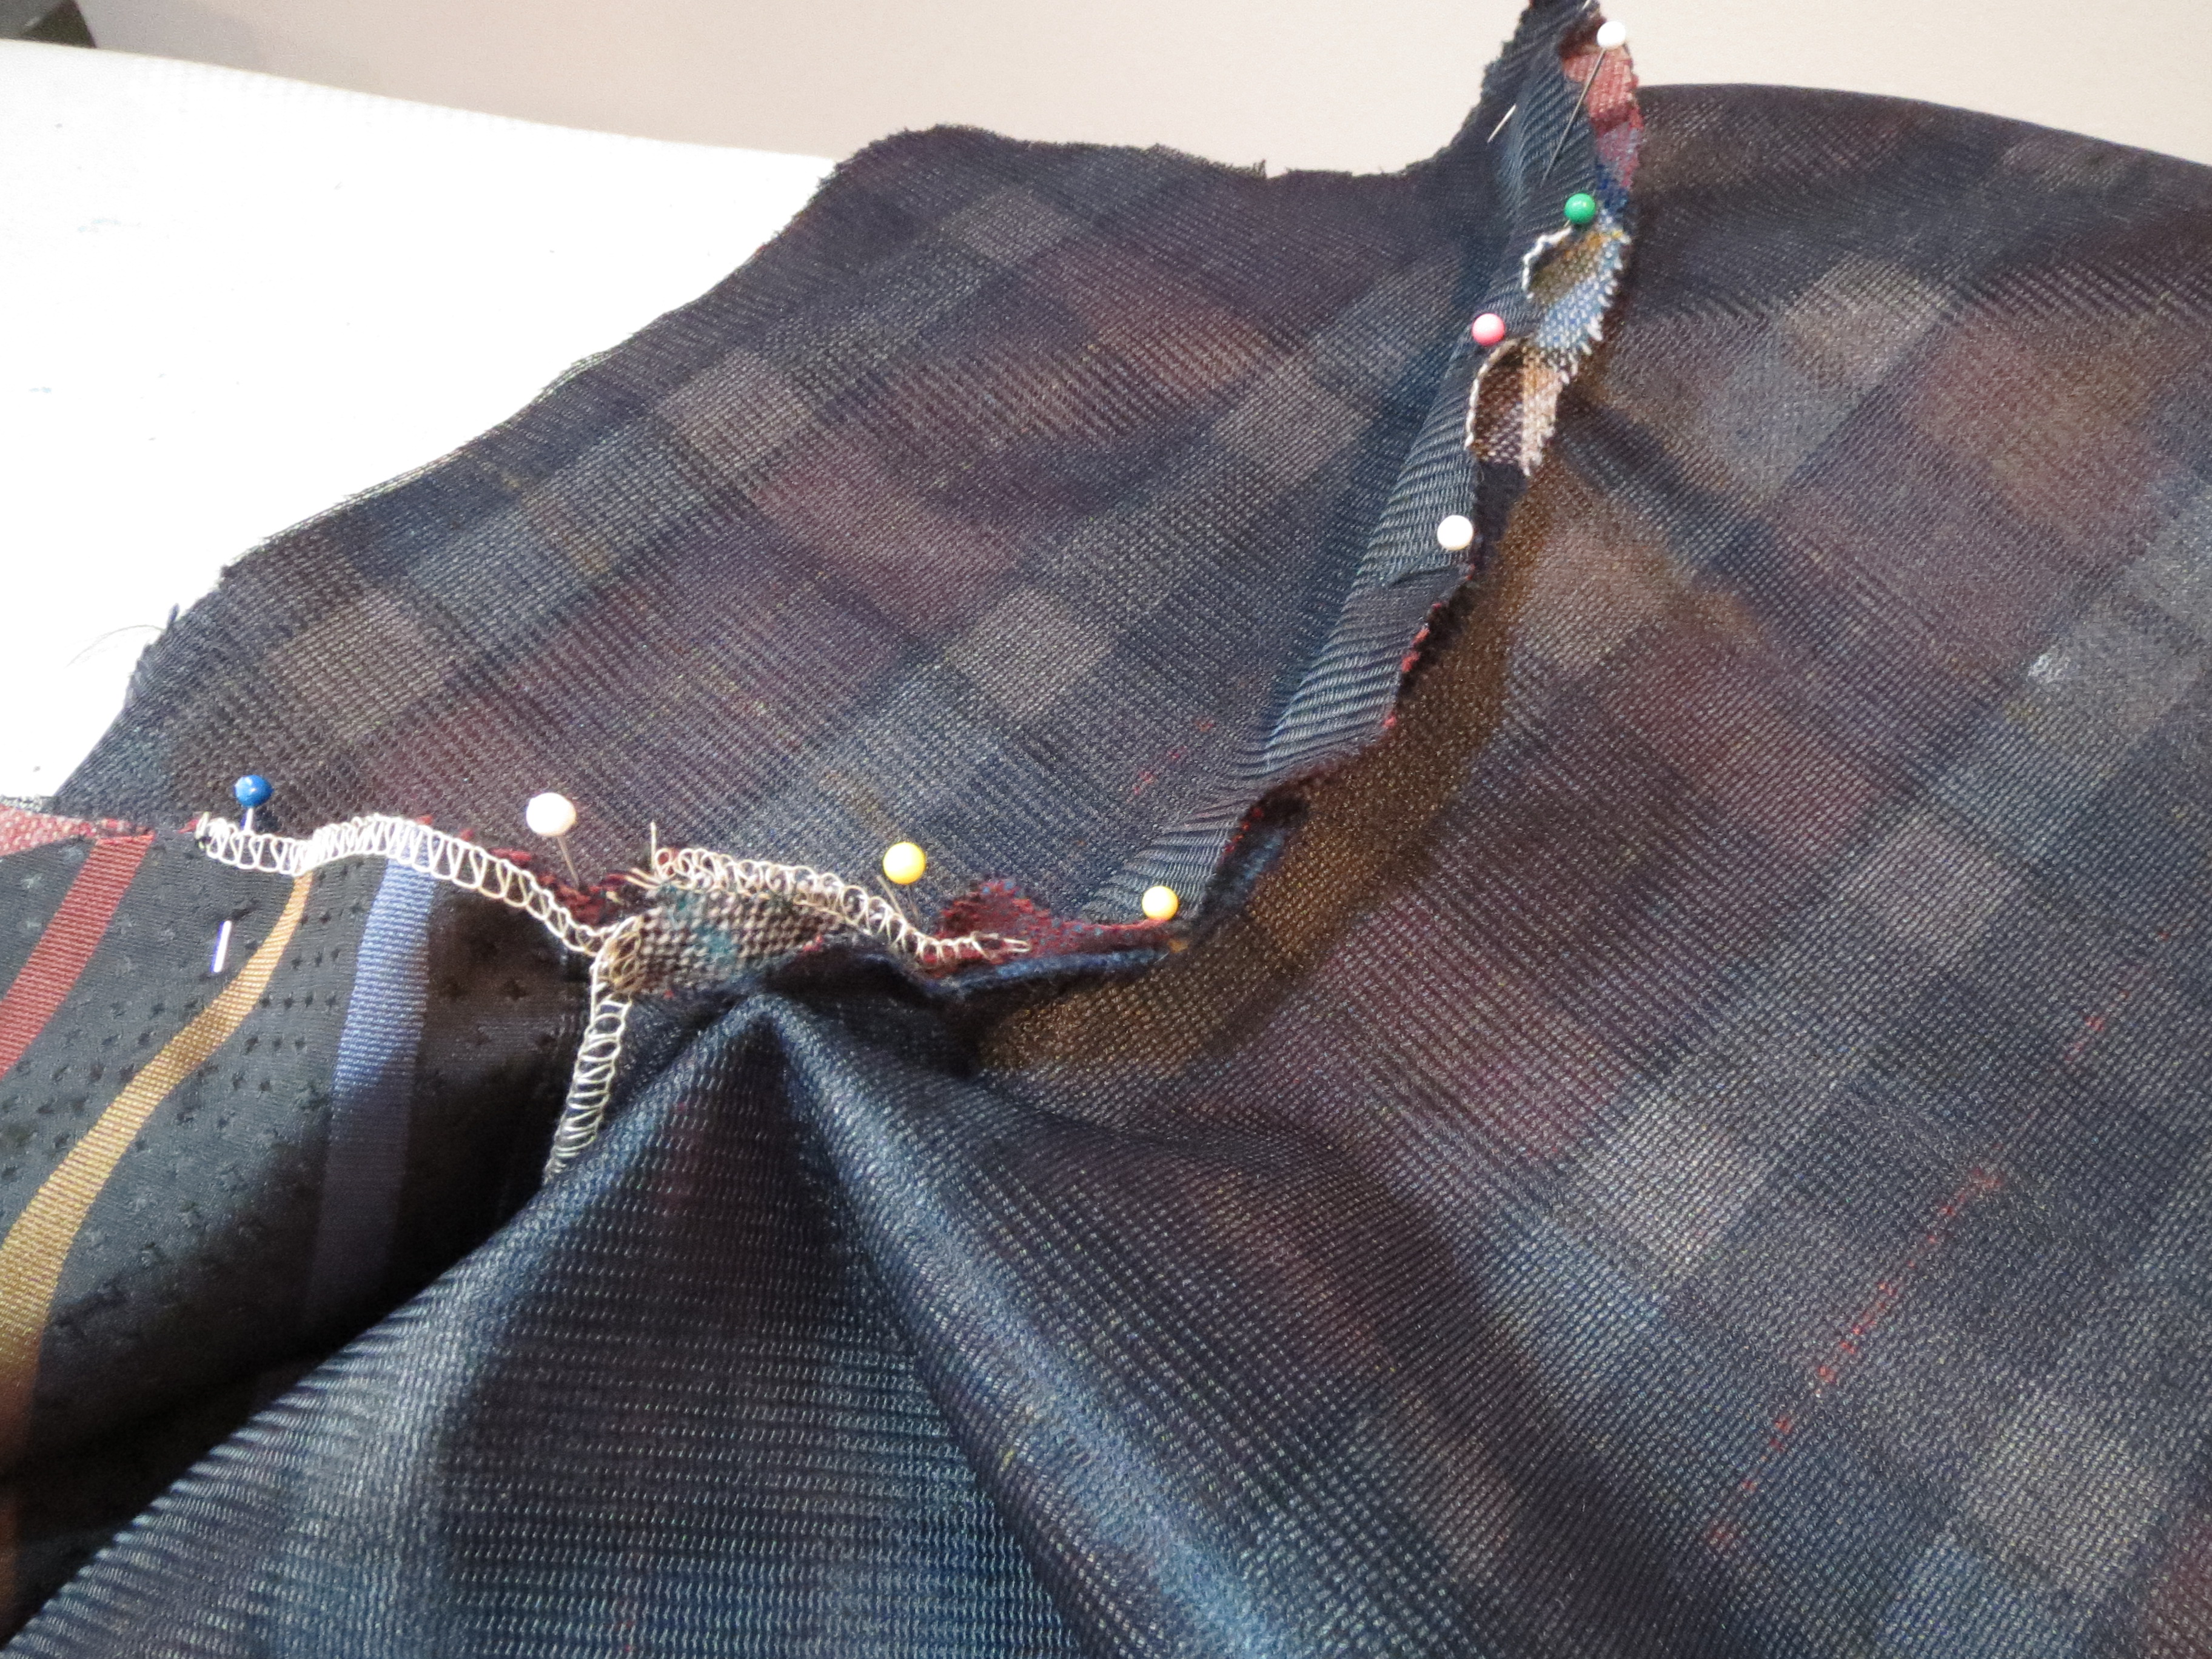
When sewing the side front to the front, open out that clip and stitch the angle as though it were straight--the pins show the "straight" line I sewed.
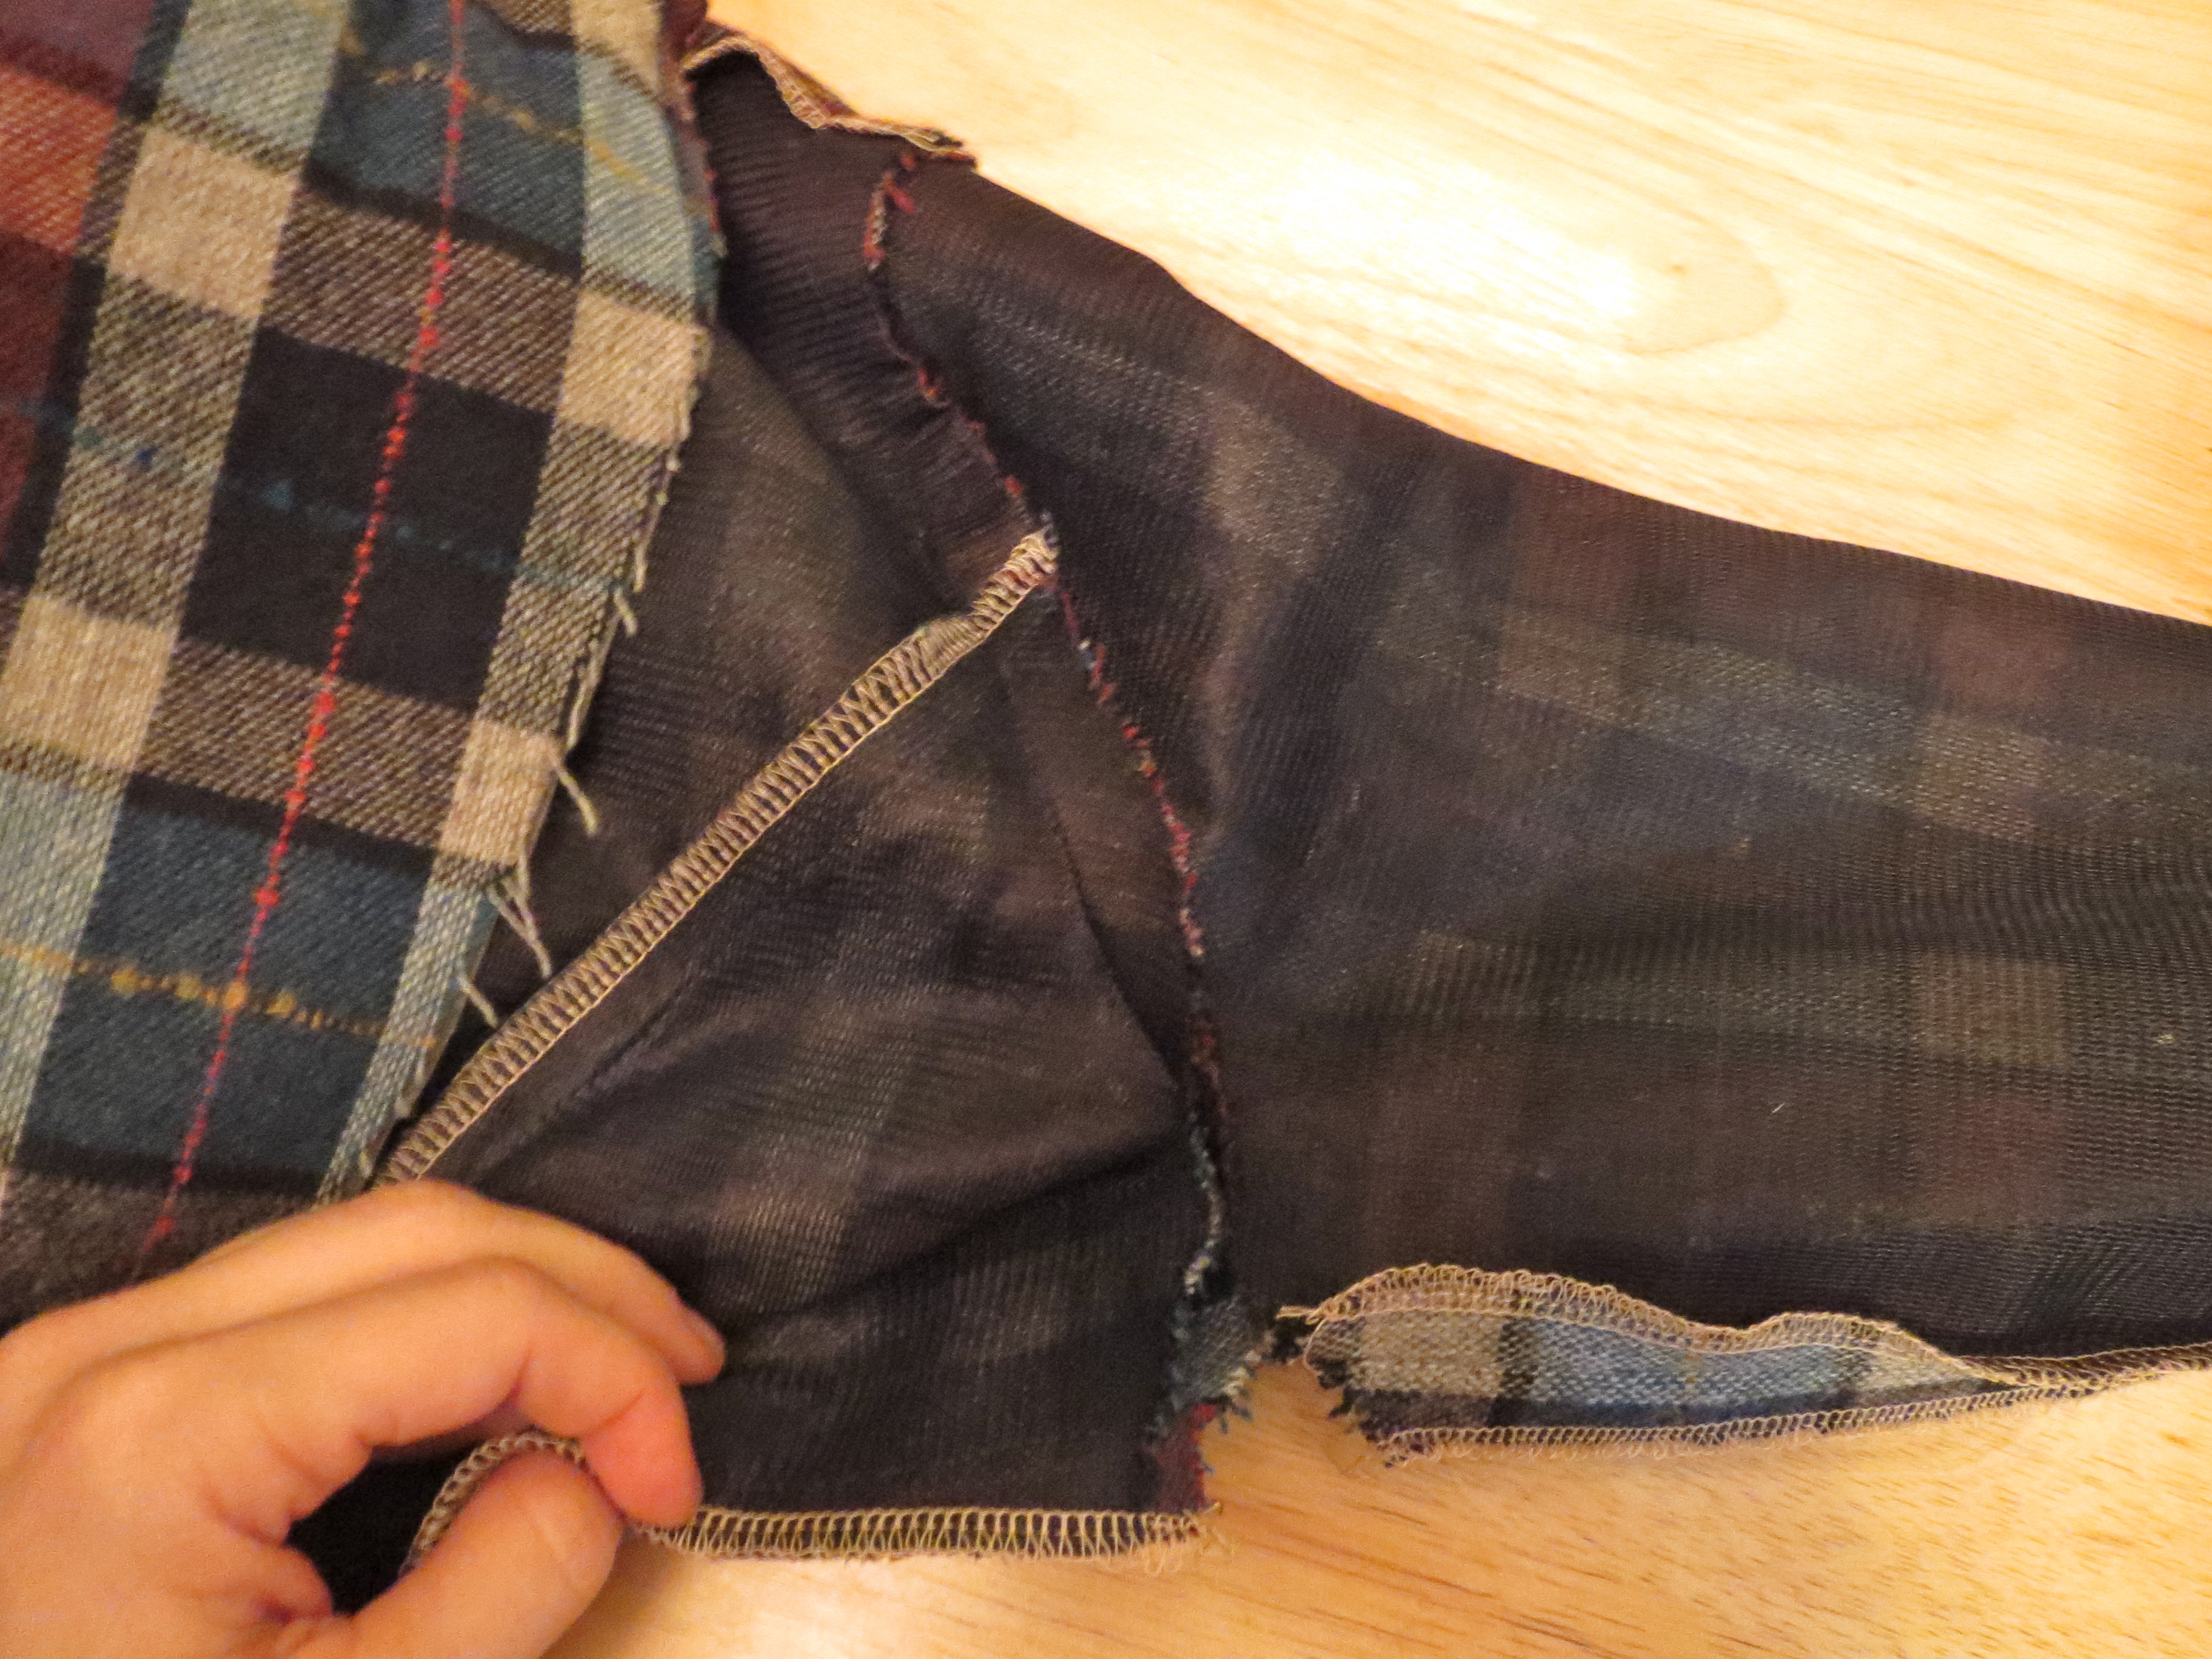
I was pretty amazed at how neatly it comes out. My corner looks sharp and sits flat. Once the front and side front were constructed I pressed them over a ham so they would look flat on a round body. The pocket is caught into the side seam to keep it in place.

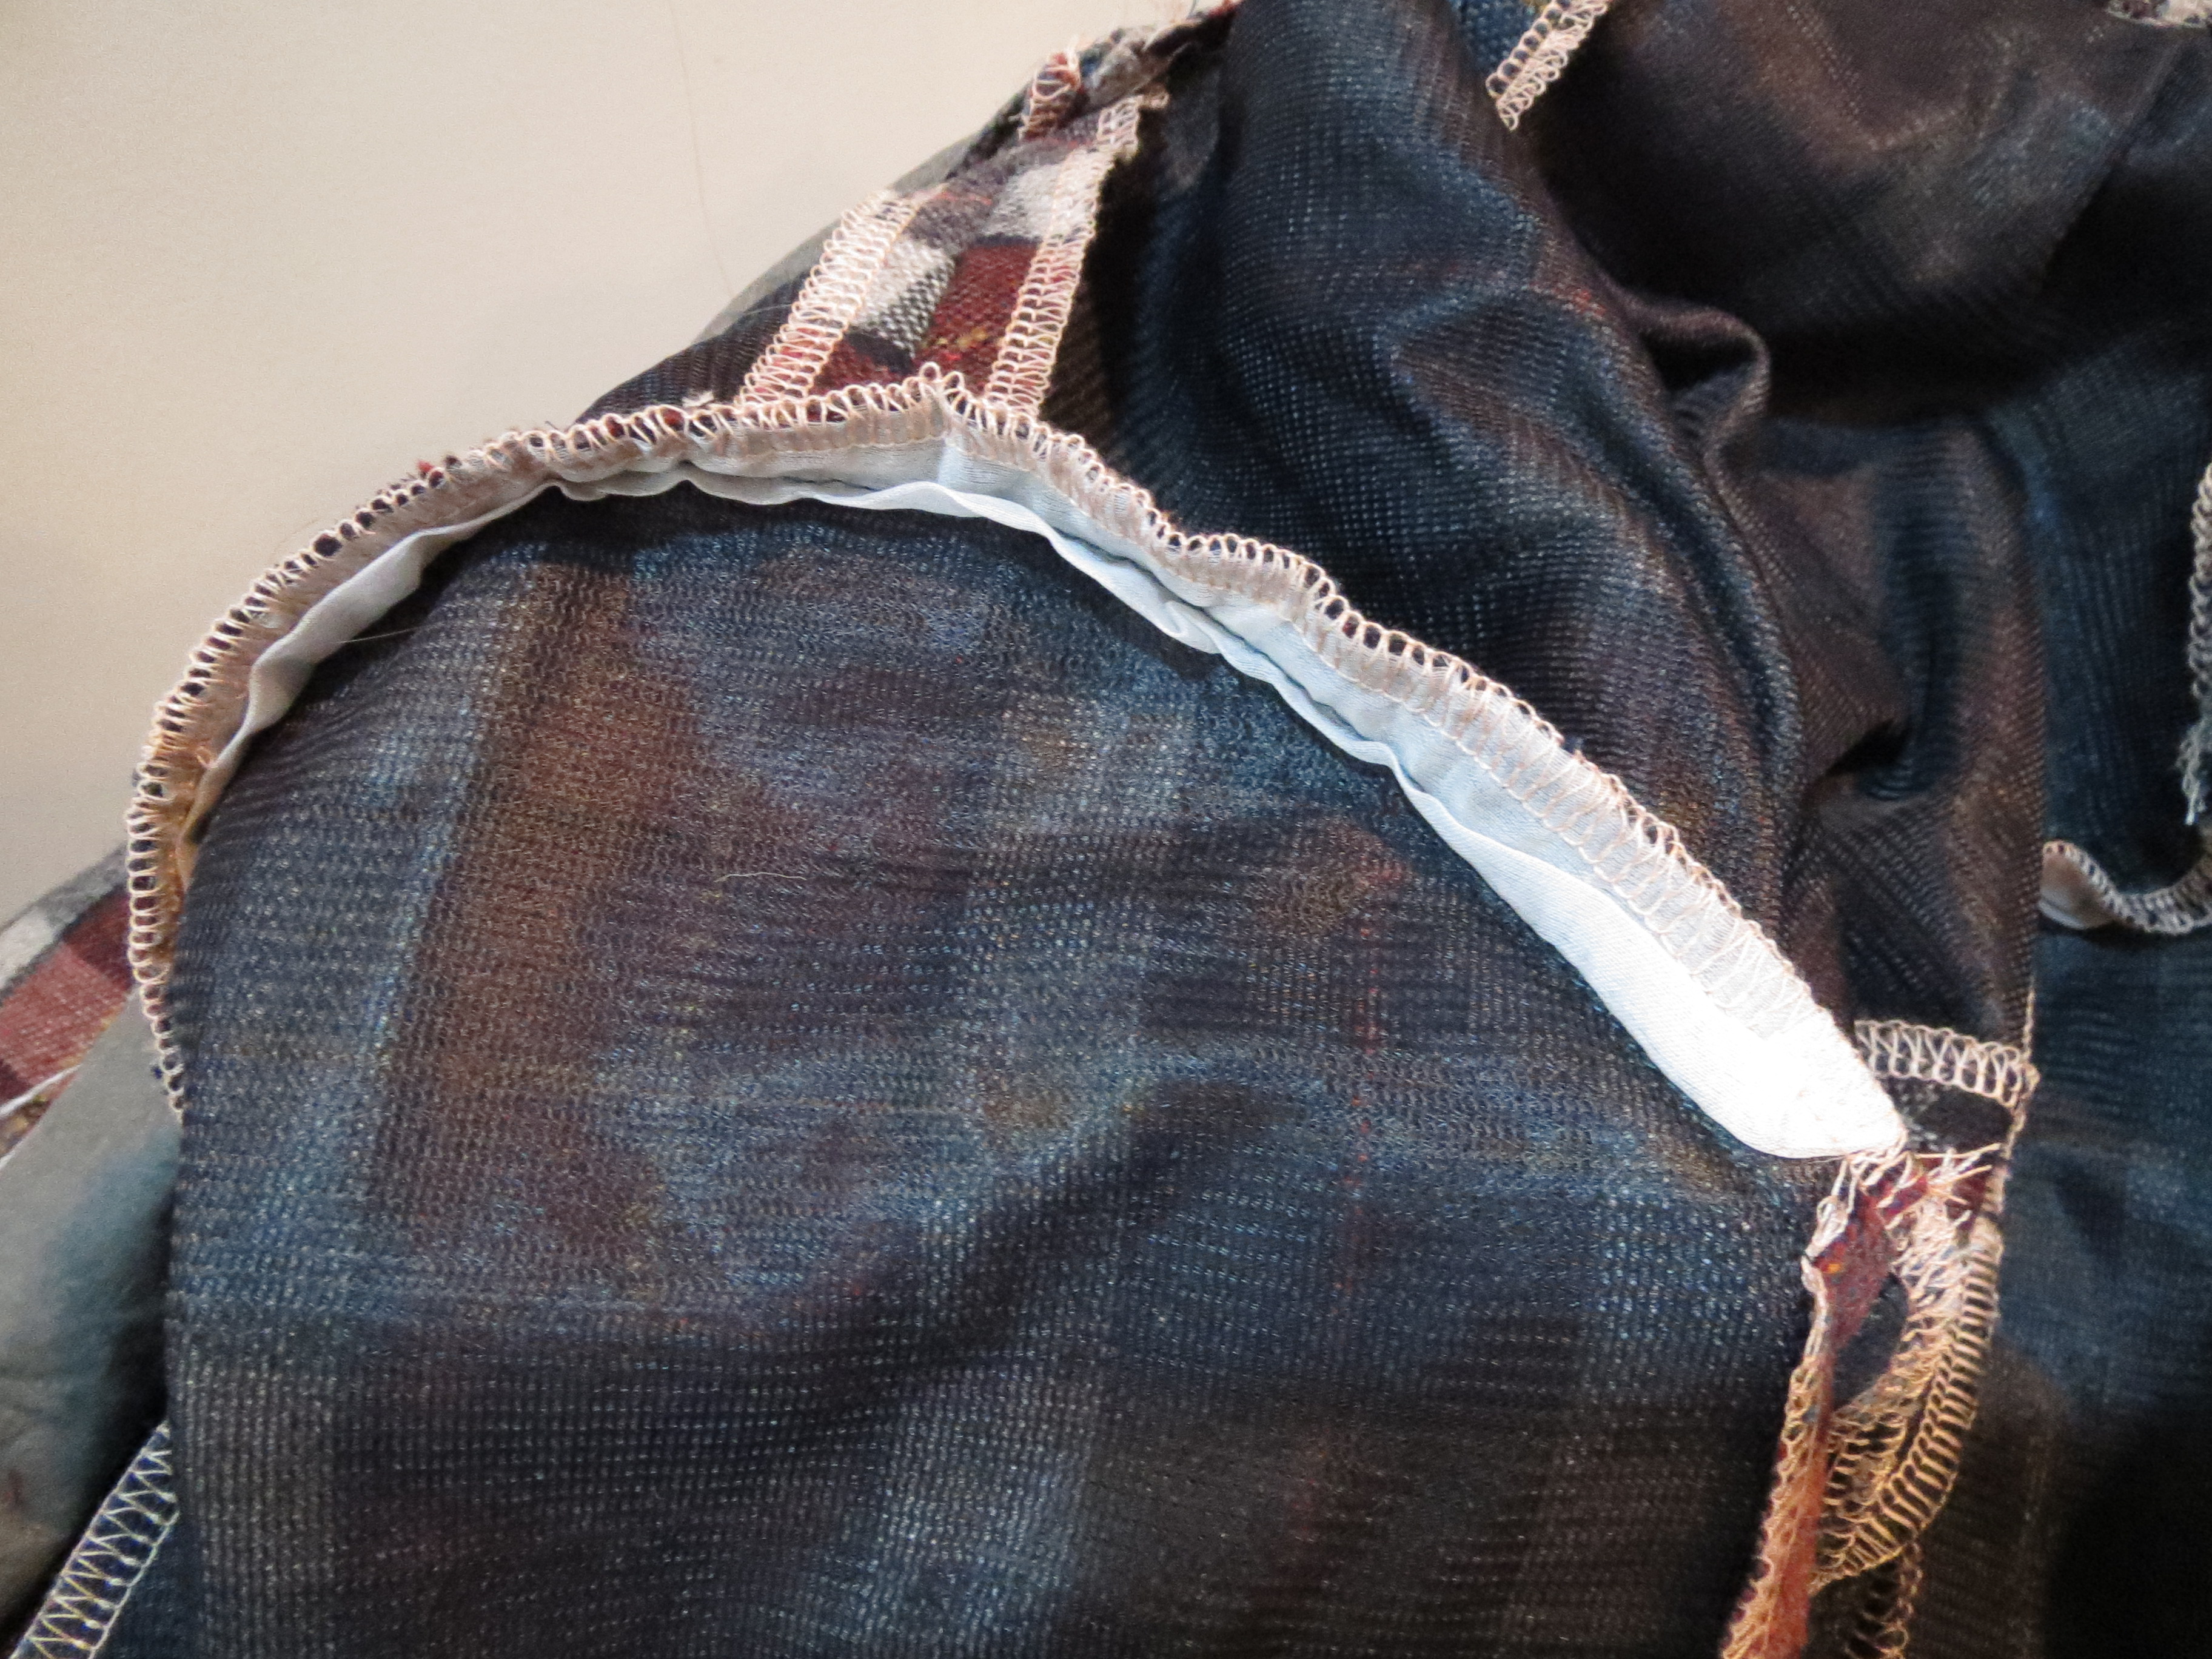
What turned out to be difficult in construction was sewing the facing/collar to the body of the jacket. There is a dart hidden under the lapel to give it shape and Burda's instructions were classic BWTF. They have you slit open the dart, and then "sew the dart and neck all at once."
I tried a LOT of different configurations before finally figuring it out. It sounds duh to write it out, but the dart is sewn to itself, the neckline is sewn to the collar, and the lapel is sewn to the facing. Nothing is tucked into anything else (I kept wanting to catch the lapel in the dart seam because it seemed the most logical way to put it together when all the pieces were in my hand).
You do, indeed, sew from the bottom of the dart up over onto the *back* neck and back down the other dart. Then you go back and complete the lapel/front neck seam separately. If I make this again, I would try *not* cutting open the darts, sewing them as regular darts, and then sewing the neck all at once. It seemed like they were trying to be cool and innovative rather than trying to find the best construction.
I tried a new way of setting in the sleeve based on a suggestion I saw on PR (unfortunately I can't give anyone credit, as it is impossible to find the post on the message board). It's set in mostly in the flat, leaving the last couple inches open on either side.
Once the sleeve is set, sew the sleeve seam and the side seam and press them open.
The last step is to sew the bottom little bit of the sleeve as though it was set in, matching the sleeve underseam with the side seam.
This way you get the easier setting in in-the-flat, but you have a normal seam distribution at the underarm. With a true in-the-flat with the sleeve/side seam sewn as one, the underarm can be a little bulkier, which isn't a problem in most cases but in a jacket fabric it might feel too much like a wad of fabric under the arm.
I put in a strip of silk organza as a sleeve head. I'm not going to lie to you: it's not cut on the bias. The earth did not stop spinning on its axis.
I stitched the organza juuuust inside the stiching line of the sleeve's seam allowance.
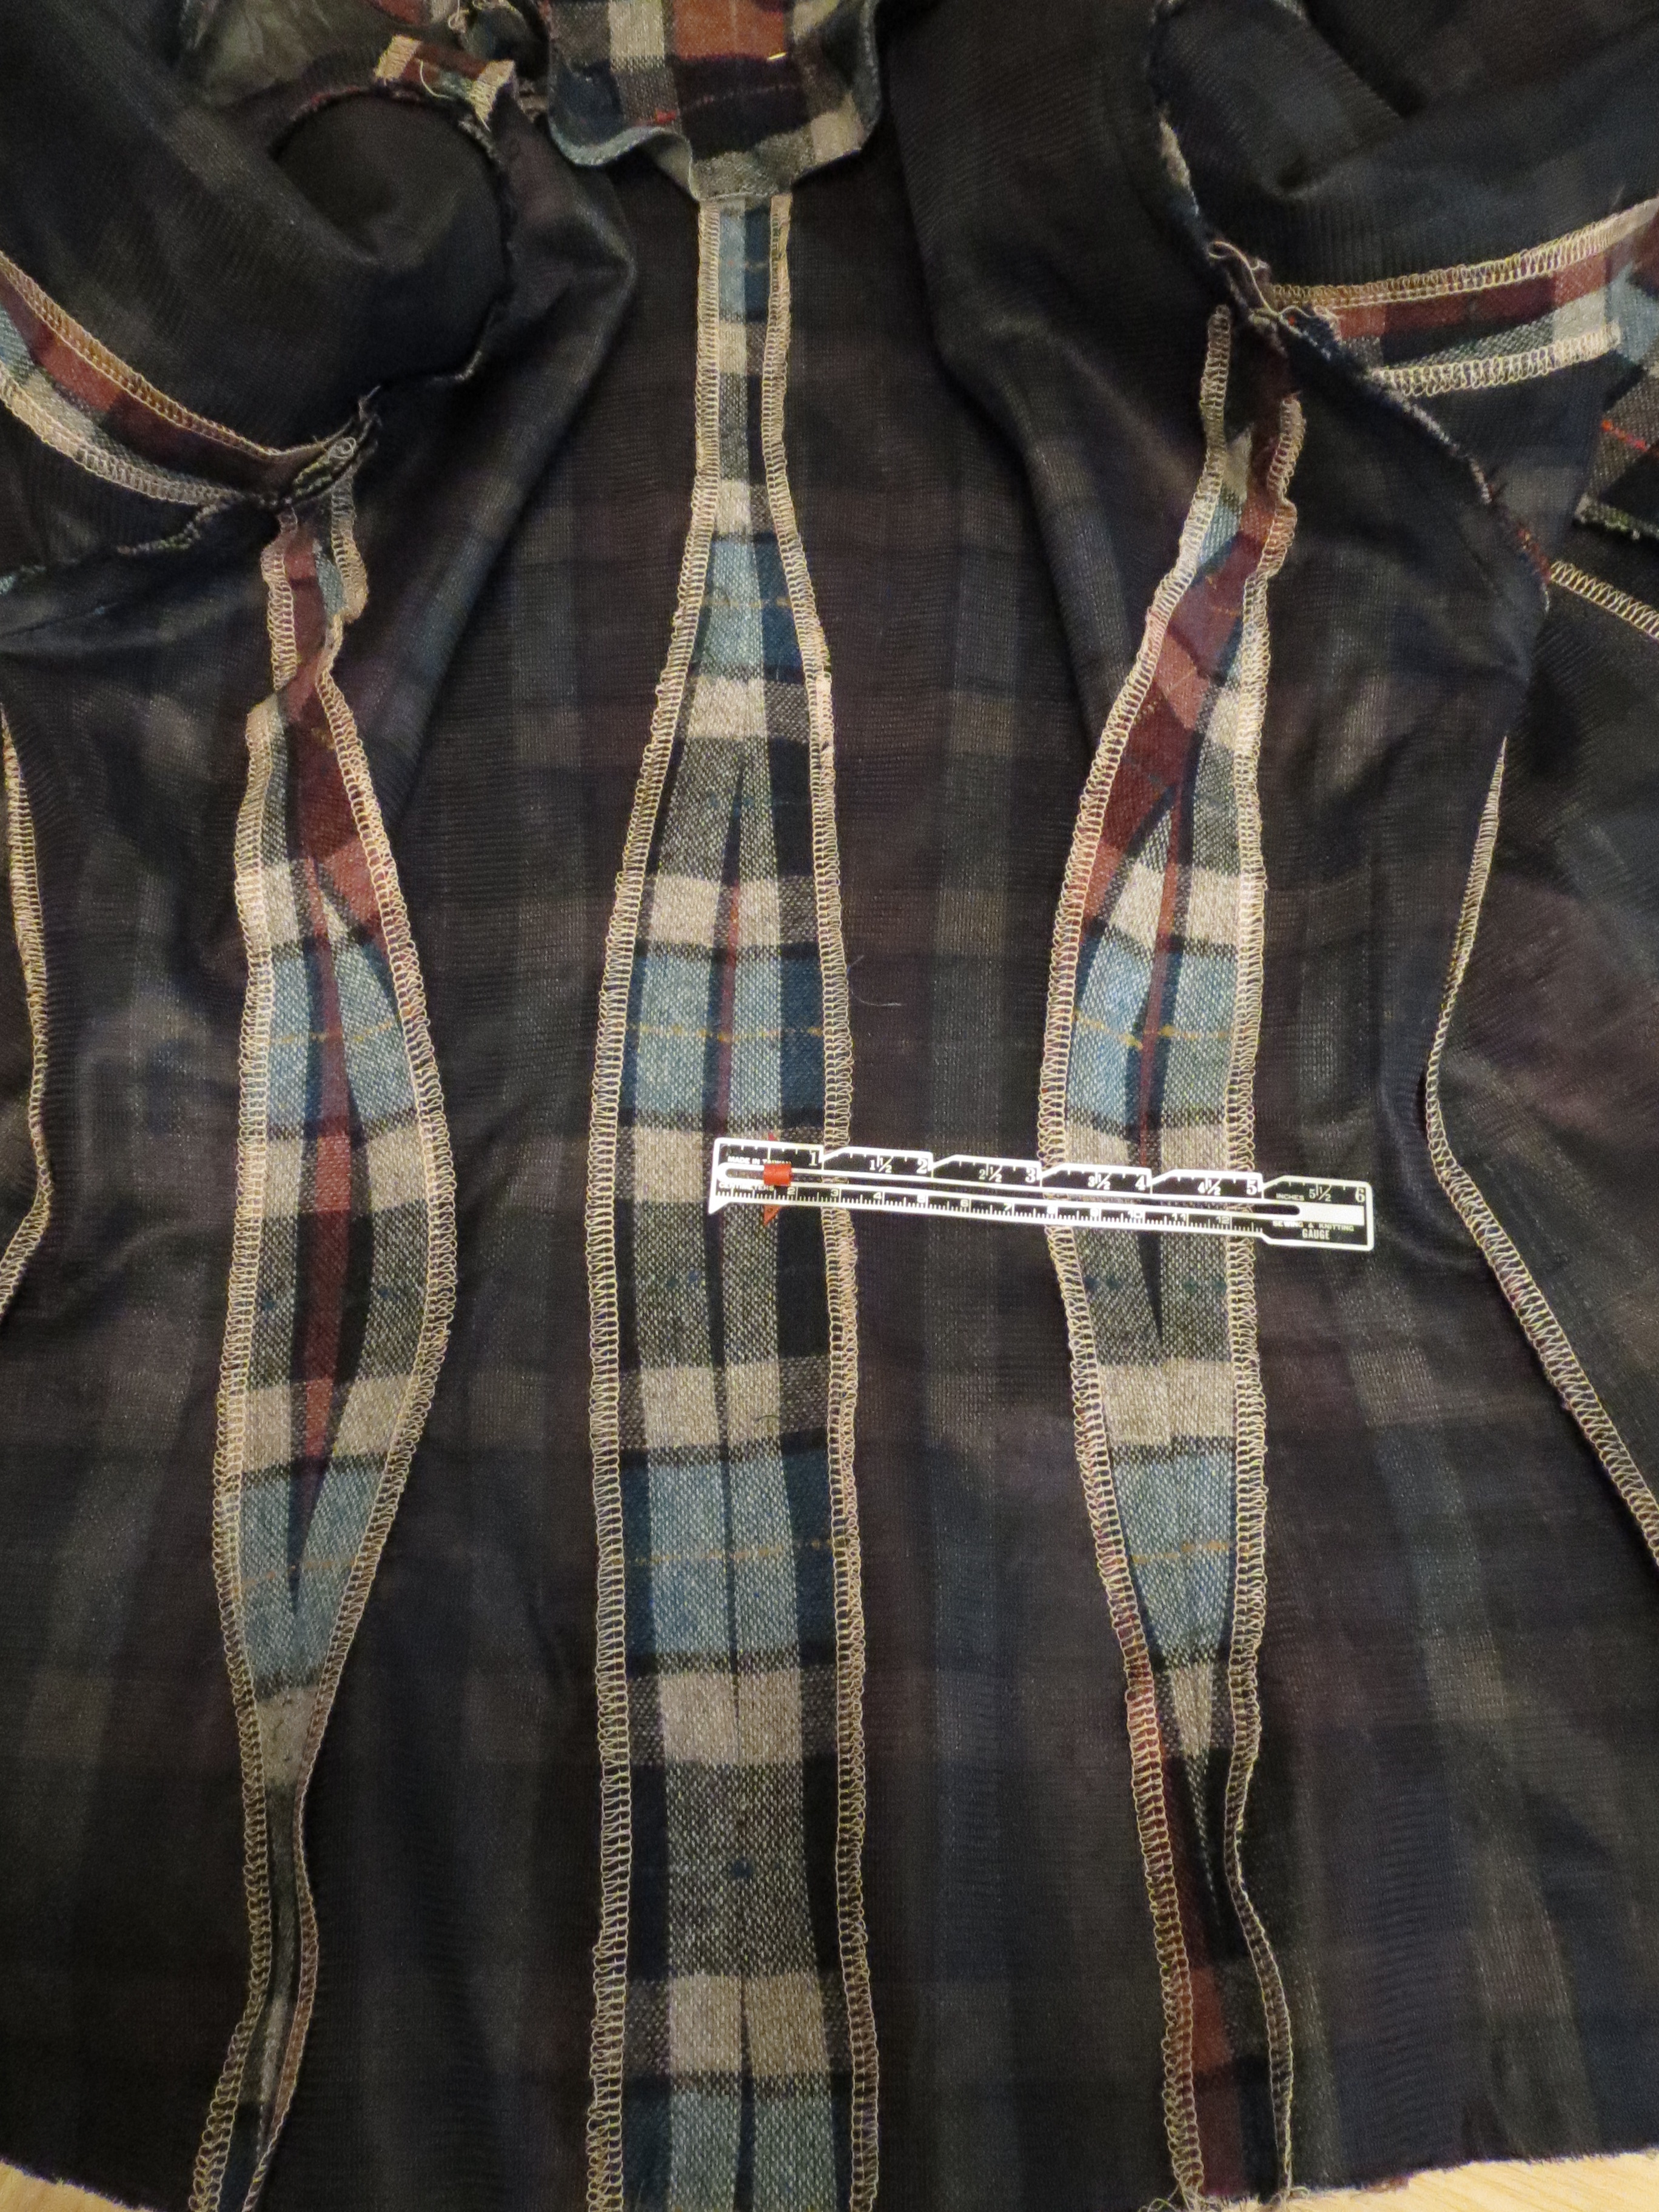
From the bust to the hem I had traced my usual 36 at the waist and 38 at the hip. It was WTF huge. Think 10 or more inches of ease at the waist. I think Burda may have drafted this from a coat block, not a jacket block, with enough ease to wear a puffy snowsuit underneath. Burda sizing *never* gives me trouble so this was pretty aggravating!
Because of the construction of the pocket, I could only adjust the side seam about 1/4". The rest I took out the side back and center back seam. I took it in a total of 6 inches. I had put so much care into the Broad Back Adjustment that I forgot to do a swayback adjustment (I was falling asleep after cutting out the jacket in the evening and started straight up when I realized this), which would have given me a little more shape at the CB seam but would not have solved the problem by a long shot.

It's lined in a striped tie silk from FFC. Cidell and I bought tie silk bundles several years ago. They may have come from an end user factory, because most of them are only about 30 inches wide with one selvage and one raw edge.
I folded this piece in half the long way rather than selvage-to-selvage, so my stripes match all the way down but the colors are off on the bottom. I actually kind of like the effect. Brings me back to the old days of Tetris.
And now for the bad. Part of the reason I chose this pattern is that Burda shows it in a Glen plaid and had marked "check" lines for plaid matching on the pieces. Burda, you screwed me!!!!
First of all, the front and back check lines did not match up to each other at the side seam. In retrospect, this is probably mostly due to my Broad Back Adjustment, but I'm not sure that explains the full discrepancy. I matched the lines and cut off the excess at the armscye.
Second, the check mark on the sleeve pieces had absolutely nothing to do with the check on the body pieces!!!!!!!!! I was so mad. I assumed they'd put the check a little above the waist on all the pieces, but the sleeve is offset from the body by almost an entire plaid motif (my plaid has a thread down the middle, alternating yellow and turquoise. I used a yellow thread as my check. The sleeves' turquoise thread roughly lines up with the yellow thread of the body). Because of that happy coincidence, the sleeves *almost* look like they match but they don't.
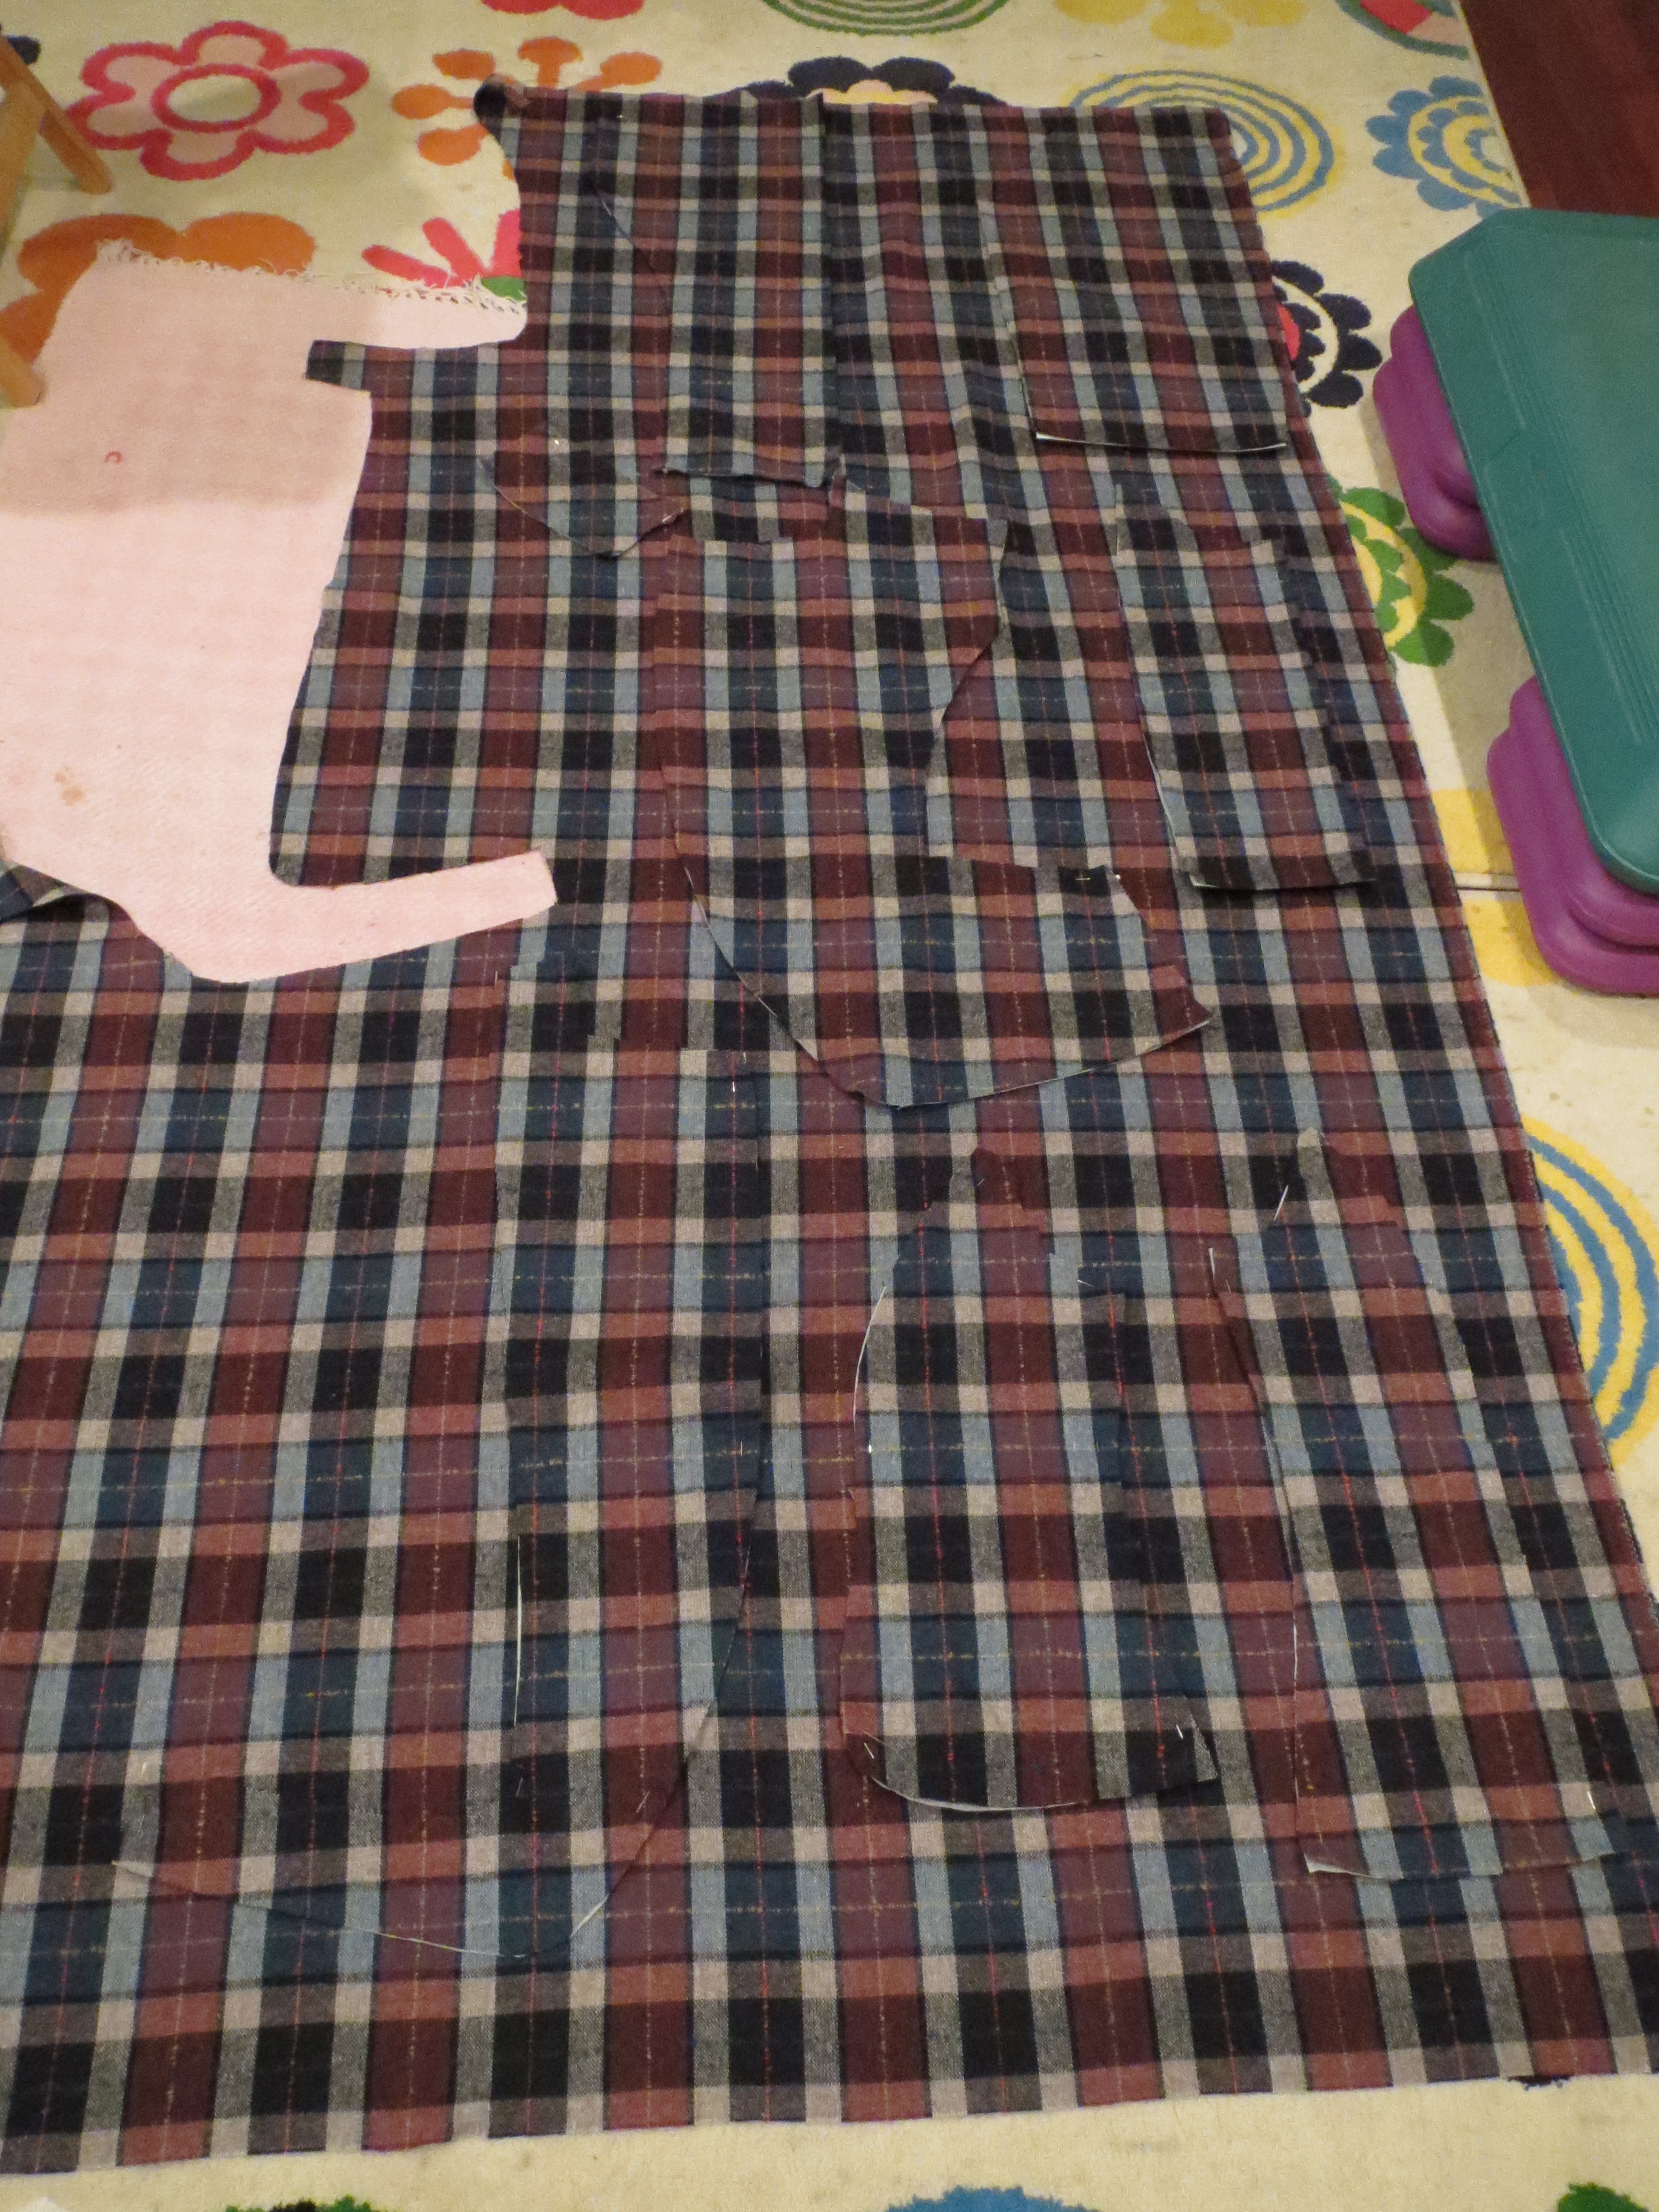
The lack of vertical matching is all on me (Burda doesn't give vertical check marks). I had limited fabric and the cutting layout was a nail biter. I cut it all one layer, then flipped the layer over to cut the other half (the photo shows the first layer flipped over onto the remaining fabric to cut out the second layer). I had to crawl around on the floor because I needed to see my entire acreage at once. Here's what I had left at the end--a whole two inches of length to spare.
When choosing to ignore vertical matching, I figured it would only not match vertically at the shoulders, which I could live with. I was NOT thinking of the front/side front situation. You don't have to tell me: I know it looks awful. I am trying to console myself that I probably didn't have enough fabric to get it right anyway (although they're so close to matching I probably did). Ugh.
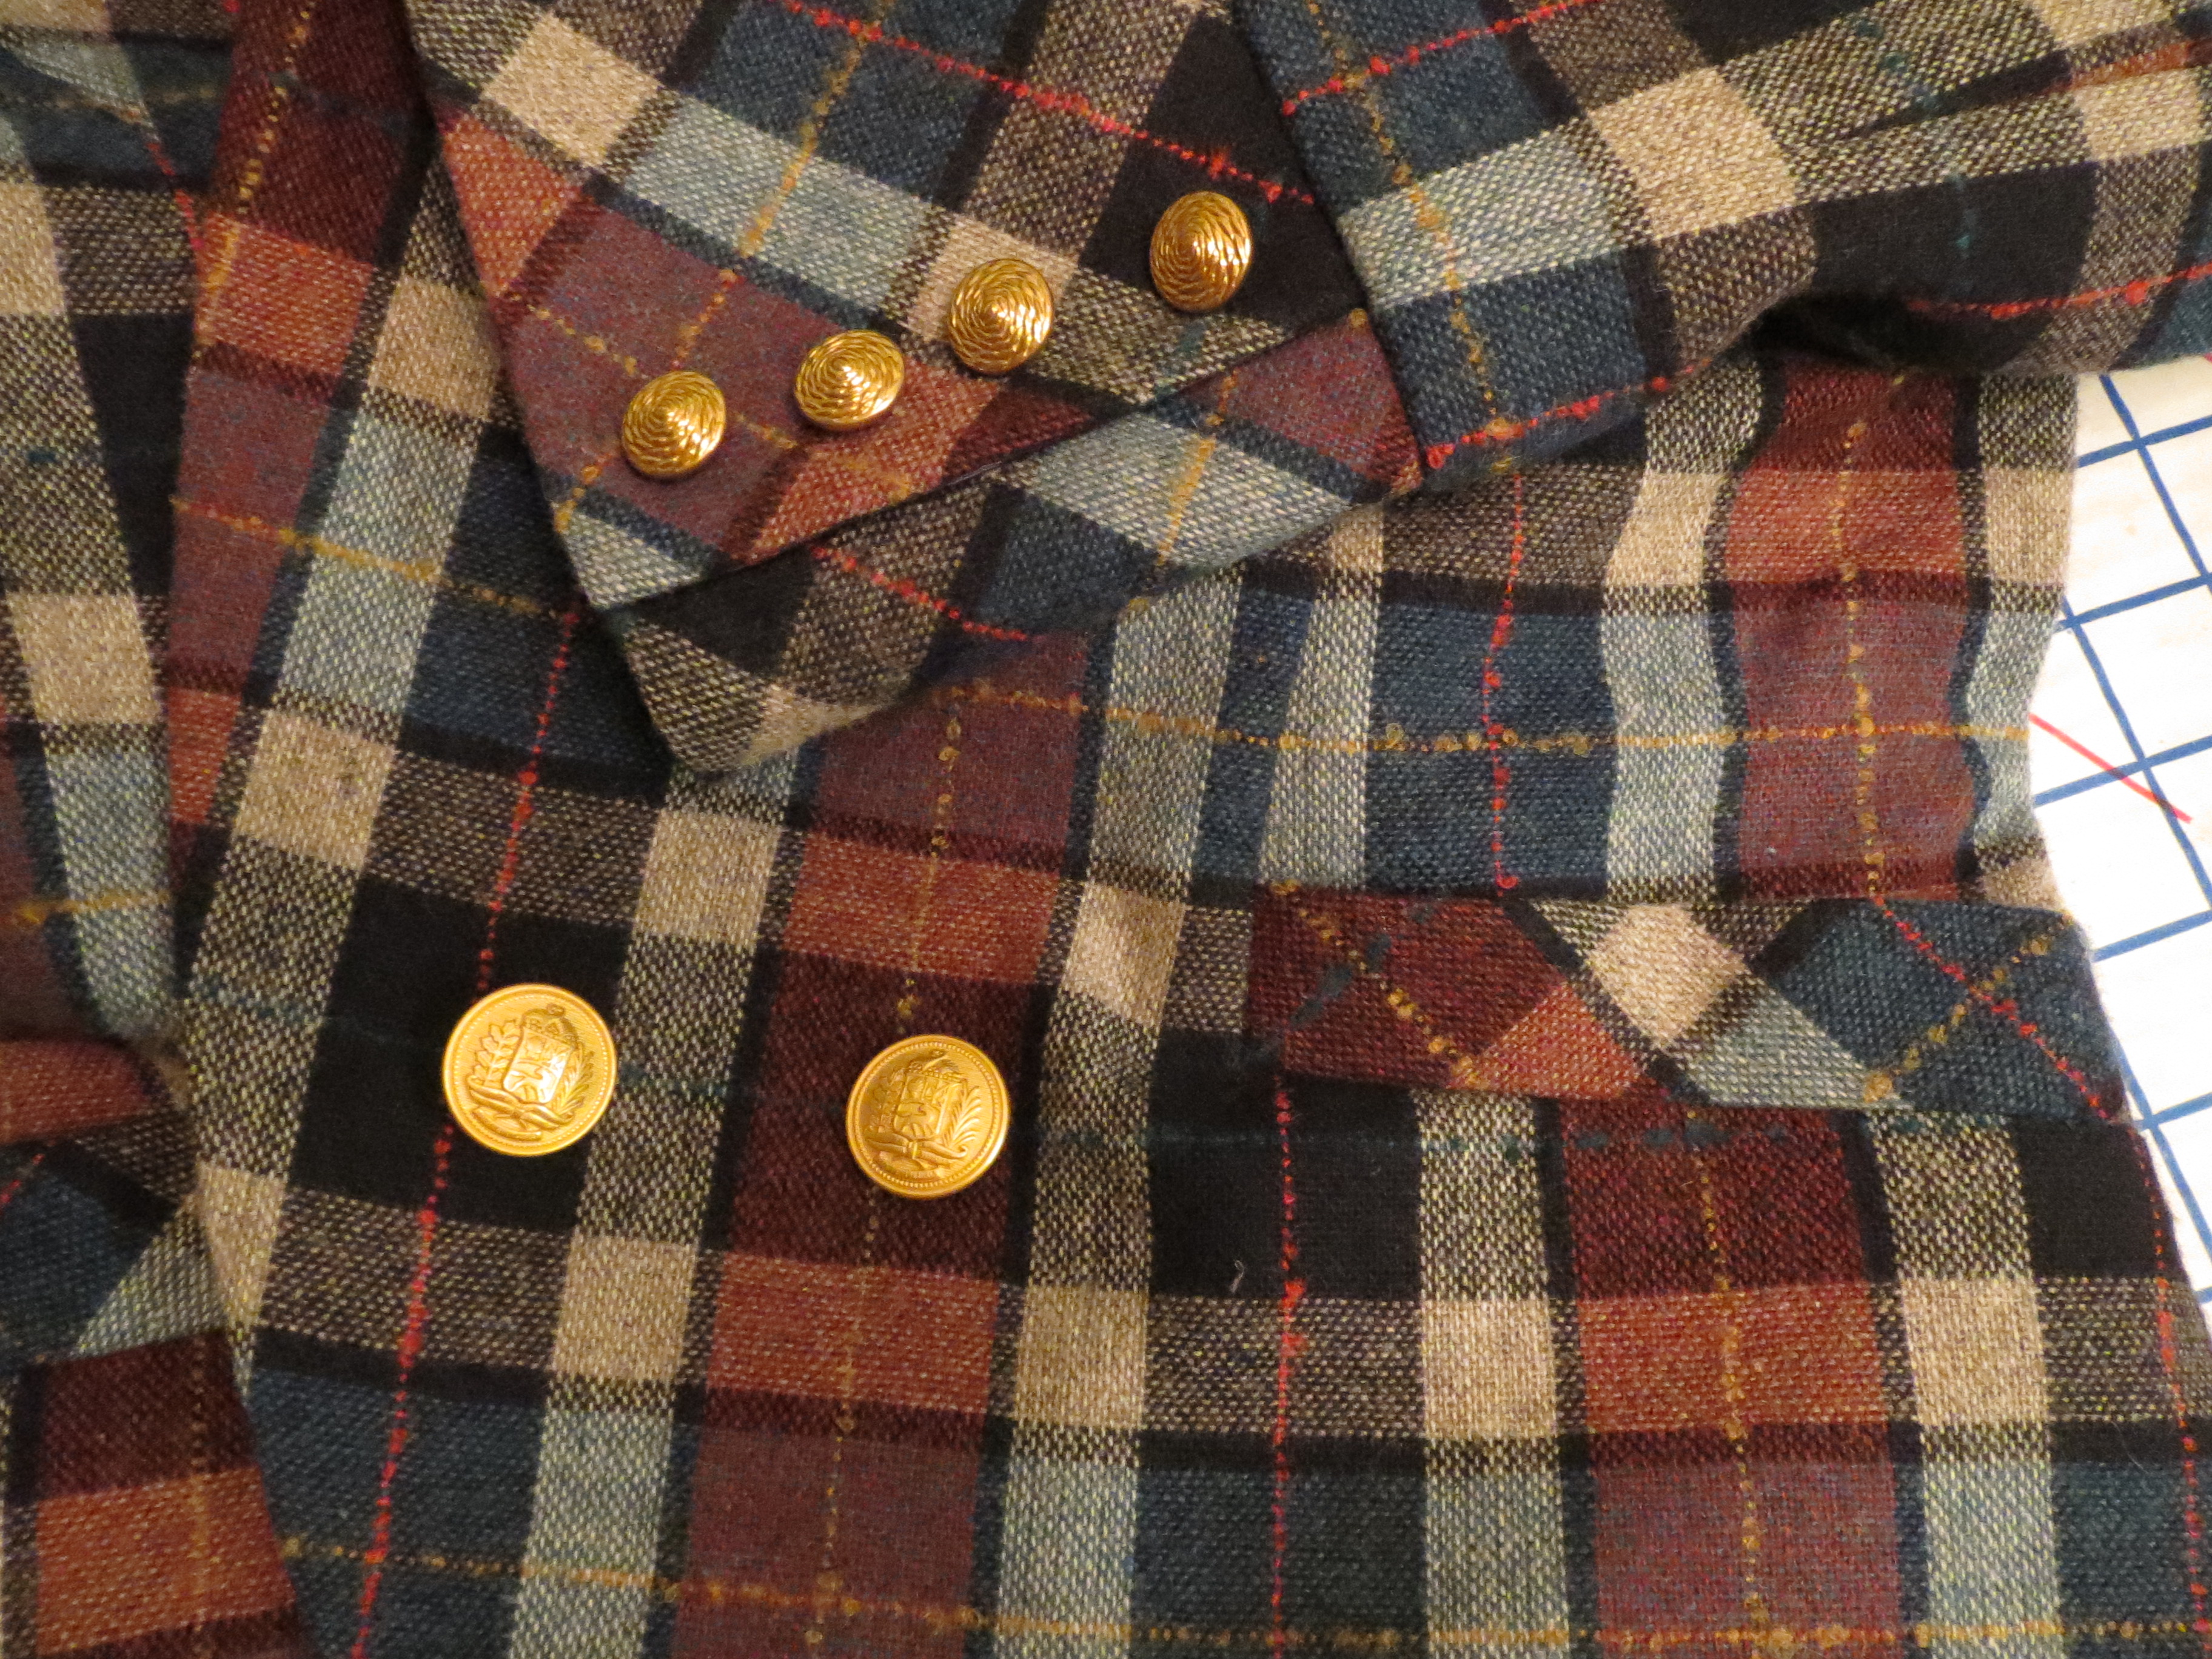
Because of my lack of fabric--I couldn't cut the sleeves full length--I used the cuff variation. I cut the cuffs and the pocket welts on the bias as accents, and so I wouldn't have to match the plaids!
My buttons don't match but I'm ok with it. I didn't want to use the larger buttons for the cuffs and I had these smaller gold buttons in stash (both types of buttons are from a Fabric Mart 4 pound bag several years ago).
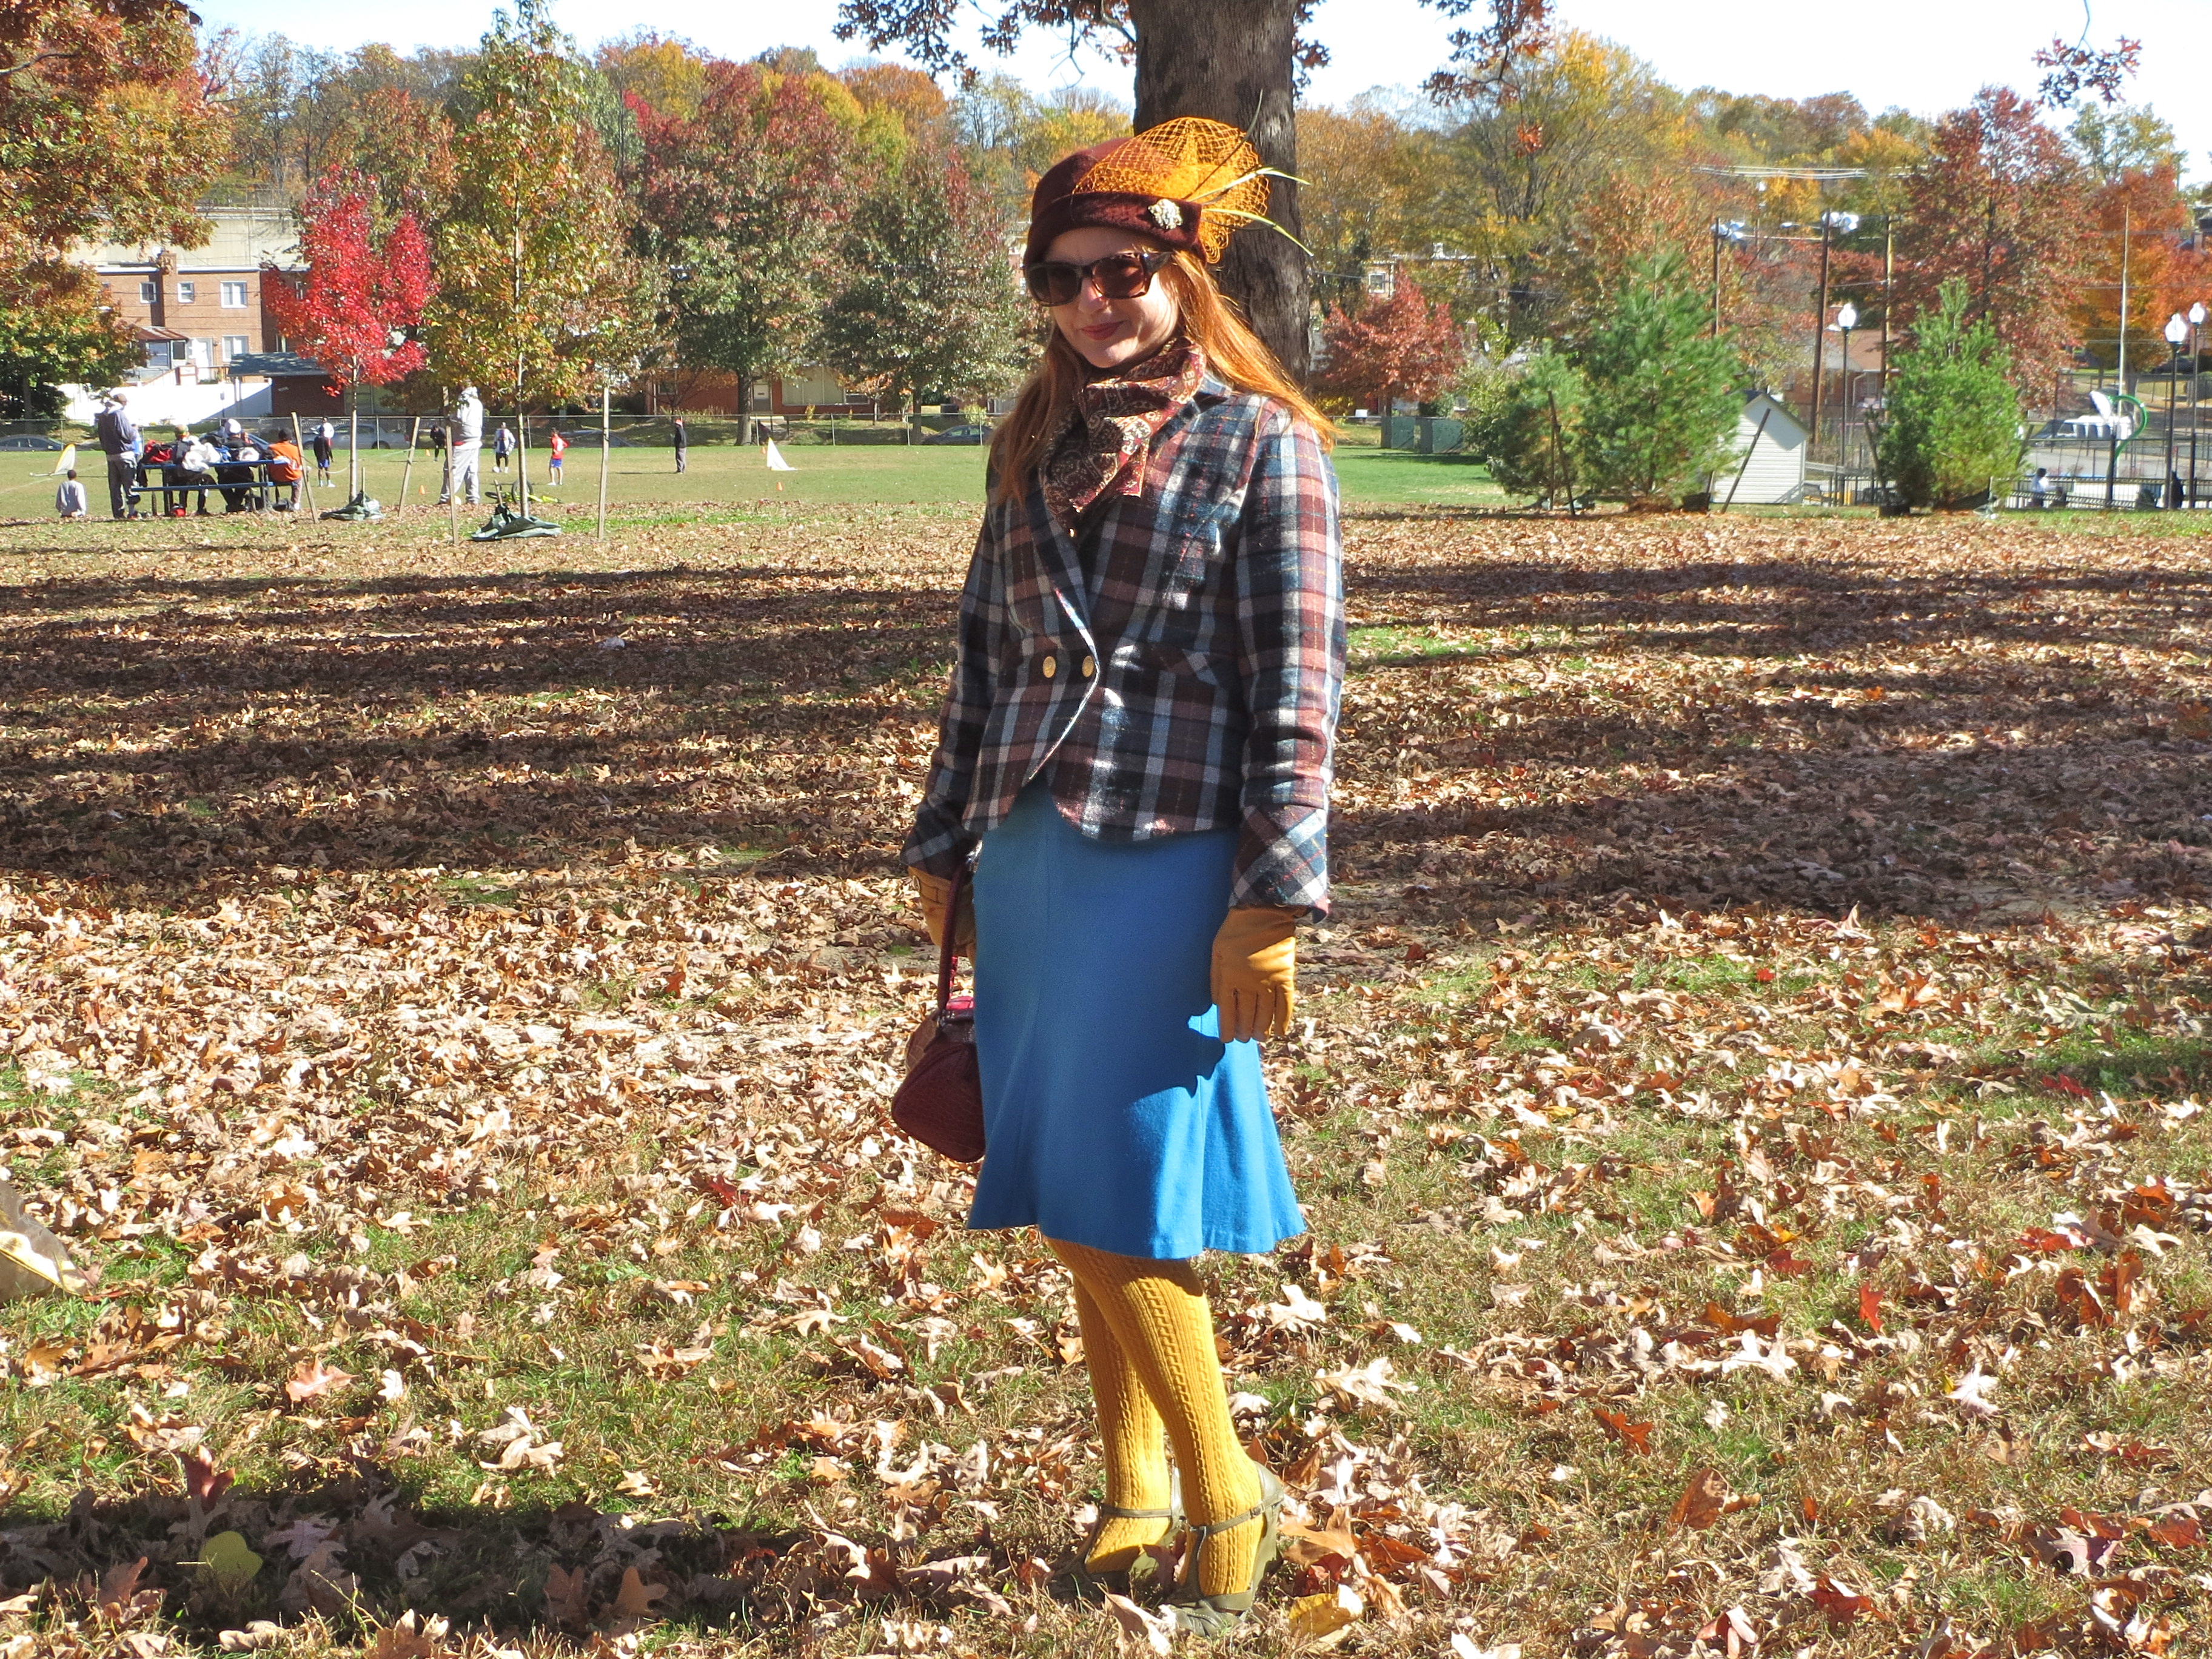
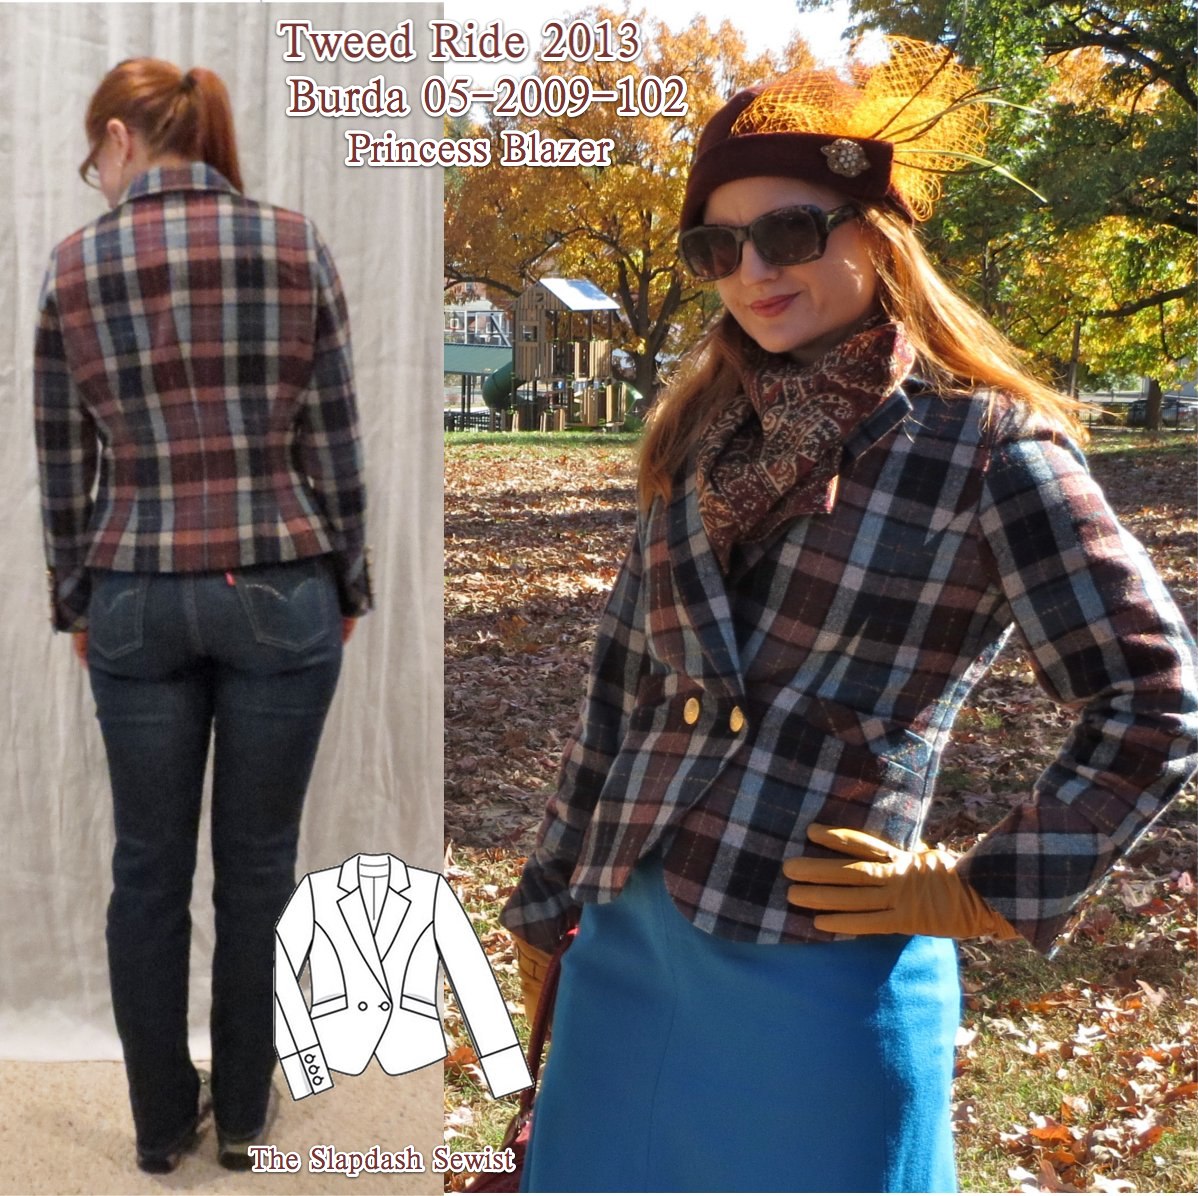
Here is the full Tweed Ride regalia (all my Tweed Ride photos are here). The skirt is Simplicity 5914 I made several years ago and never wear because the waist is too loose--I didn't tape it and it just stretched way out. The only fix would be to take the skirt apart and resew the seams and I have not yet made my peace with that annoyingness. Since the low waist was going to be covered by the jacket--and the trumpet shape is good for biking--I figured it would be ok. The hat will be reviewed soon!
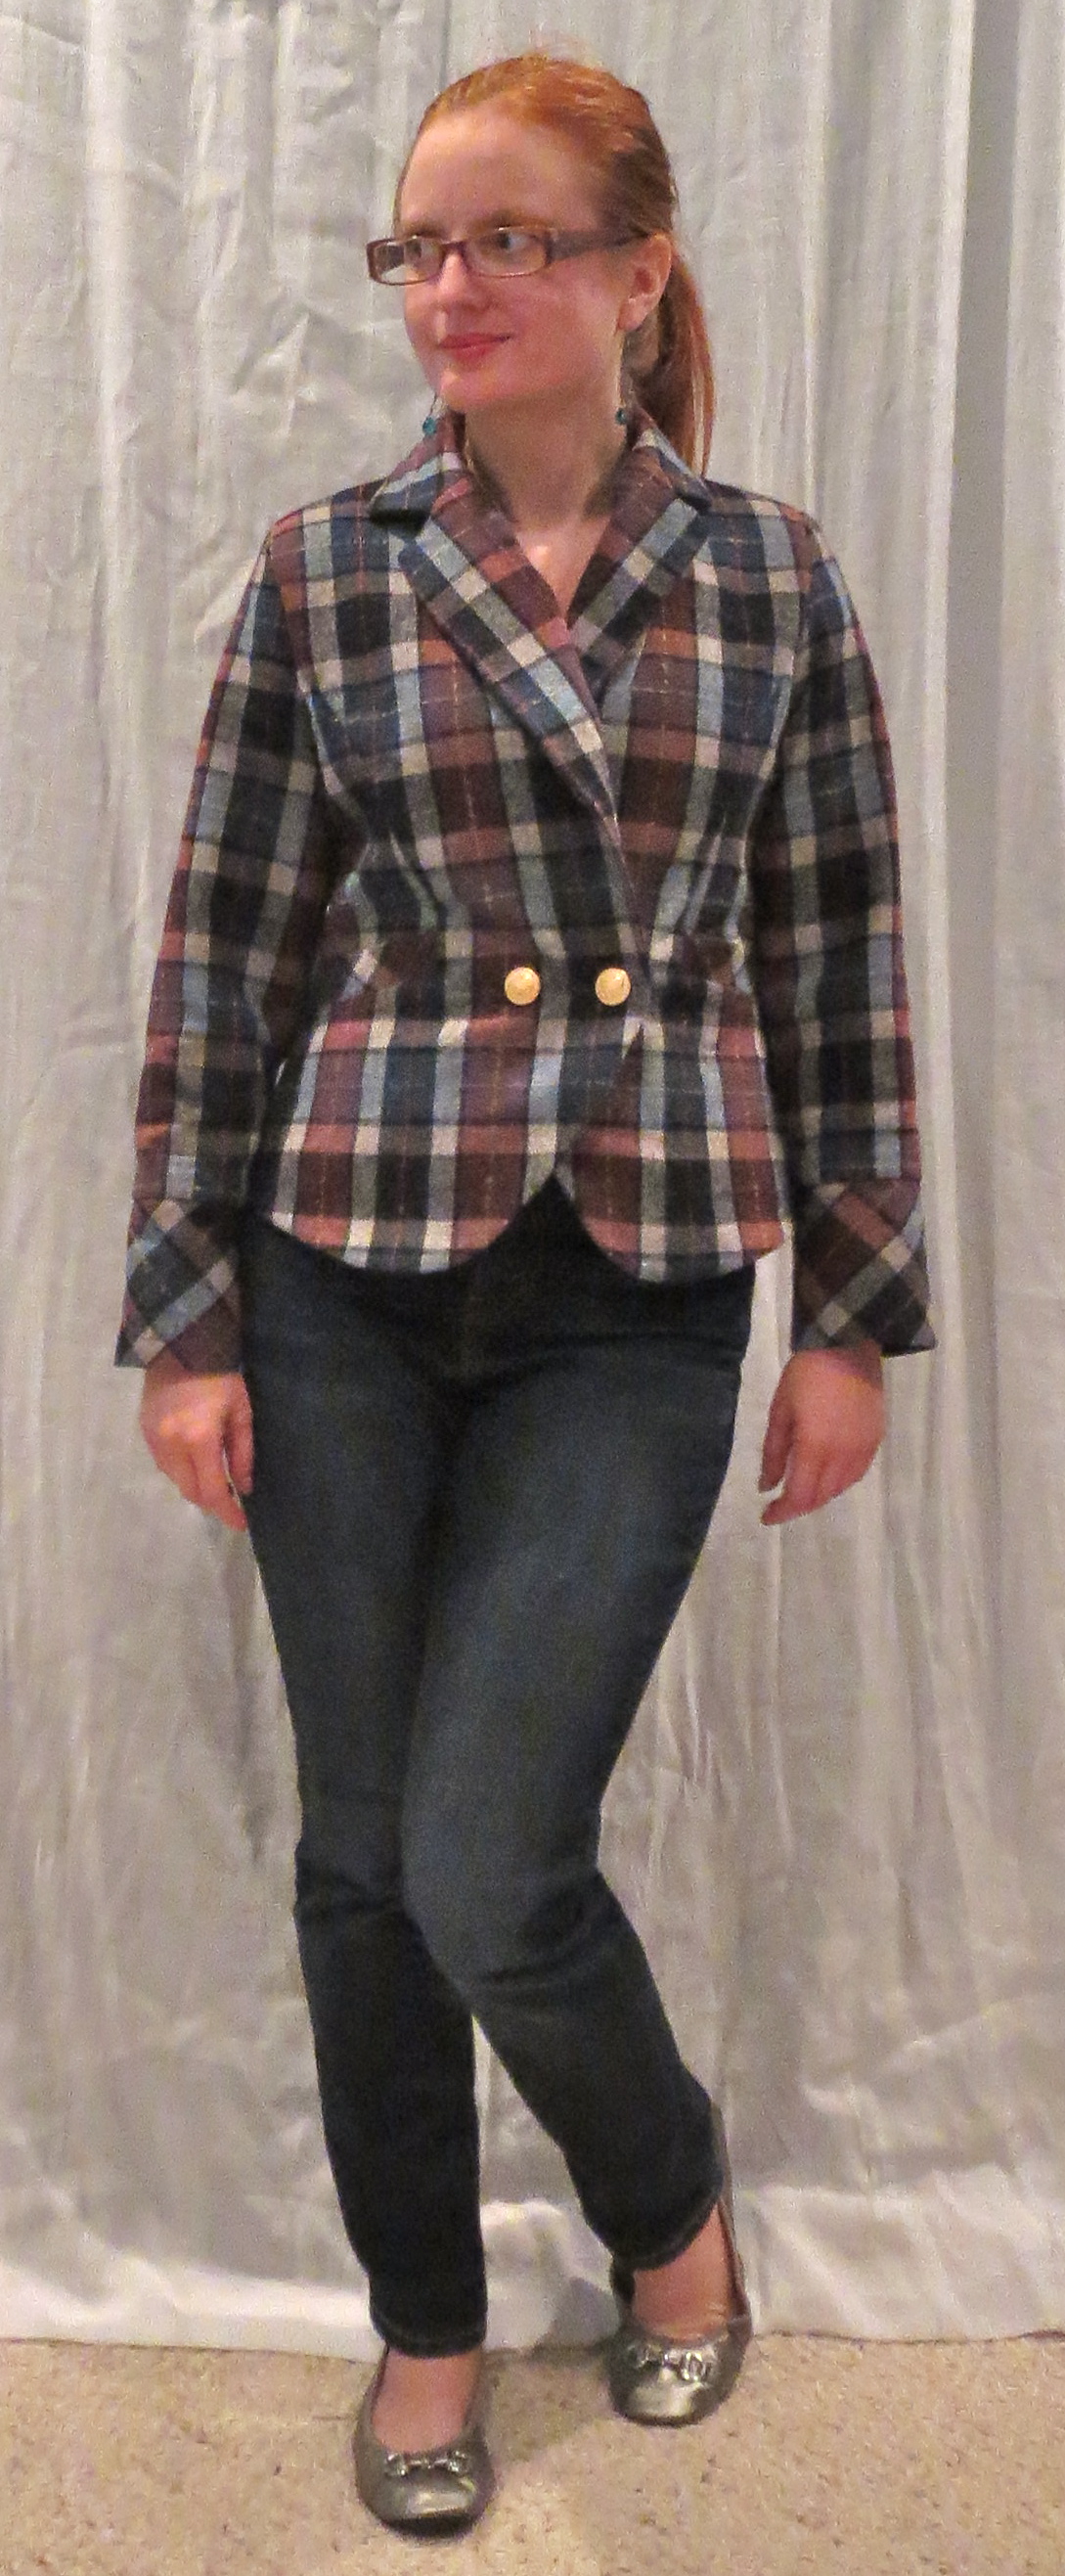
Although it looks costumey with the full on vintage thing going on, I think the blazer is wearable for every day (plaid matching issues aside. UGH!). It will be a challenge for me to find outfits to go with it because I wear so little solid color. But how cute is it with jeans? Too bad it's too cold for a light jacket already. I just need one day where it doesn't get below 50 degrees at night...
I really like this pattern. It's double-breasted without being 80s-evocative, the shaped hem in front is really nice but the higher back hemline prevents it from being dated (nothing says "I bought my suits for interviews in law school in 1999" like long jackets, not that this describes my sad suit collection, ahem). The pocket situation is totally clever and well-drafted. I don't know that I need two of these in my closet, but I am definitely hanging onto my tracing. If this issue is in your archive, keep it in mind!
All photos are here and the pattern review is here.


Comments
Post a Comment