Grainline Studios 16001: Cascade Duffle Coat


I've been obsessed with duffle coats the last couple of months, I wanted a princess seam coat pattern and couldn't find one anywhere. In the end it came down between this pattern and Colette's Albion but I liked the details more on this one.
It ended up being an expensive pattern, about $19.50AUD for the pdf. As soon as I got it I stuck it together and made a muslin in a straight sz 18....and it looked horrible on me, the shoulders were huge but the arms were way too small, the waist was huge but the bust was too tight, it was bunching all around the armscye, the sleeve cap height was too short, the upper bust length was too short, the upper back was too tight.... I nearly threw it all in after that but since I spent so much on the pattern decided to chop into it and make it work (cue Tim Gunn's voice in my head!). And to be fair, I knew I would have to make fit adjustments since I am not the body shape Grainline seems to design for.
 Pattern adjustments;
- I made View A with the hood
- Size 14 through the shoulders graded to a sz 16 at the hips
- Narrowed the shoulders by a further 1/2"
- Added front princess seams from Simplicity 2446 with the equivalent of a 1.5" FBA
- Changed the armscye by also using S2446
- Added to the upper sleeve width and to the sleeve cap (approx. 2" to each)
- Wide back adjustment 1.5"
- Added a centre back seam
- I did leave the shoulder yokes and the hood alone.
The good;
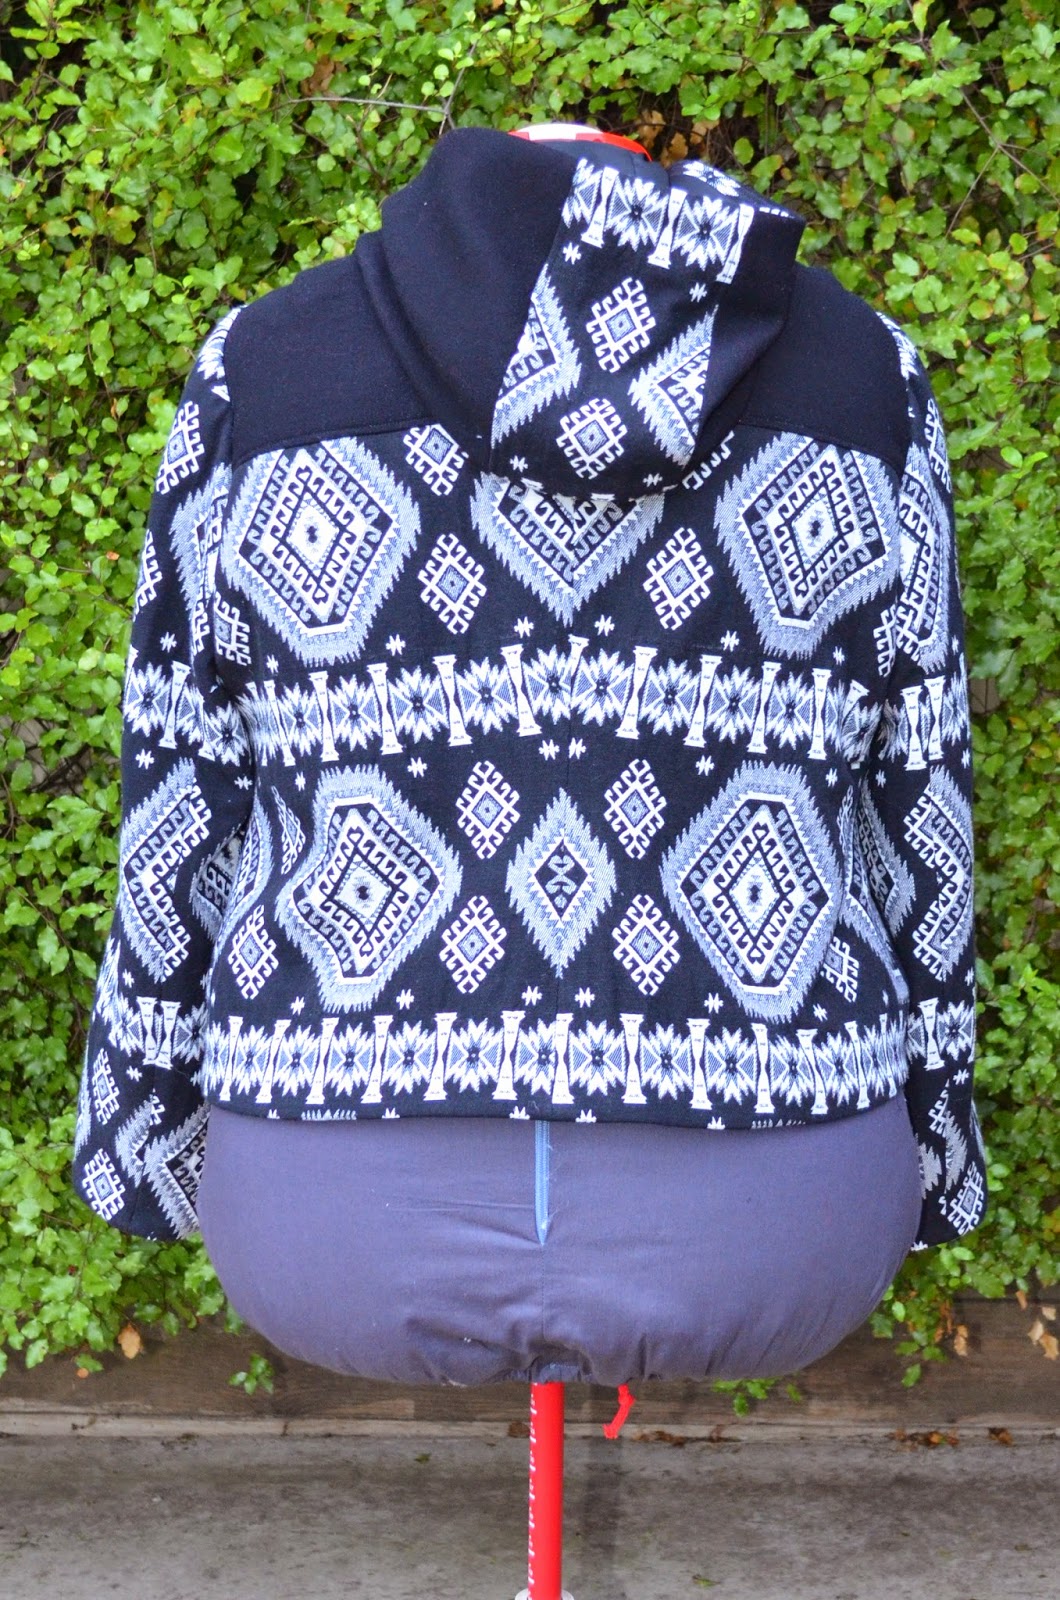
- I'm really happy with the fit now, seriously it the best fitting winter jacket I've ever owned/made.
- The 2 piece sleeves are awesome.
- I like how its cropped which suits it since its still fairly boxy
- I like the hood, its roomy but still stays on your head
- The toggles were a lot easier to make than I thought
- I love the style and its surprisingly warm!

The bad:
- I changed so much of the fit that its pretty different jacket now to the envelope version.
- While the toggles were easy to make they were horrible to sew on - seriously, follow the instructions and put them on before the fronts are sewn to the back and use a leather needle. I left it too late and it was a nightmare with the extra bulk and trying to sew over the pockets.
- Speaking of pockets, I would prob do a single welt pocket next time, I found the pockets too big and they sit too high up.
- I don't really like the lining bagging, I found my hem sags down even with tacking it up at the side/back seams (I ended up hand stitching it in place) so next time I will partially bag the lining but stitch the hems by hand so it can all be catch stitched into place.
- My fabric was an absolute nightmare - I'd originally added 1" to the body length but even though I'd prewashed, dried and ironed it, the fabric shrunk up by 1" while pressing it so I was really glad I'd added the length.
- My pattern matching is pretty crap, I barely had enough fabric to get everything cut out and I stuffed up when matching the sleeve pattern to the body, plus the princess seam at the front throws it all out and I'd added the back seam and didn't realise it was off until I'd trimmed it. I'm telling myself a non-sewer won't notice it....
- I think the reason the cropped jacket is made without the hood is because the hood drags the coat backwards a bit, so it would sit better just with the collar.


Speaking of fabric - the main fabric was from Spotlight, its a double faced fabric sold as poncho material and the black on the yokes is from my stash - I think its a wool crepe. The lining is from Clear It in Melbourne. I interfaced the facings with armoweft and the fronts with whisperweft. I interfaced the crepe with 2 layers to try and make it handle more like the thicker cotton fabric.

I made my own toggles following the directions from the sewalong - I couldn't find any premade ones anywhere but they were pretty easy to make. I bought a cheap leather jacket from the Salvos, it was half price so it only cost me $4 for a whole jacket so I still have a nice pile of leather for future projects! I really wanted black toggles but again, couldn't find any so I got wooden ones from Spotlight and spray painted them black.
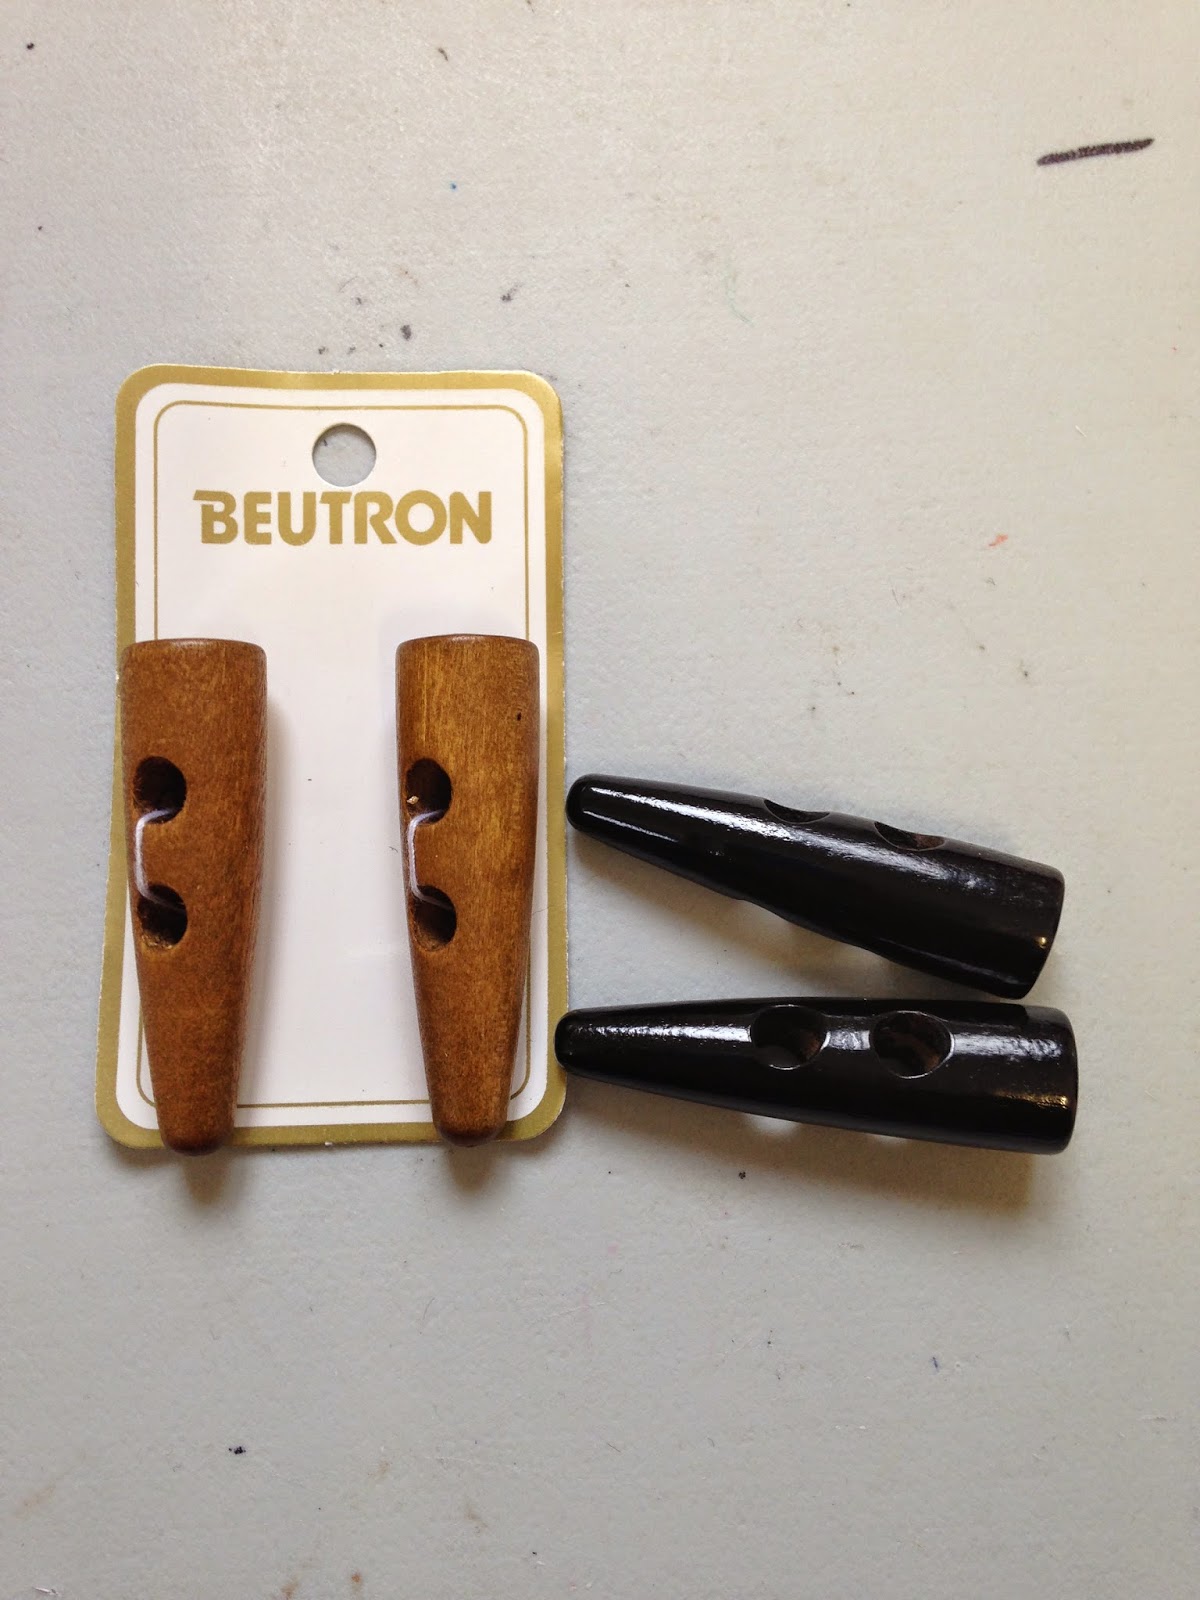
I'm not happy with my stitching on the toggles, but after having to stitch the bottom ones on mostly by hand I decided to live with it! Next time I'll make sure I sew them on flat before the jacket is put together and maybe use my edge foot.

After what seems like a lot of complaining, I am really happy with the finished jacket and I will make one again. Most of the issues I had with this pattern were somewhat my own fault - I knew it was a boxy coat with lots of ease and it was my own choice to make it more fitted. I also should have read the instructions better, the troubles I had with the toggles could have been avoided. But I will make it again, I have a nice teal suiting sitting in my stash that would look awesome...


Comments
Post a Comment