Simplicity 1736, Cloche for Tweed Ride
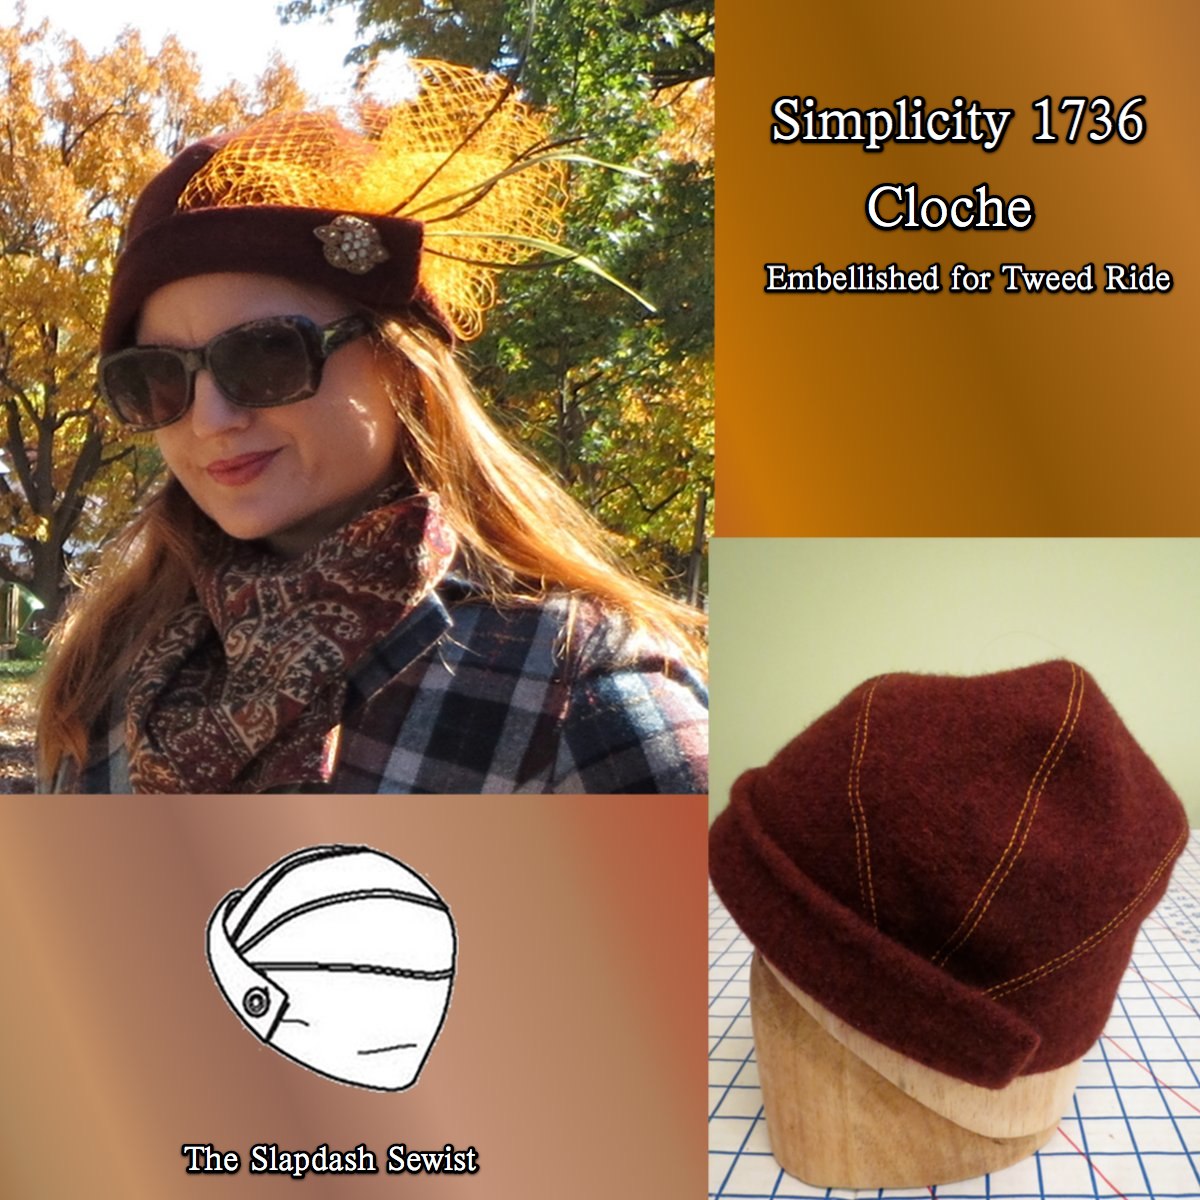
Rather than use my rather embarrassingly large amount of millinery supplies, I went the easy route for Tweed Ride and sewed my hat. Once again, Simplicity shoots itself in the foot with its pattern photo for Simplicity 1736. Why did they have Natalie Portman (truly, the likeness is striking) model the least distinctive and attractive hat in the envelope? How does a shapeless blob in a novelty fleece print make the cut over the 20s cloche and the 40s fedora? Are they deliberately cultivating the frumpy label? So many questions. I only bought this pattern after seeing someone else make the cloche.
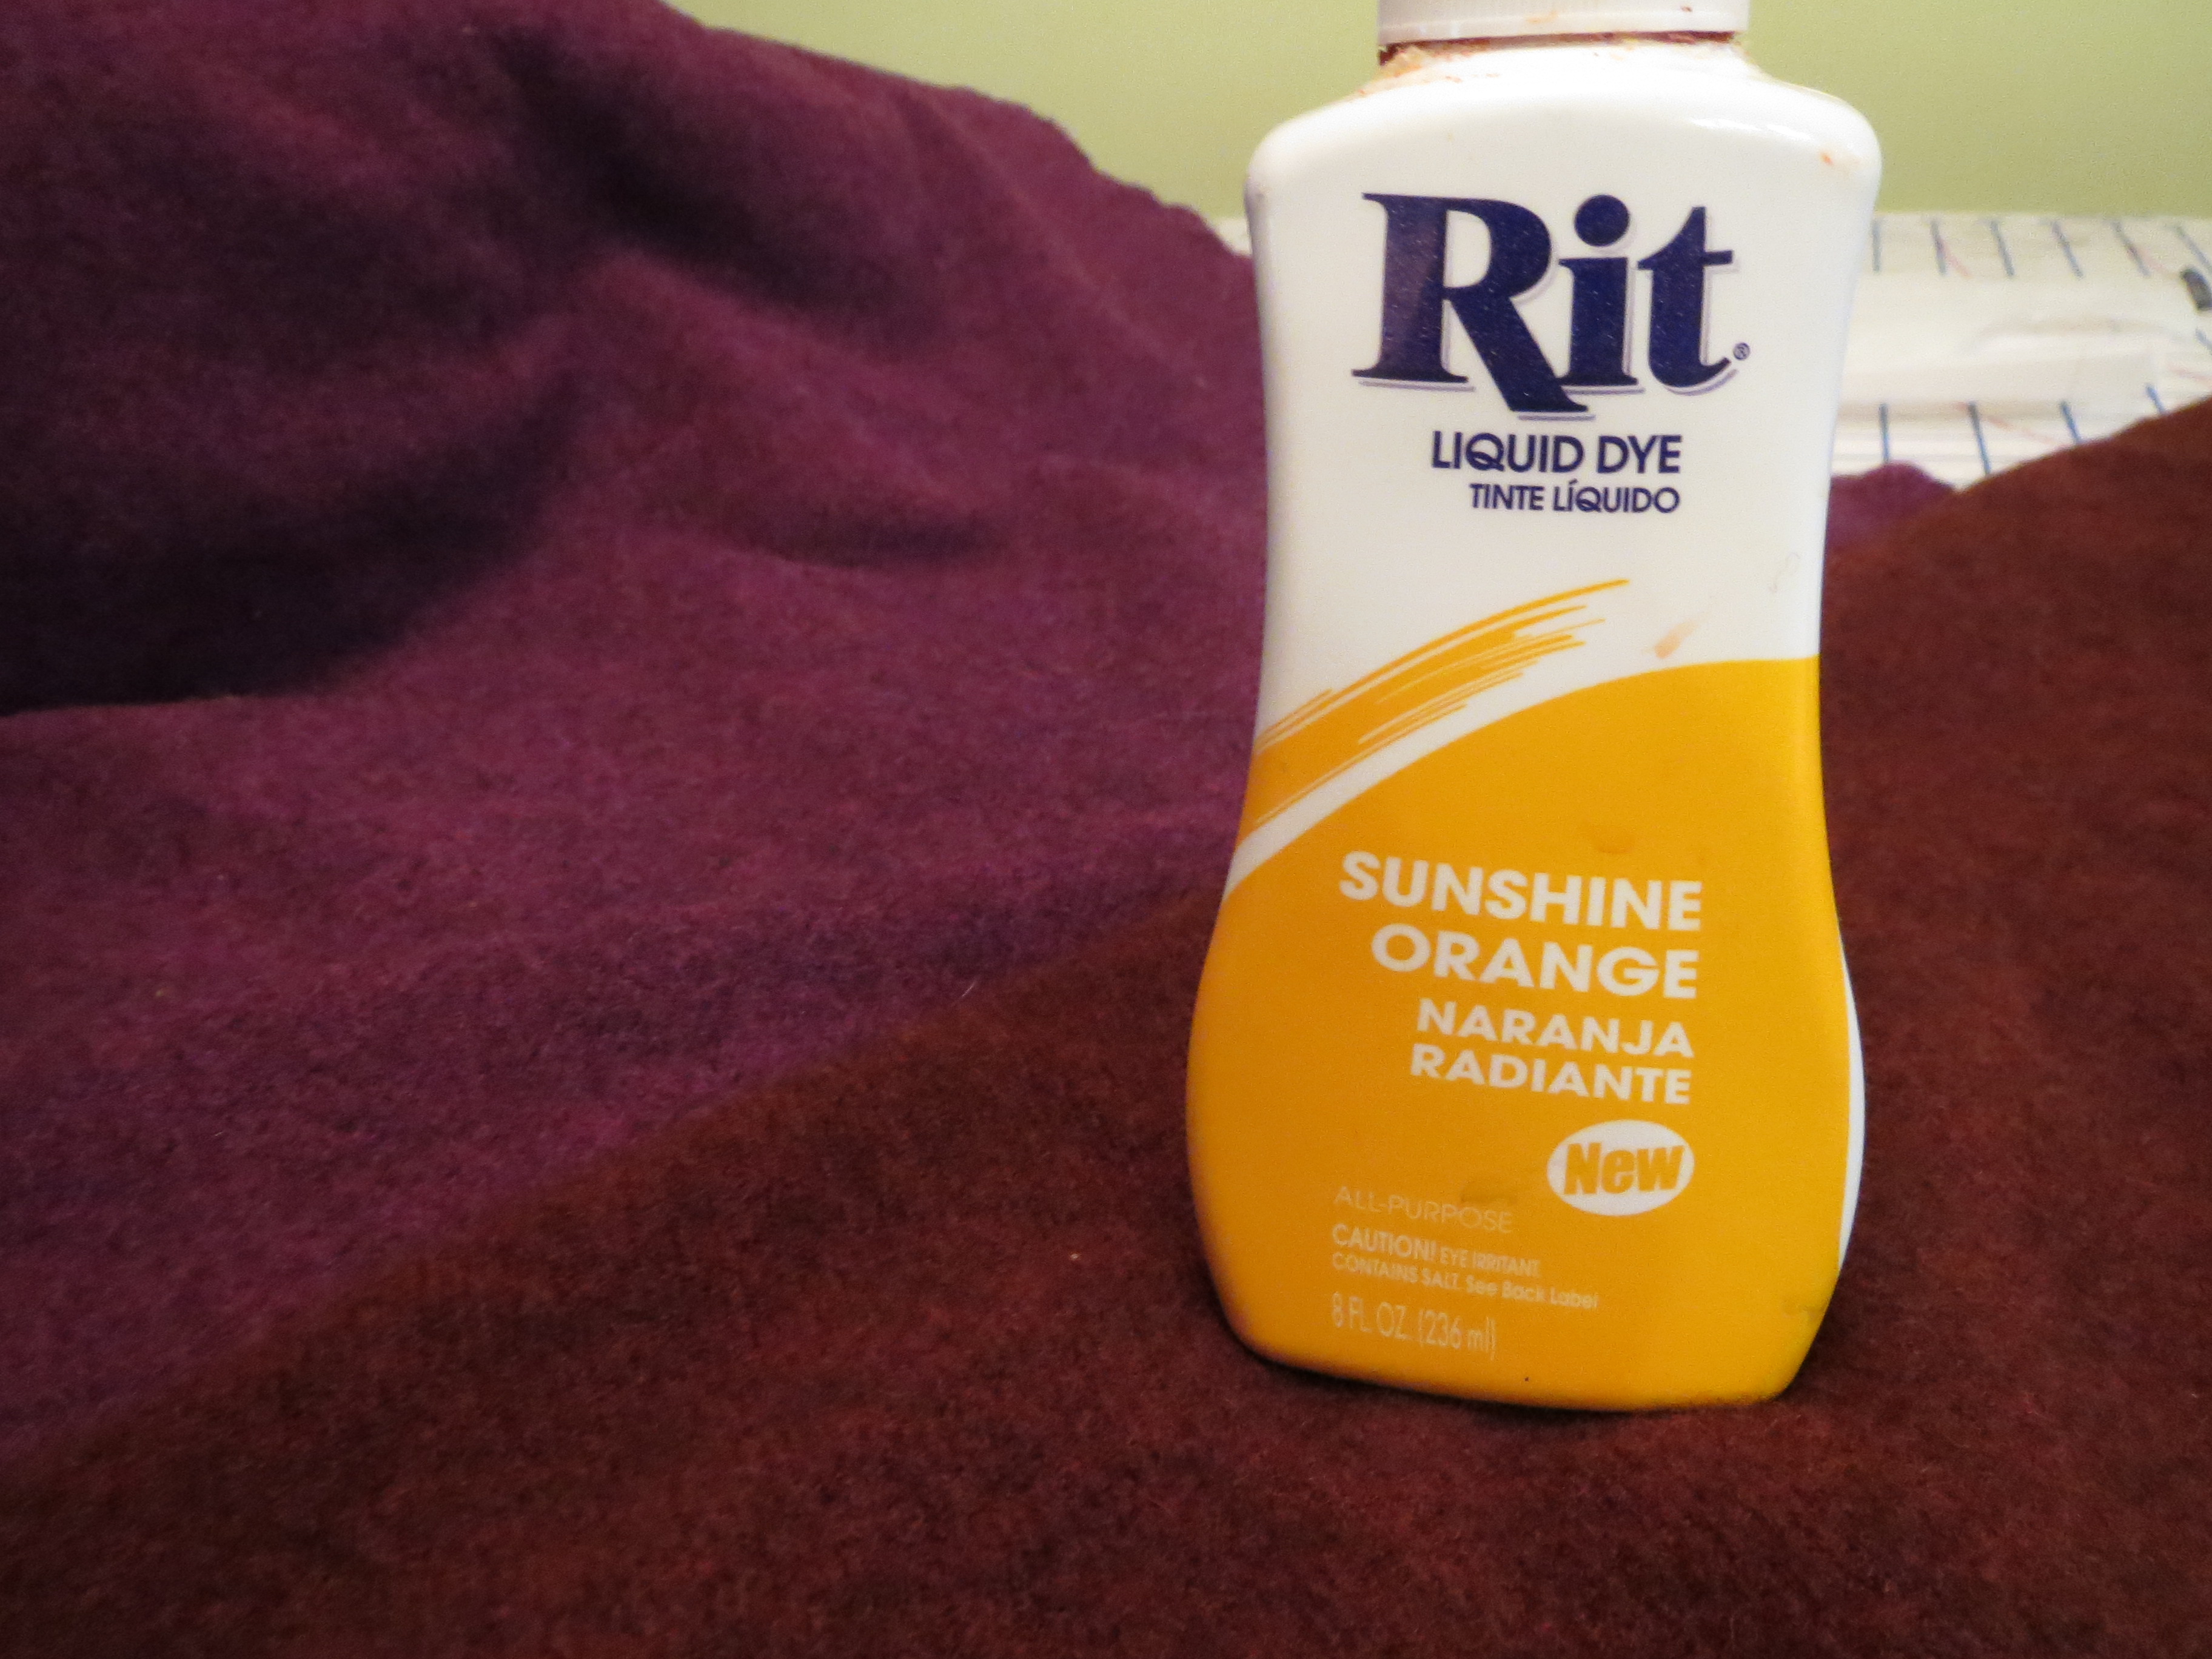
With my burgundy and deep teal plaid jacket, turquoise skirt, and mustard tights I was running out of colors! Even after making a jacket I still have a ton of this Vera Wang wool left from Fabric.com's legendary $1.99 blowout, but the original magenta color was too close--but not close enough--to the burgundy in the plaid. Enter some orange Rit dye and a magical transformation to a luscious rust/copper color that coordinated with the outfit but wasn't too matchy-matchy. I was so pleased!
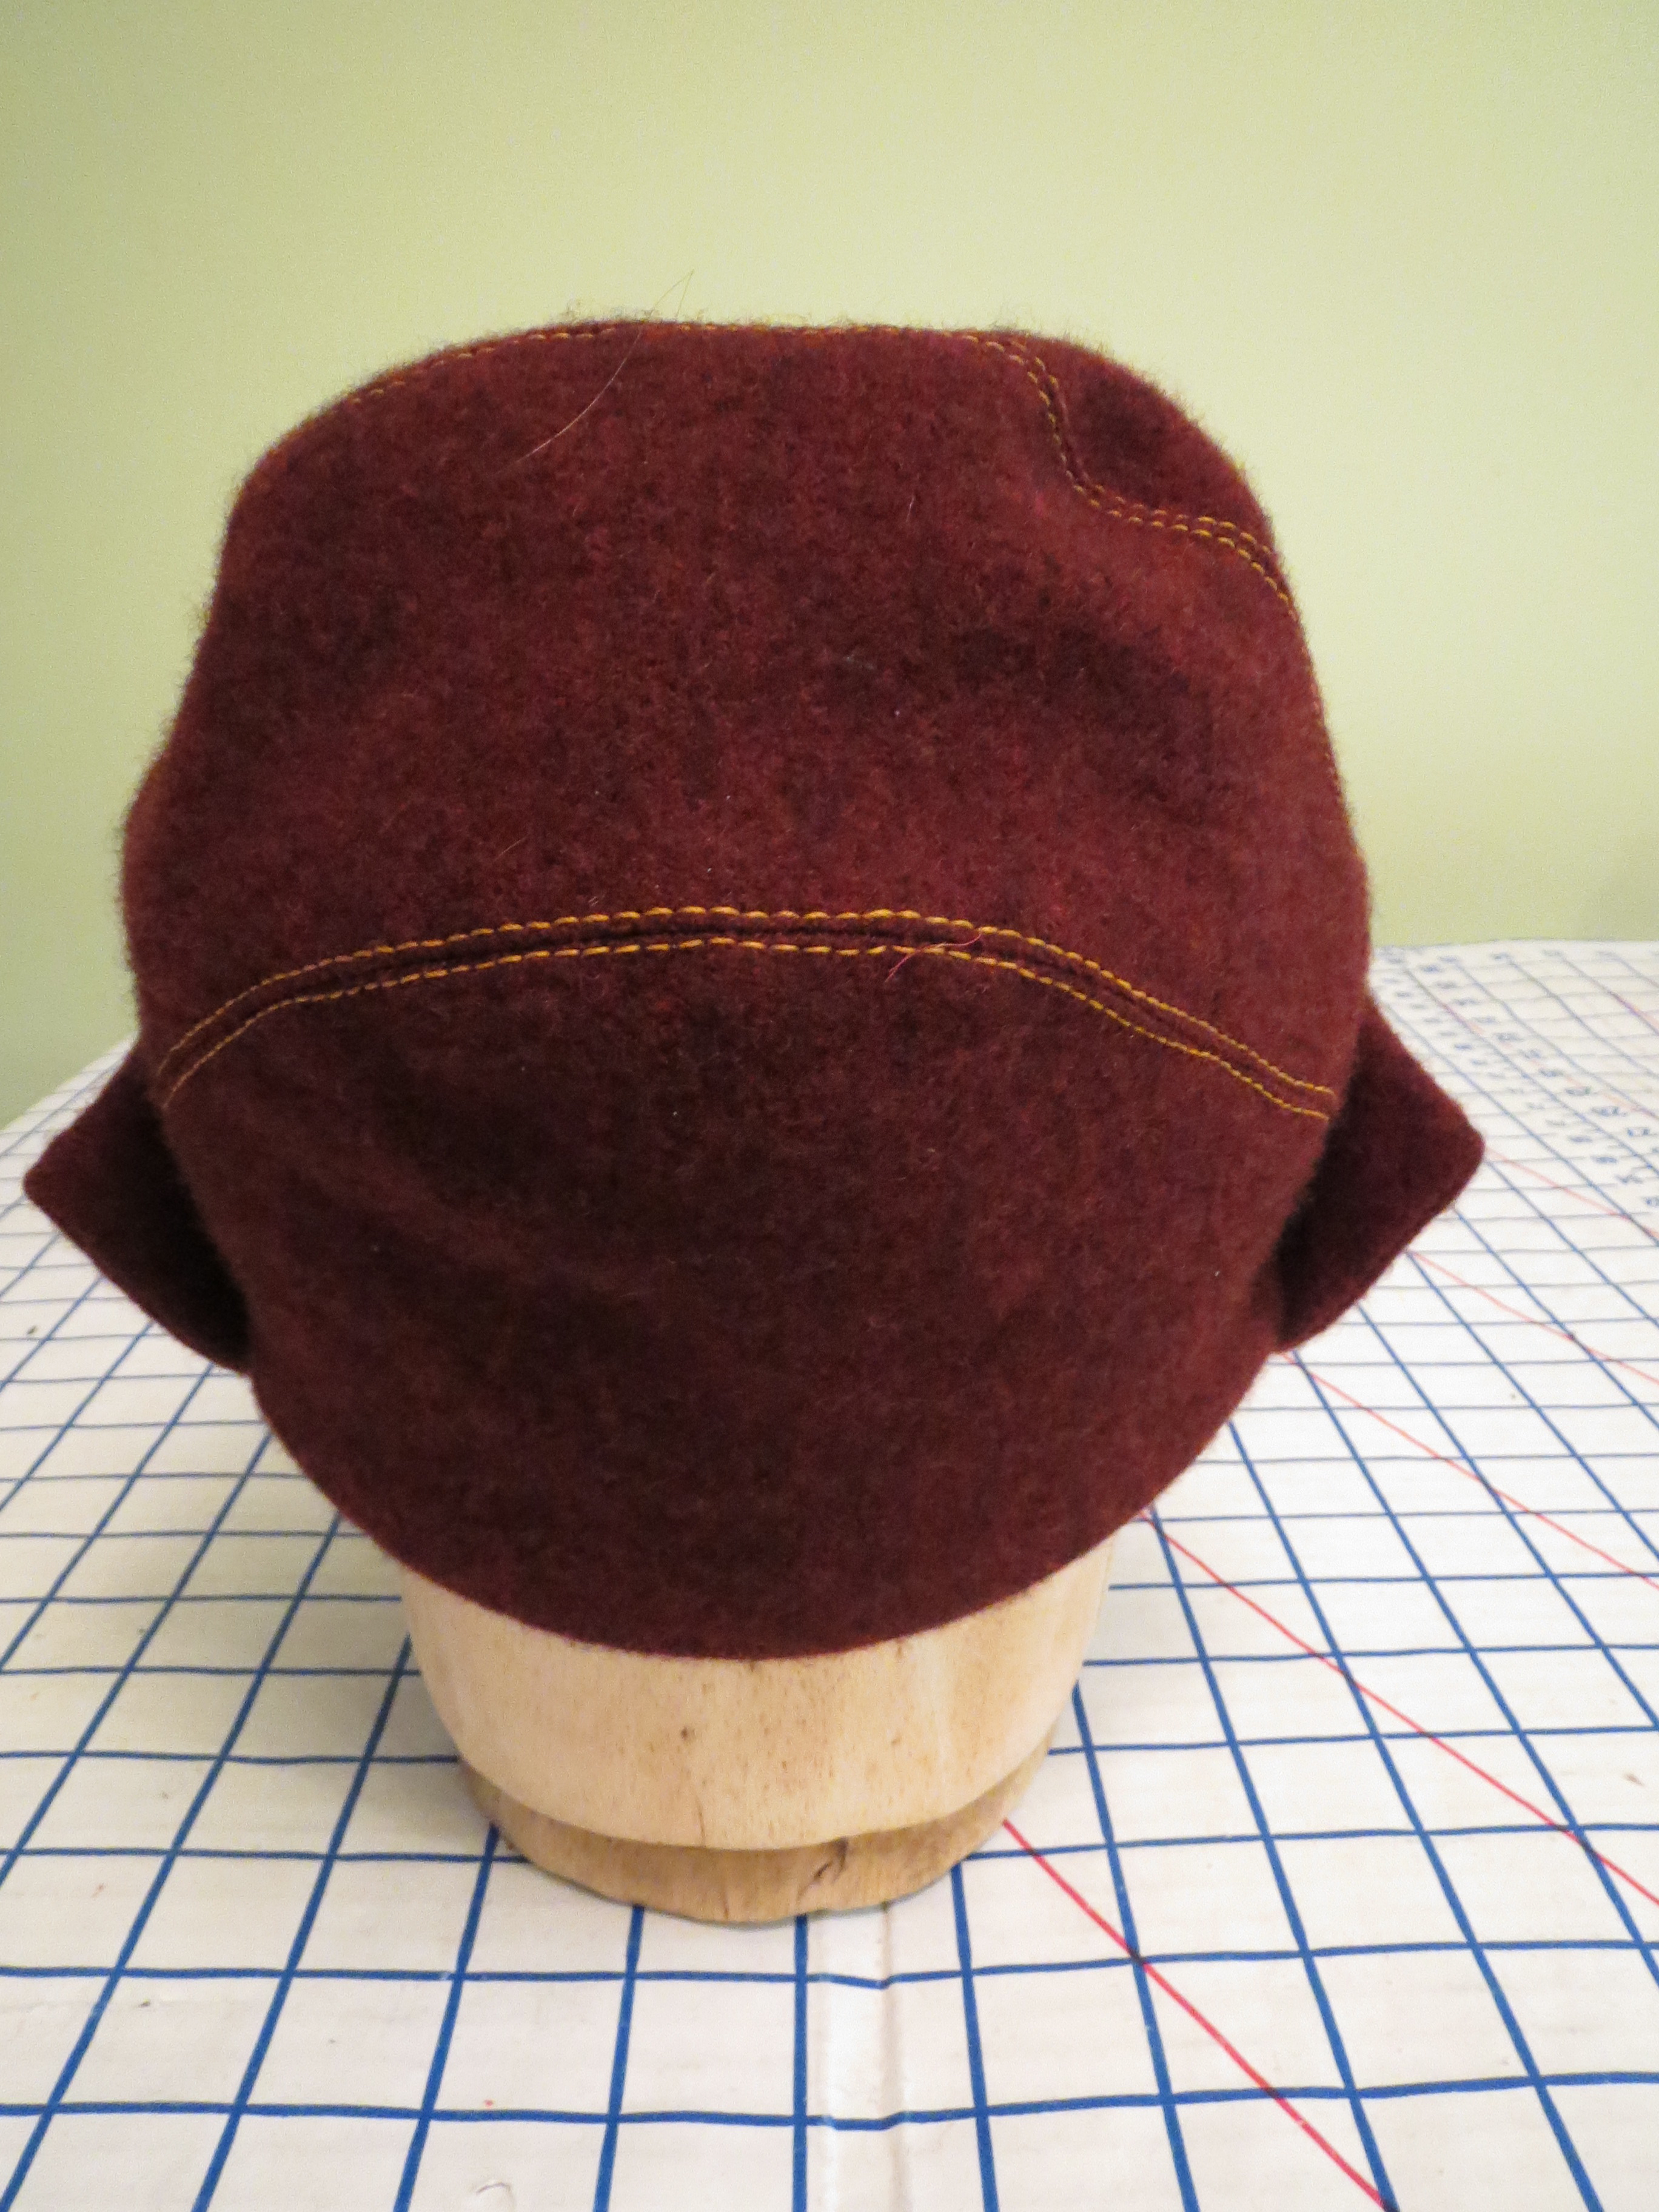
The pattern is well drafted--all the pieces fit together nicely and easily and it was true to size for my small head. My only gripe is that the crown is taller than my head, so it is a bit puffy and lumpy rather than totally sleek as a traditional cloche is meant to be.
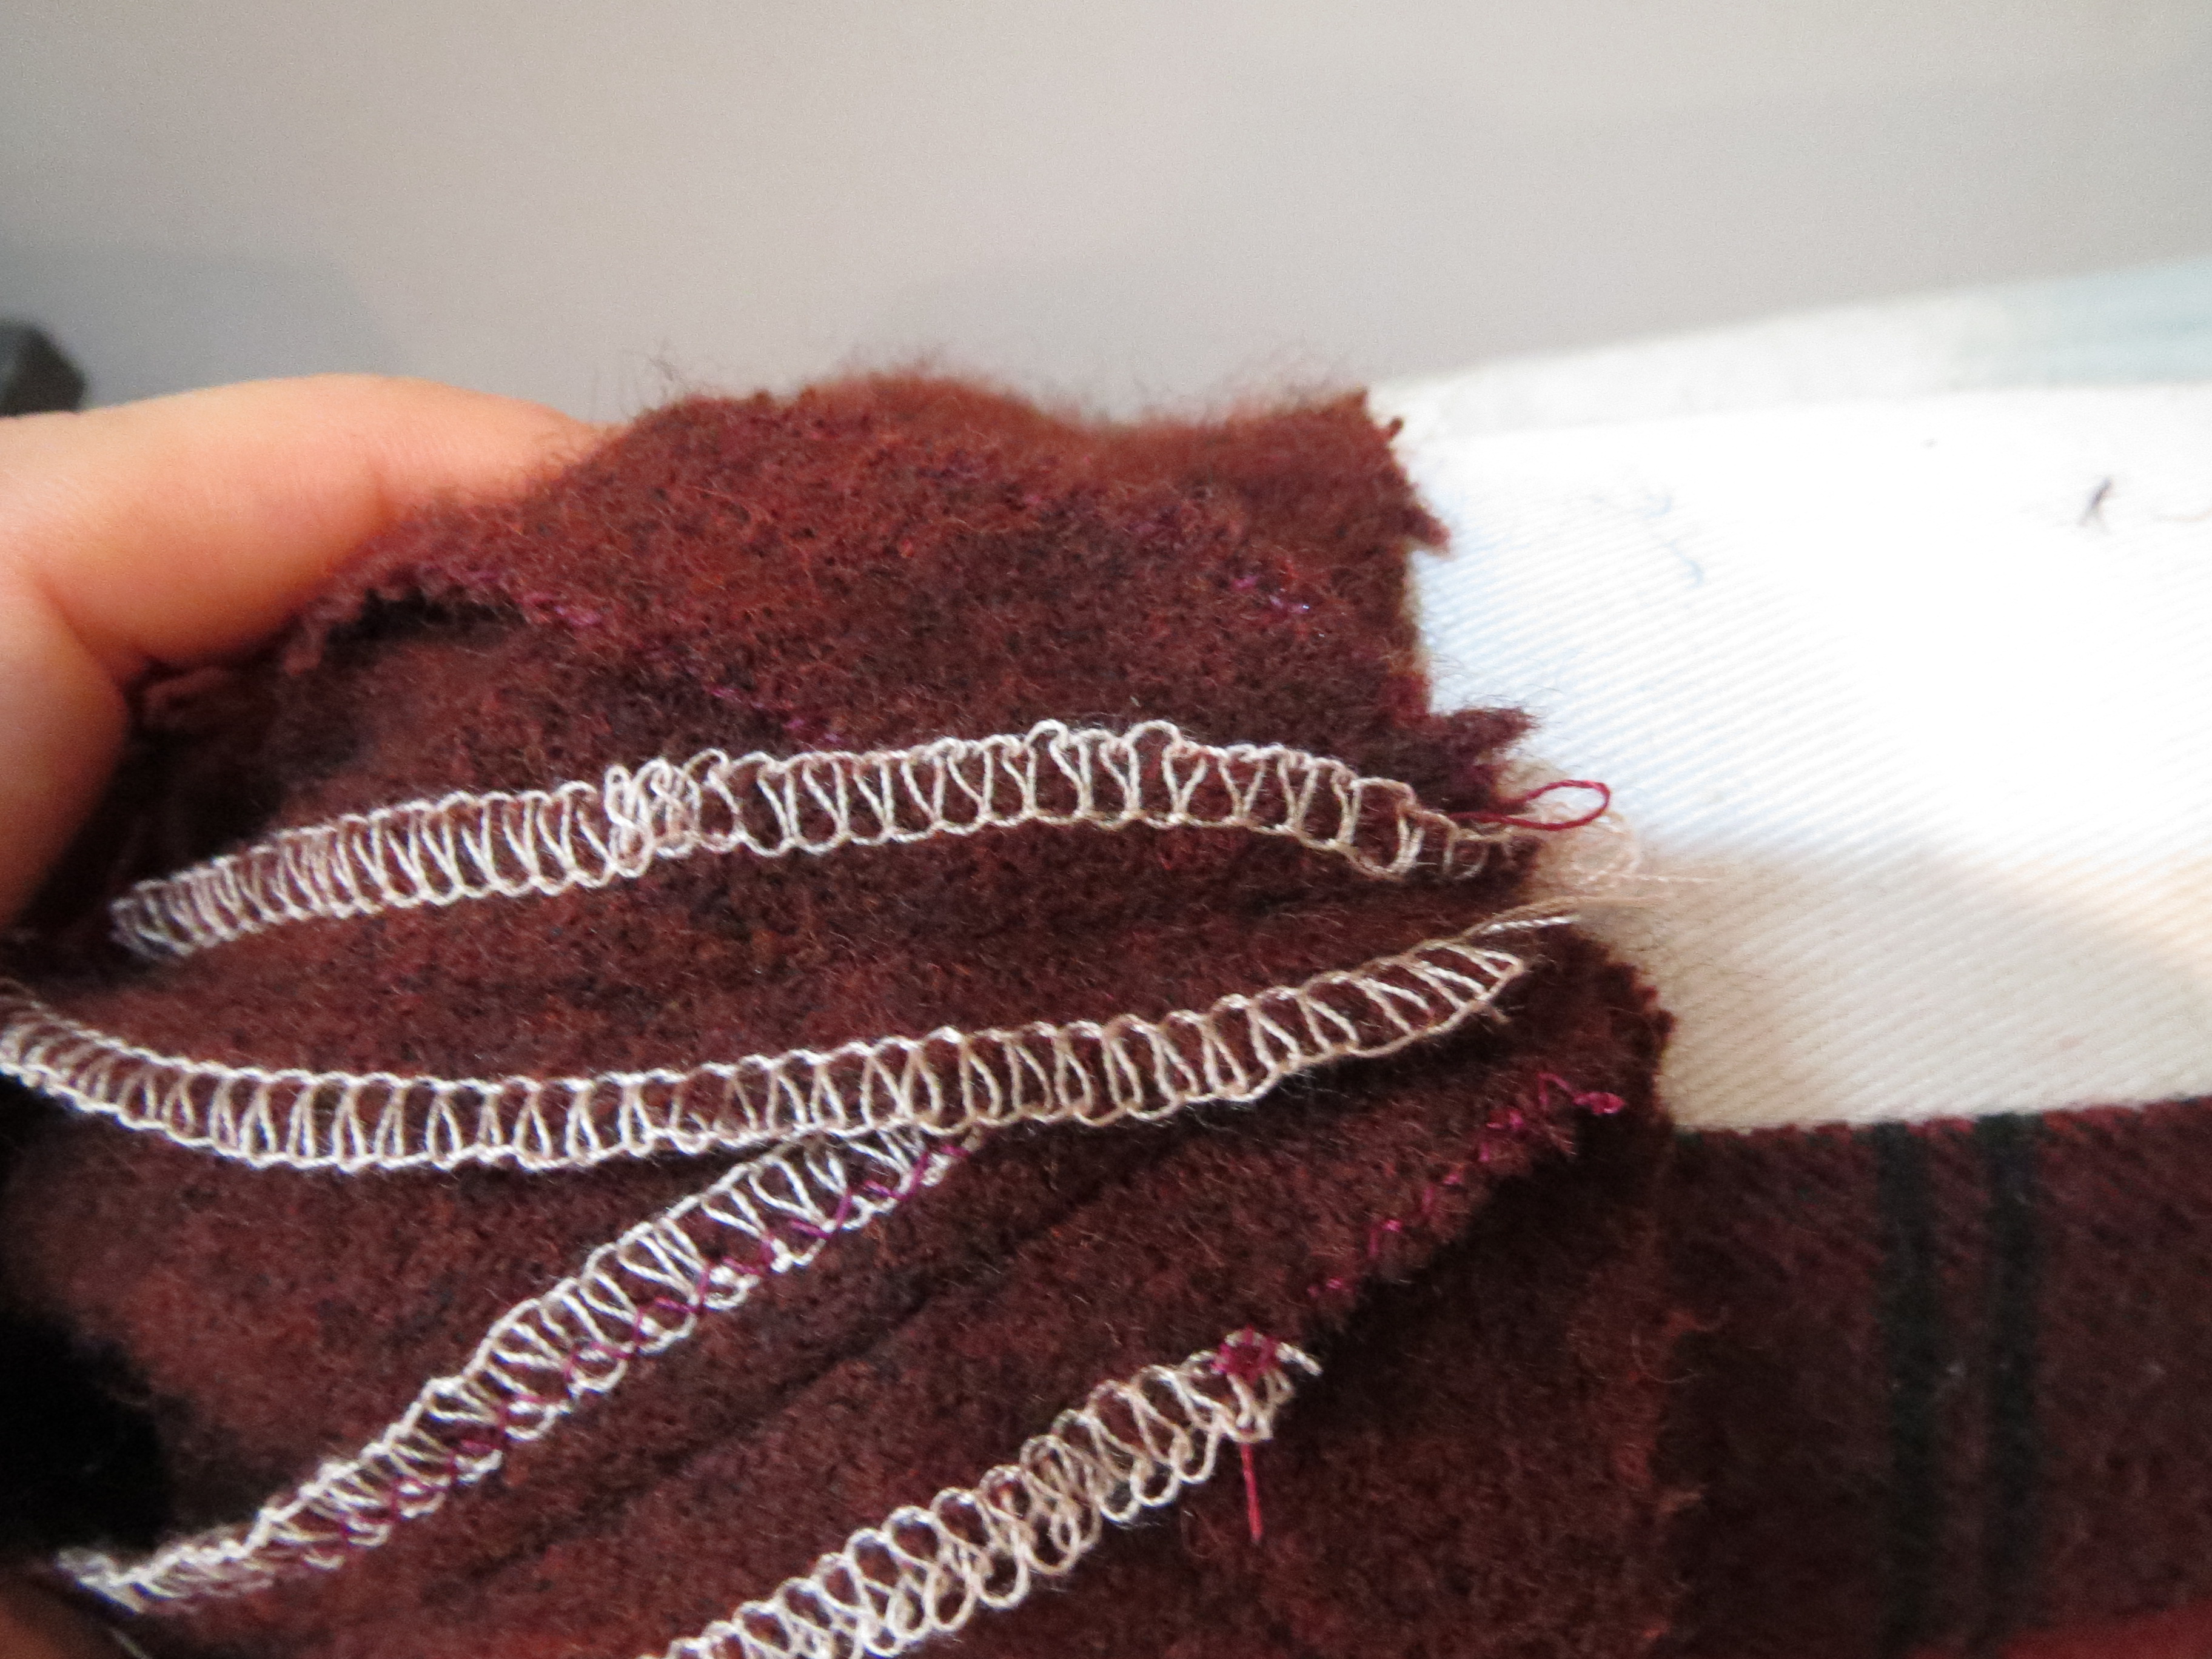
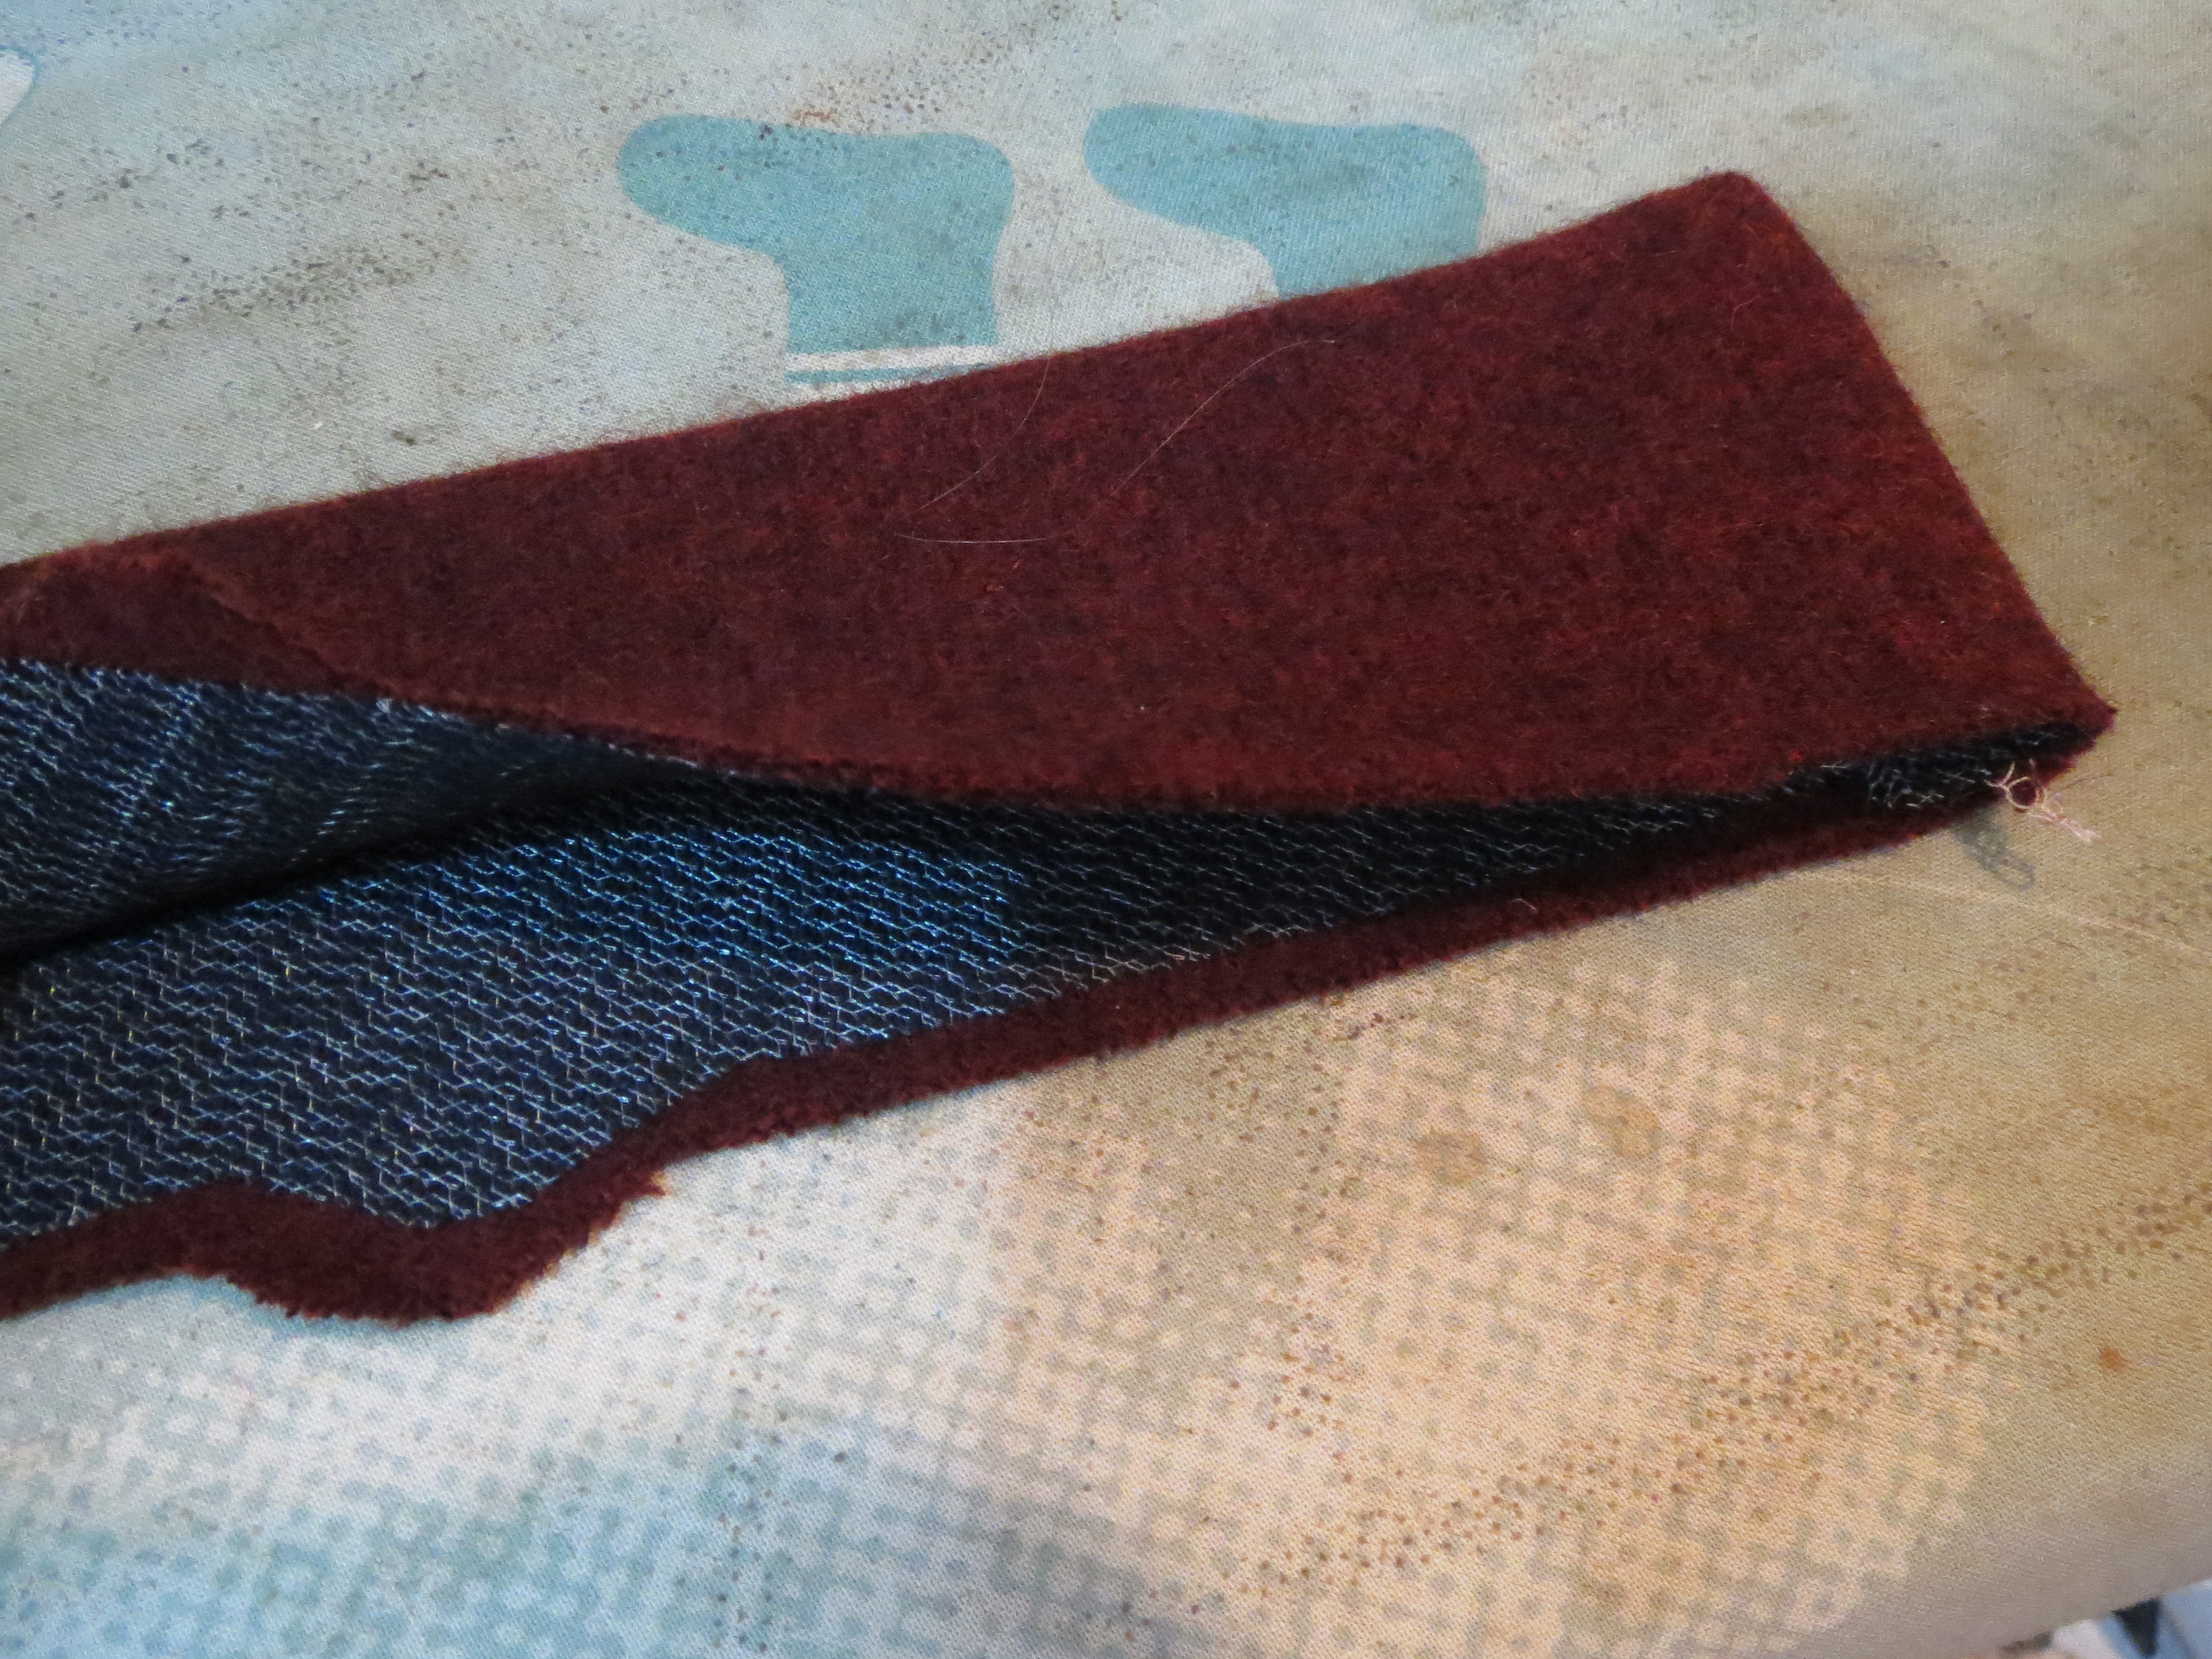
It uses 3/8" seam allowances (a fact for which you have to dig a bit, which is annoying). The crown is made of four pieces, and the three seam allowances come together at the sides. It takes a lot of steaming and pounding to get them flat, but in my wool I was pleased with the effect. The pattern is recommended for fleece and I think it would be harder to get the seam allowances looking nice, though fleece doesn't ravel so you don't get the bulk from finishing the seam allowances and it can be trimmed very close.
You can see that I couldn't get the serger into all the seam allowances and had to zigzag. For the second half I just went straight to zigzag, as it was much easier.
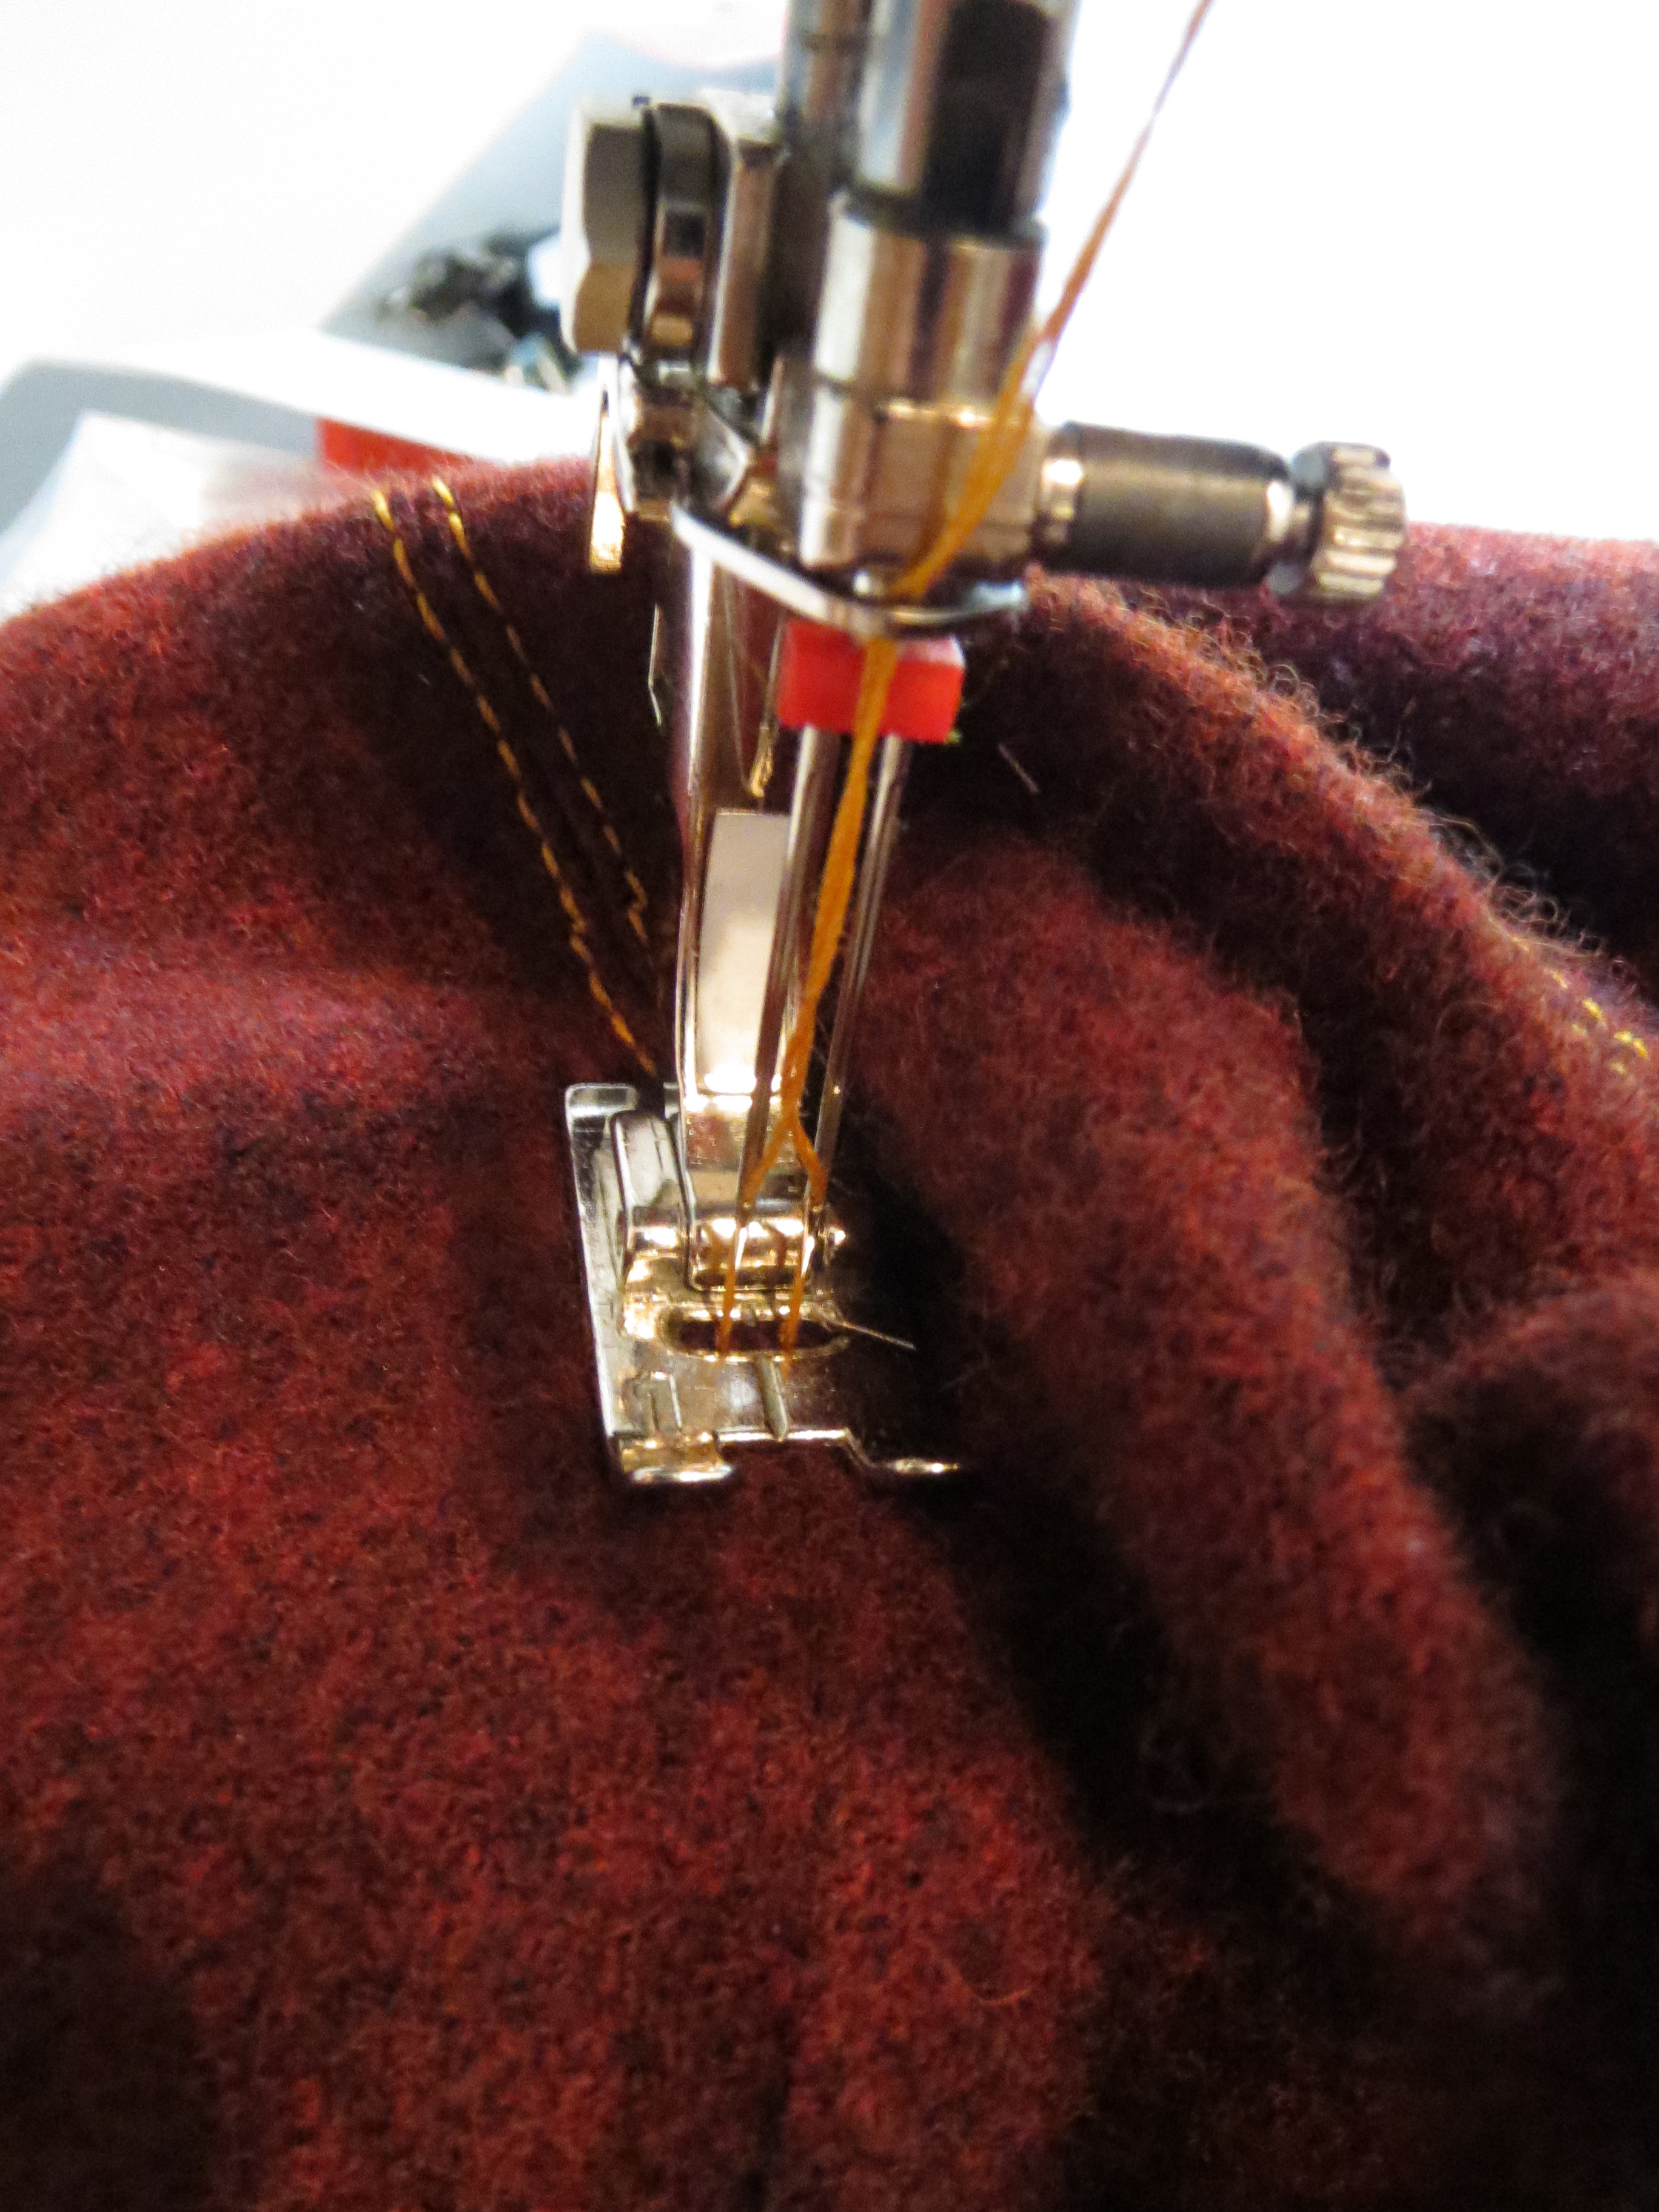
When I put on the constructed crown to get a preview of what the hat would look like, I was a bit disappointed that the seam lines were lost in my fabric. The pattern is designed to have the crown seams piped. I don't know how you handle all that bulk where the seams come together, but I think something has to be done to emphasize those lovely lines.
I used a twin-needle to topstitch the seams with jeans topstitching thread. I'm not sure I made the absolute best color choice, but I was working with what I had (I have only two colors of topstitching thread, denim gold and the original magenta color of the wool).
I interfaced the brim for stability. Again, my wool performed beautifully under the iron with crisp corners and nice body. The pattern does not call for interfacing, but I think even fleece will benefit from it--though you might have to experiment a bit to find an iron setting that fuses the interfacing without melting the fleece.
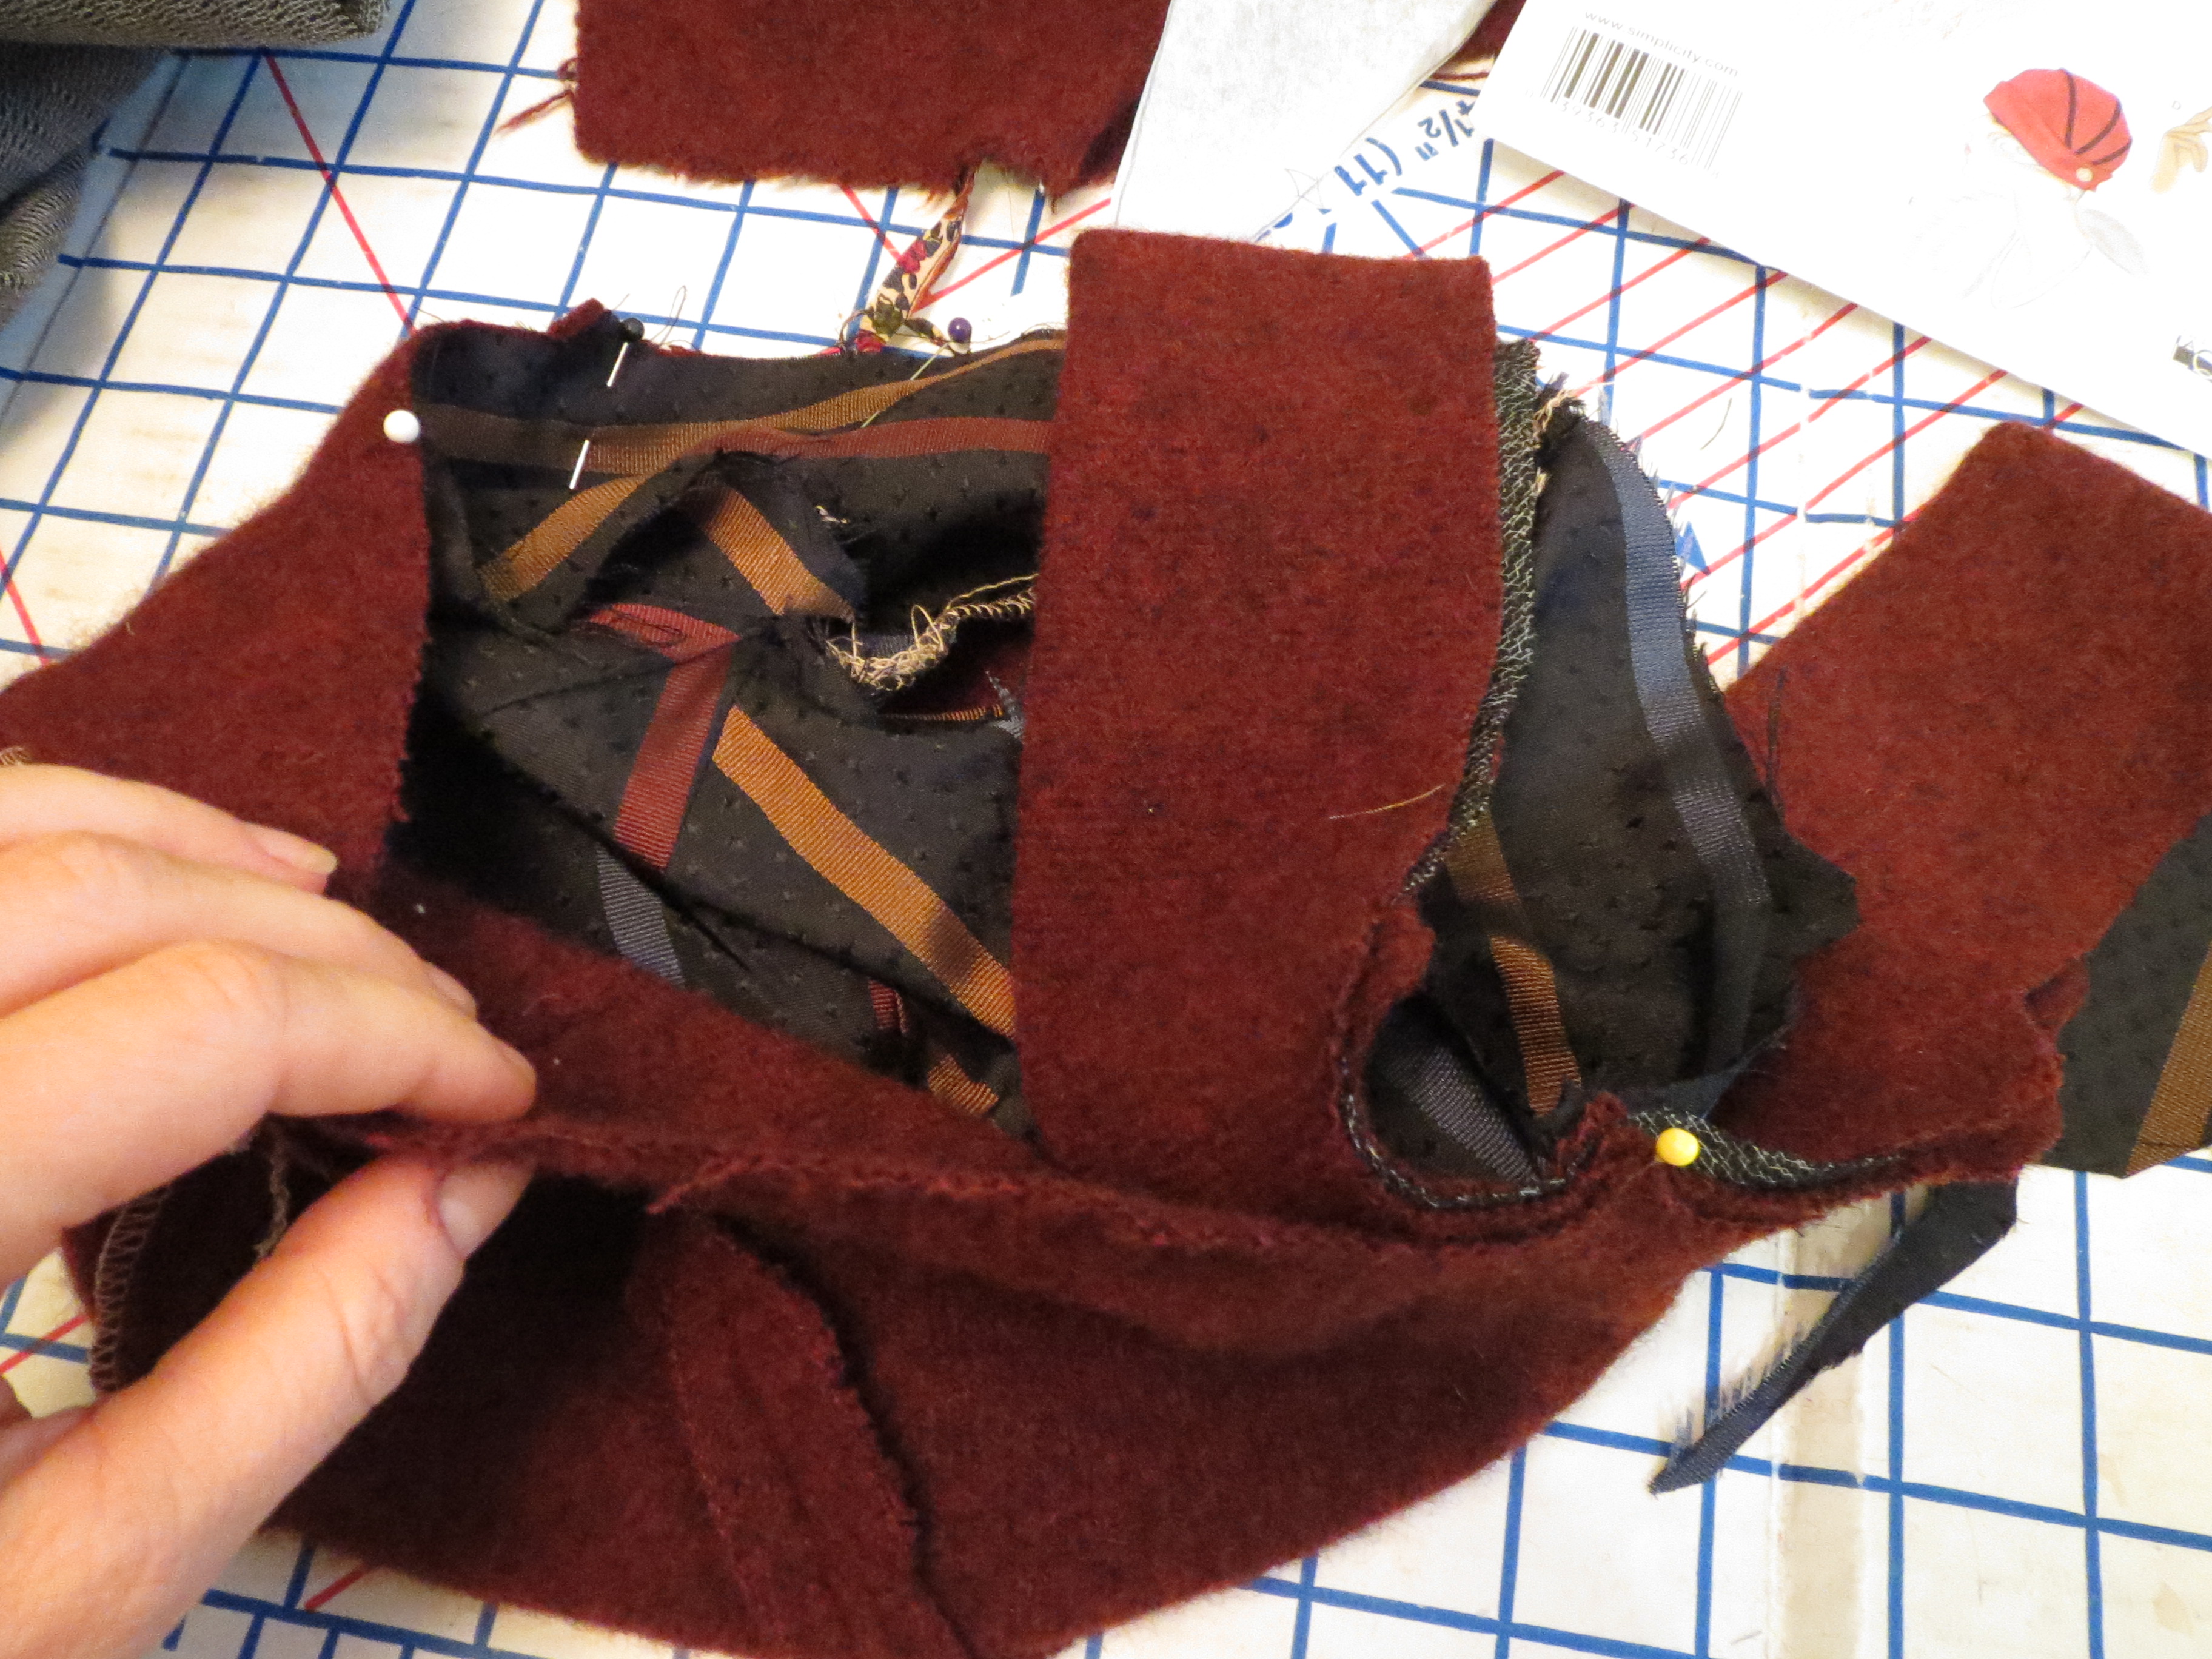
As drafted, the pattern is unlined and the raw lower edge between the ends of the brim is meant to be finished with hem tape. I was not into such an unfinished look, so I lined it with leftover tie silk from lining my jacket.
I constructed a crown of the silk, leaving an opening in one of the seams for turning. To put it together you layer the right side of the fashion fabric crown to the brim and then sandwich the brim with the right side of the lining. Stitch all the way around the circle.
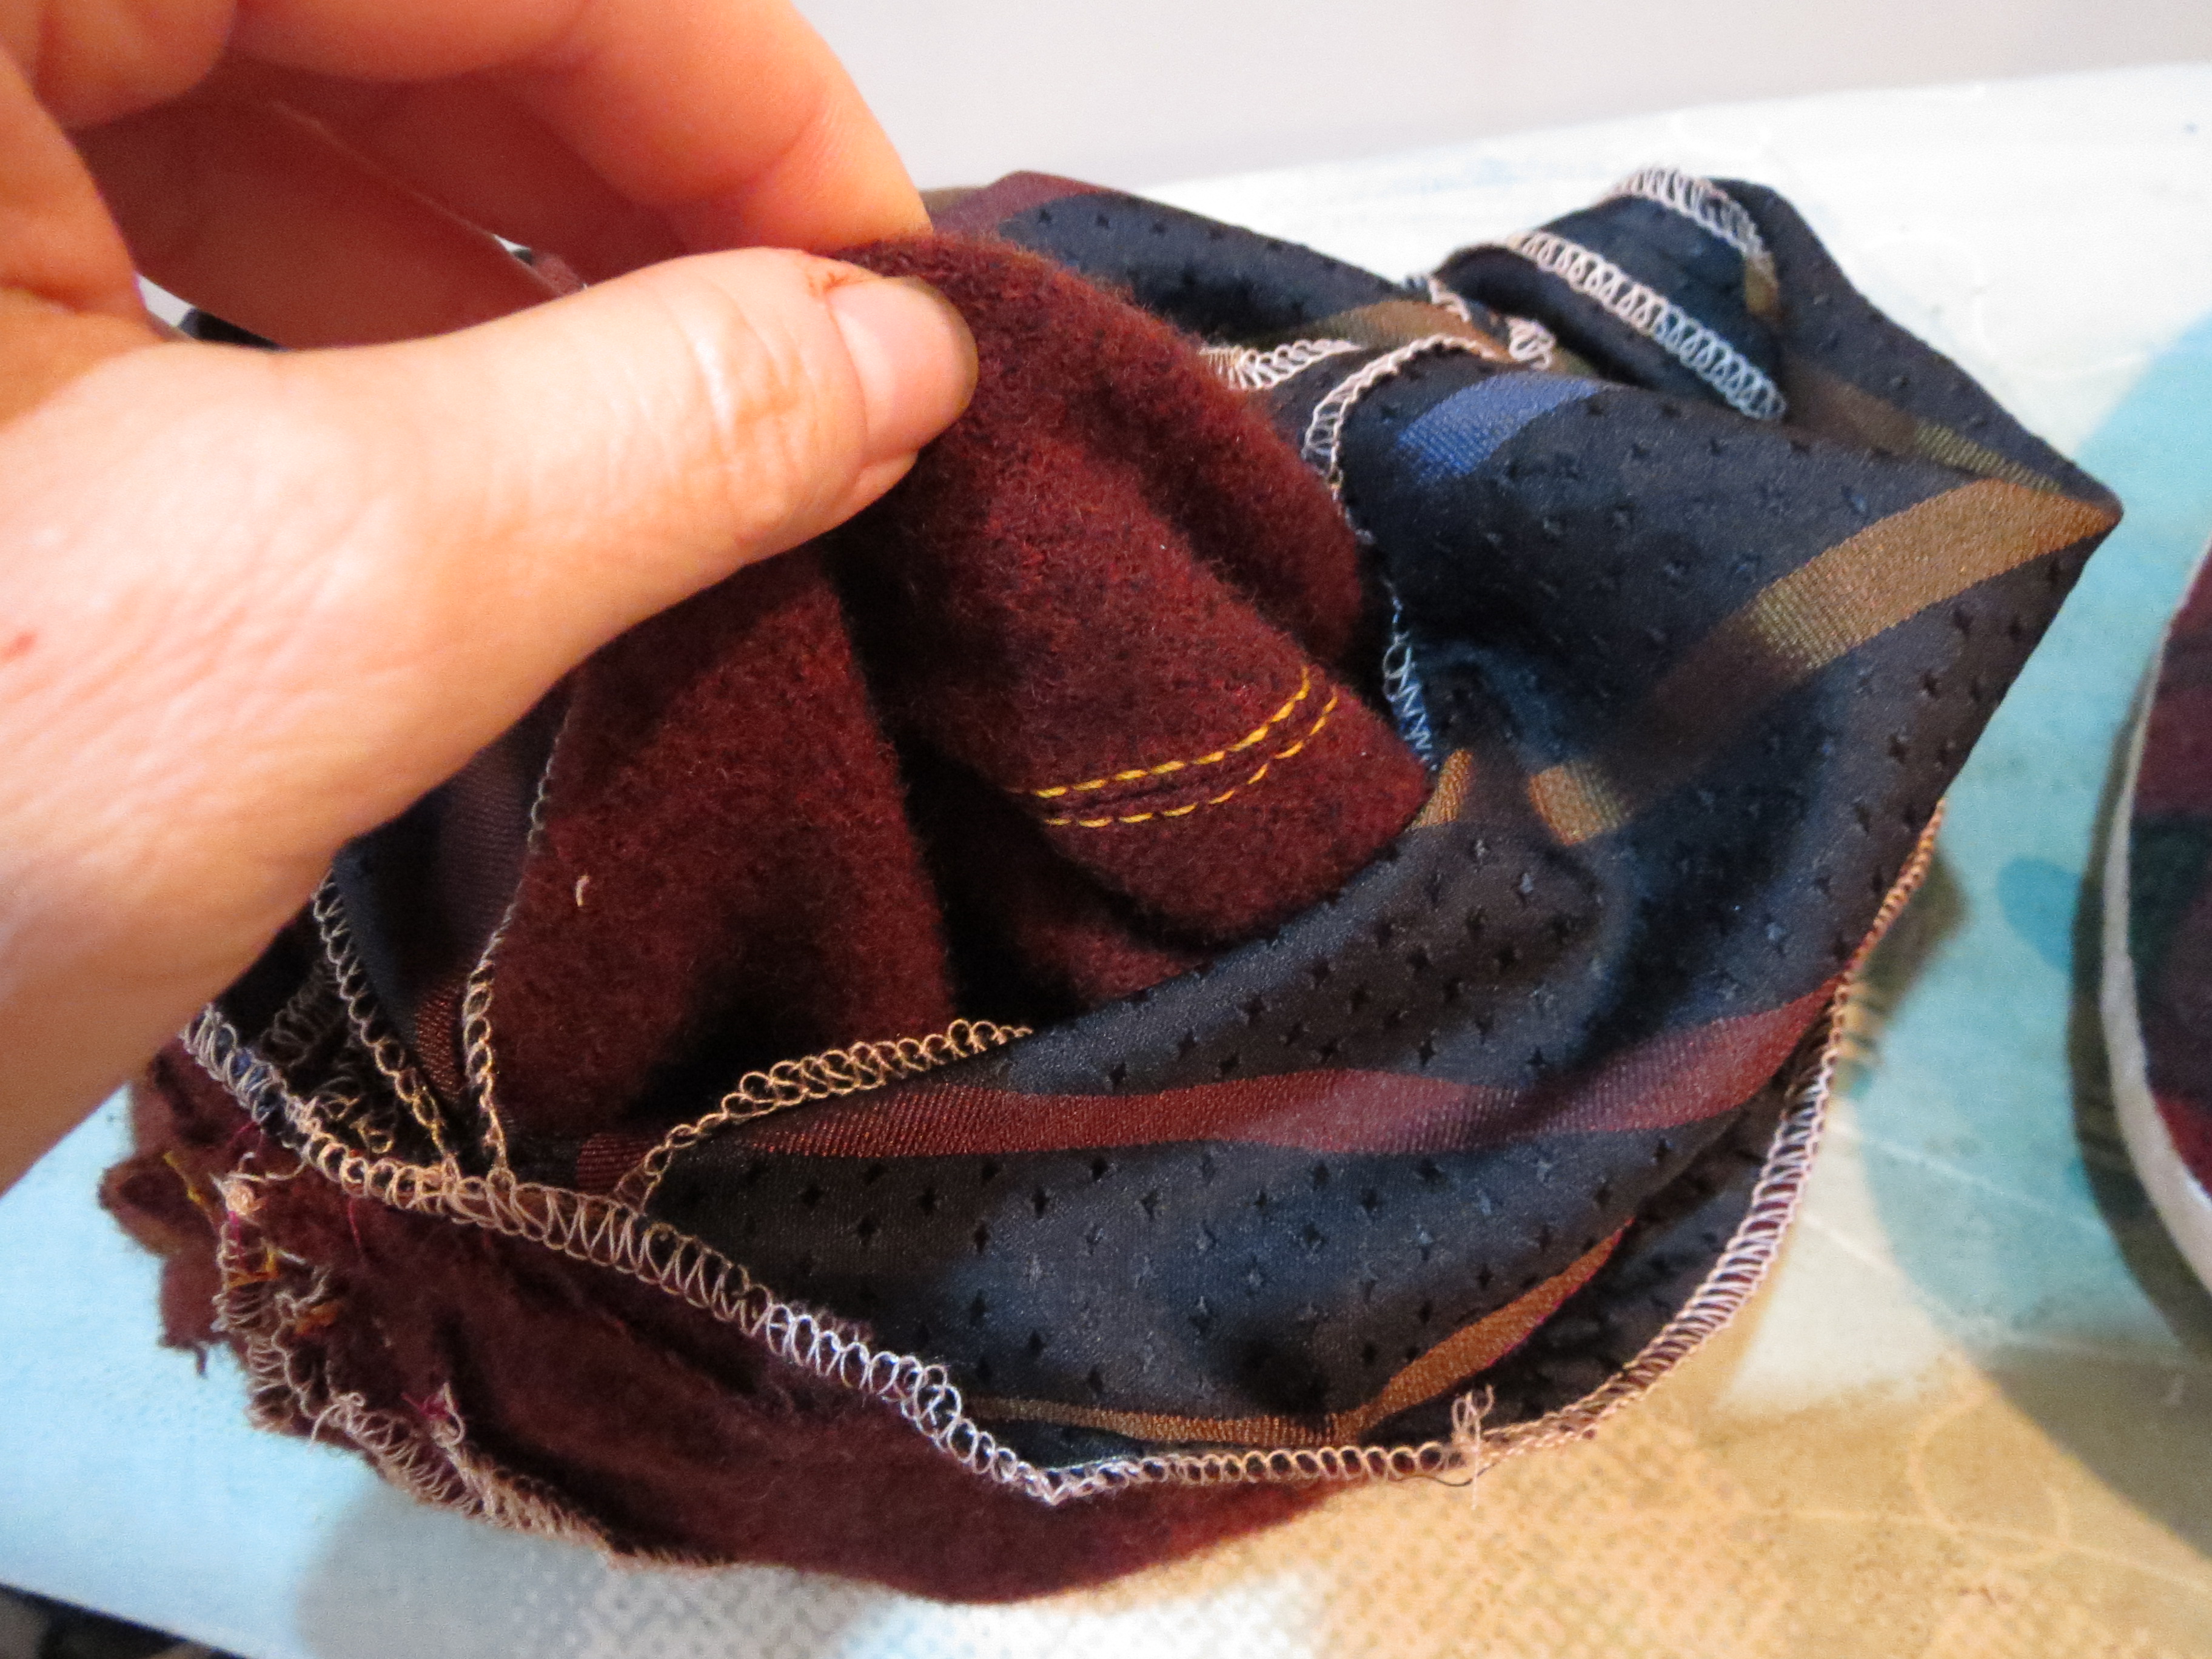
Then turn it right side out through the opening in the lining and close the lining with hand stitching.

It results in a lovely hat both inside and out and really doesn't add much time to the construction. The hat uses so little fabric it's a nice way to use of scraps of silk too small for anything else.
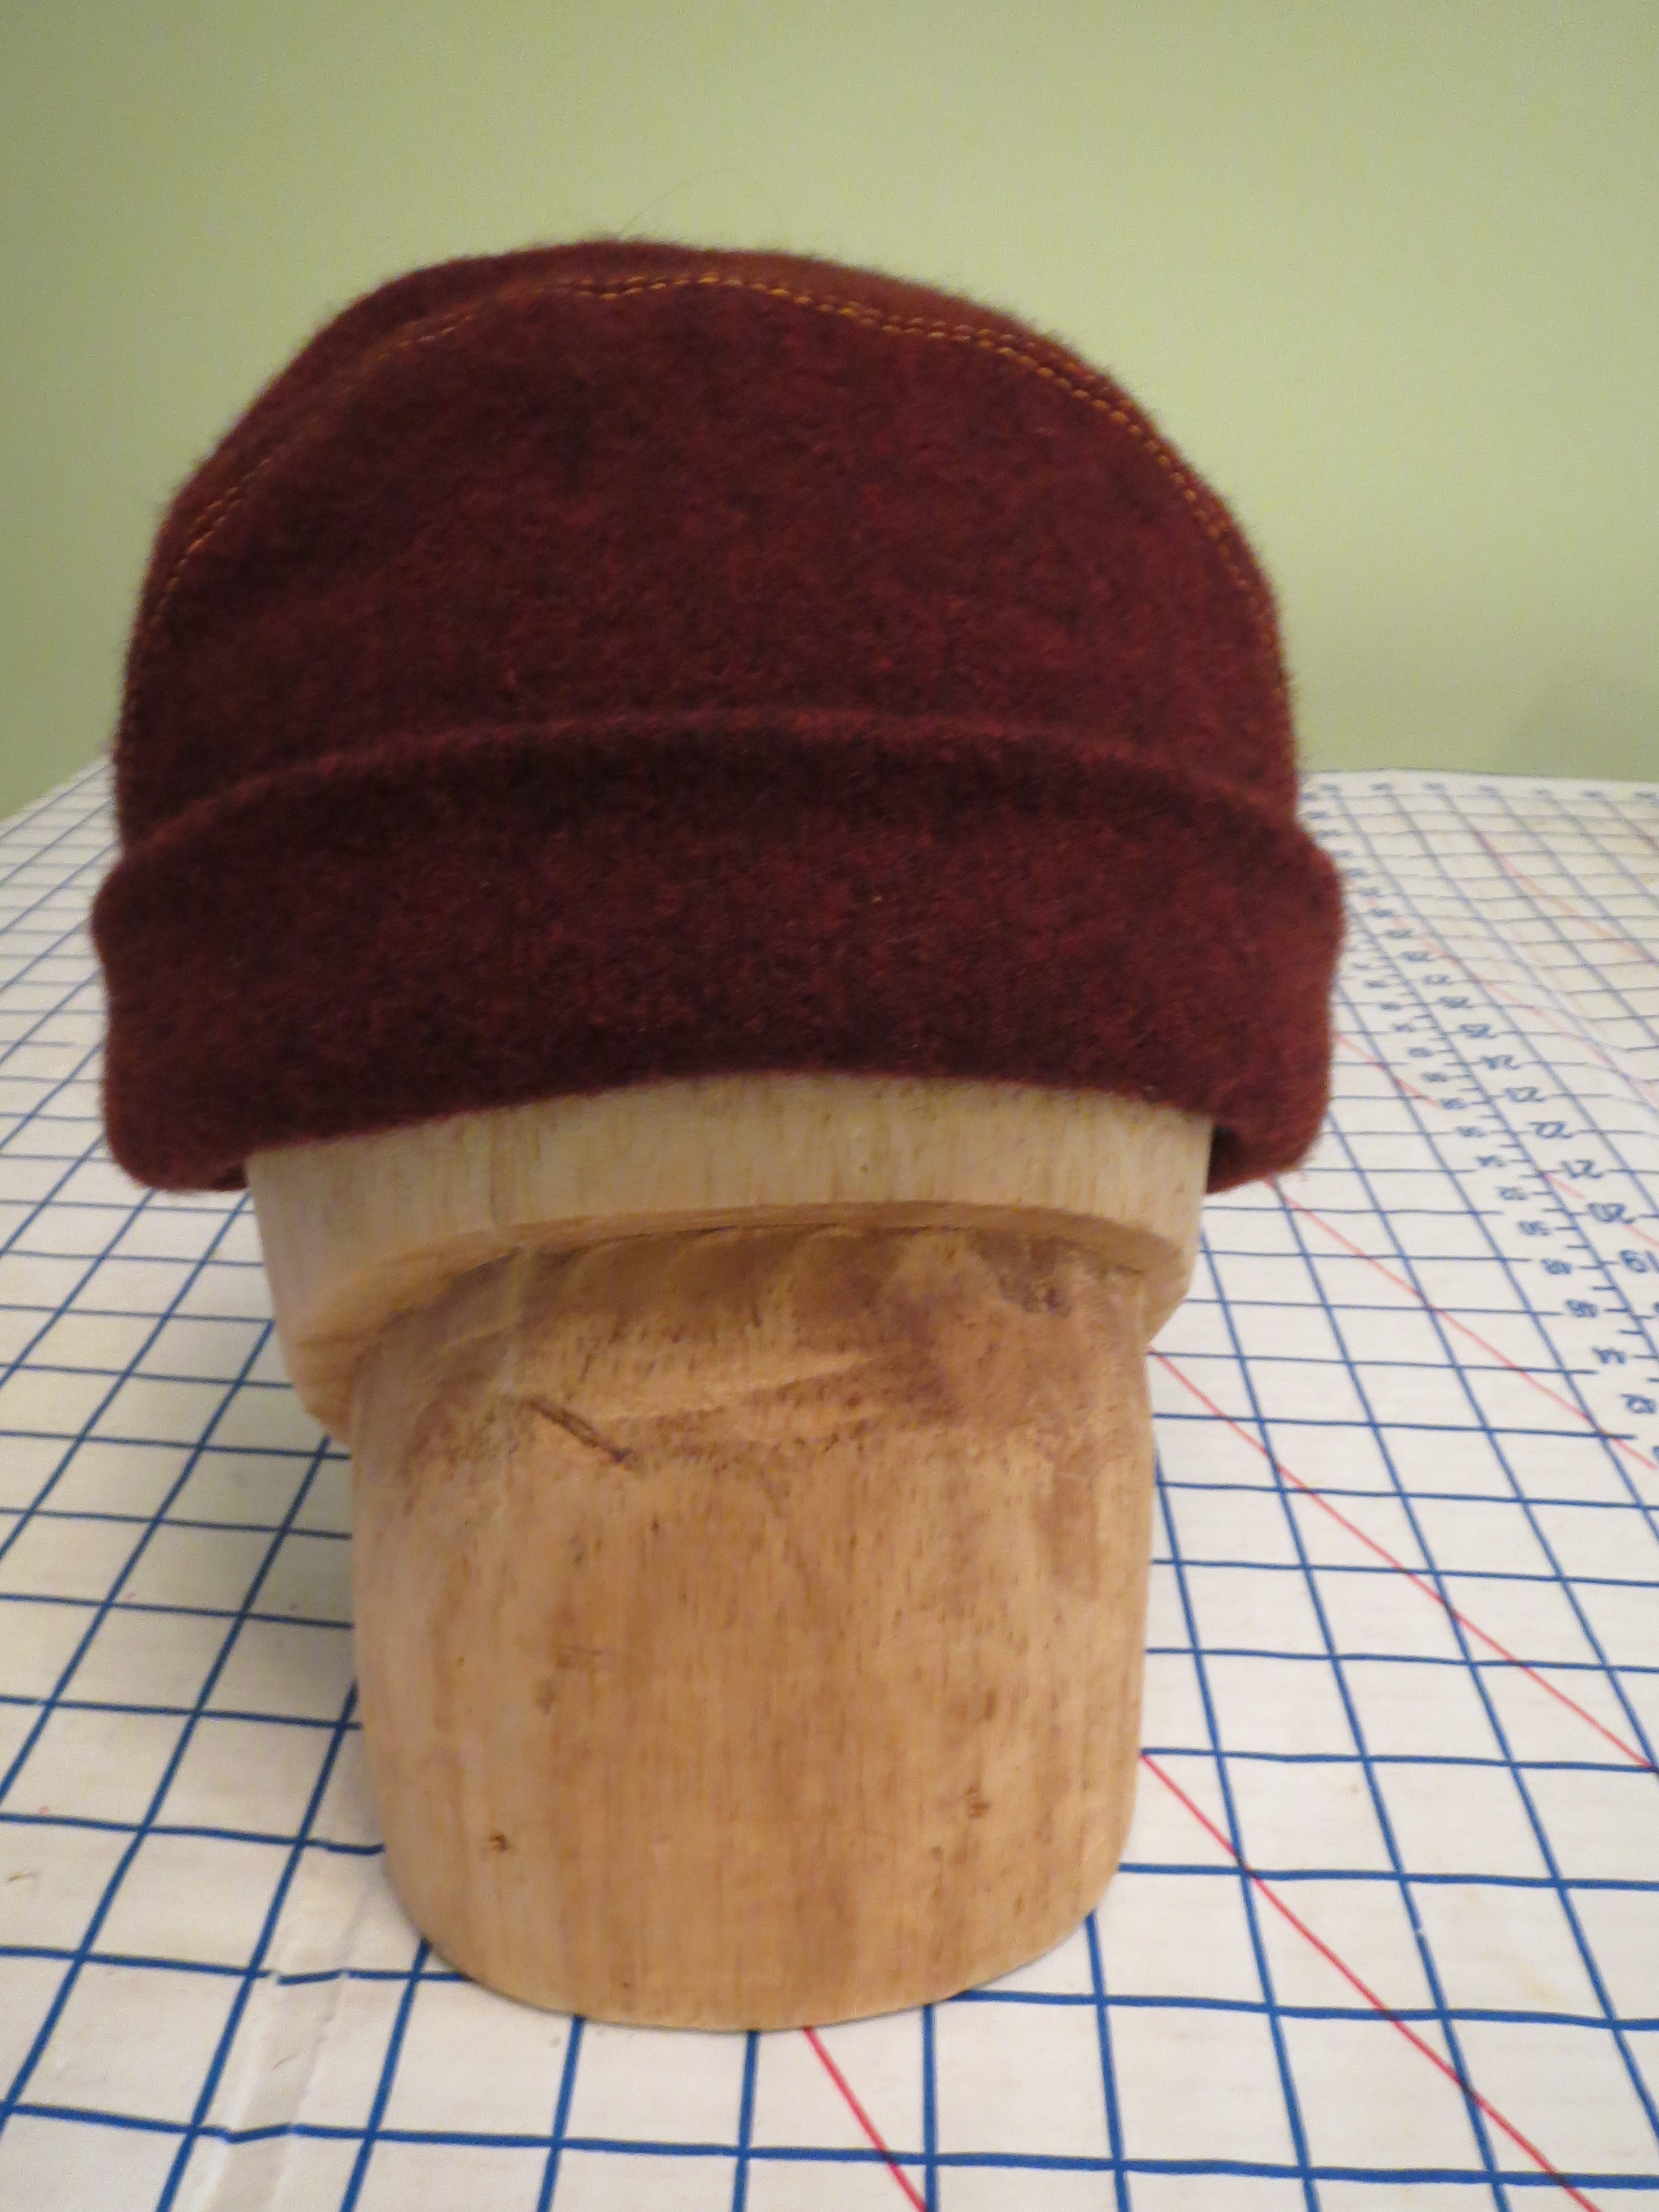
For every day wear, the hat as drafted is very cute and actually quite practical for winter as it covers the ears. But for Tweed Ride, cute and practical are definitely not the values we're going for!
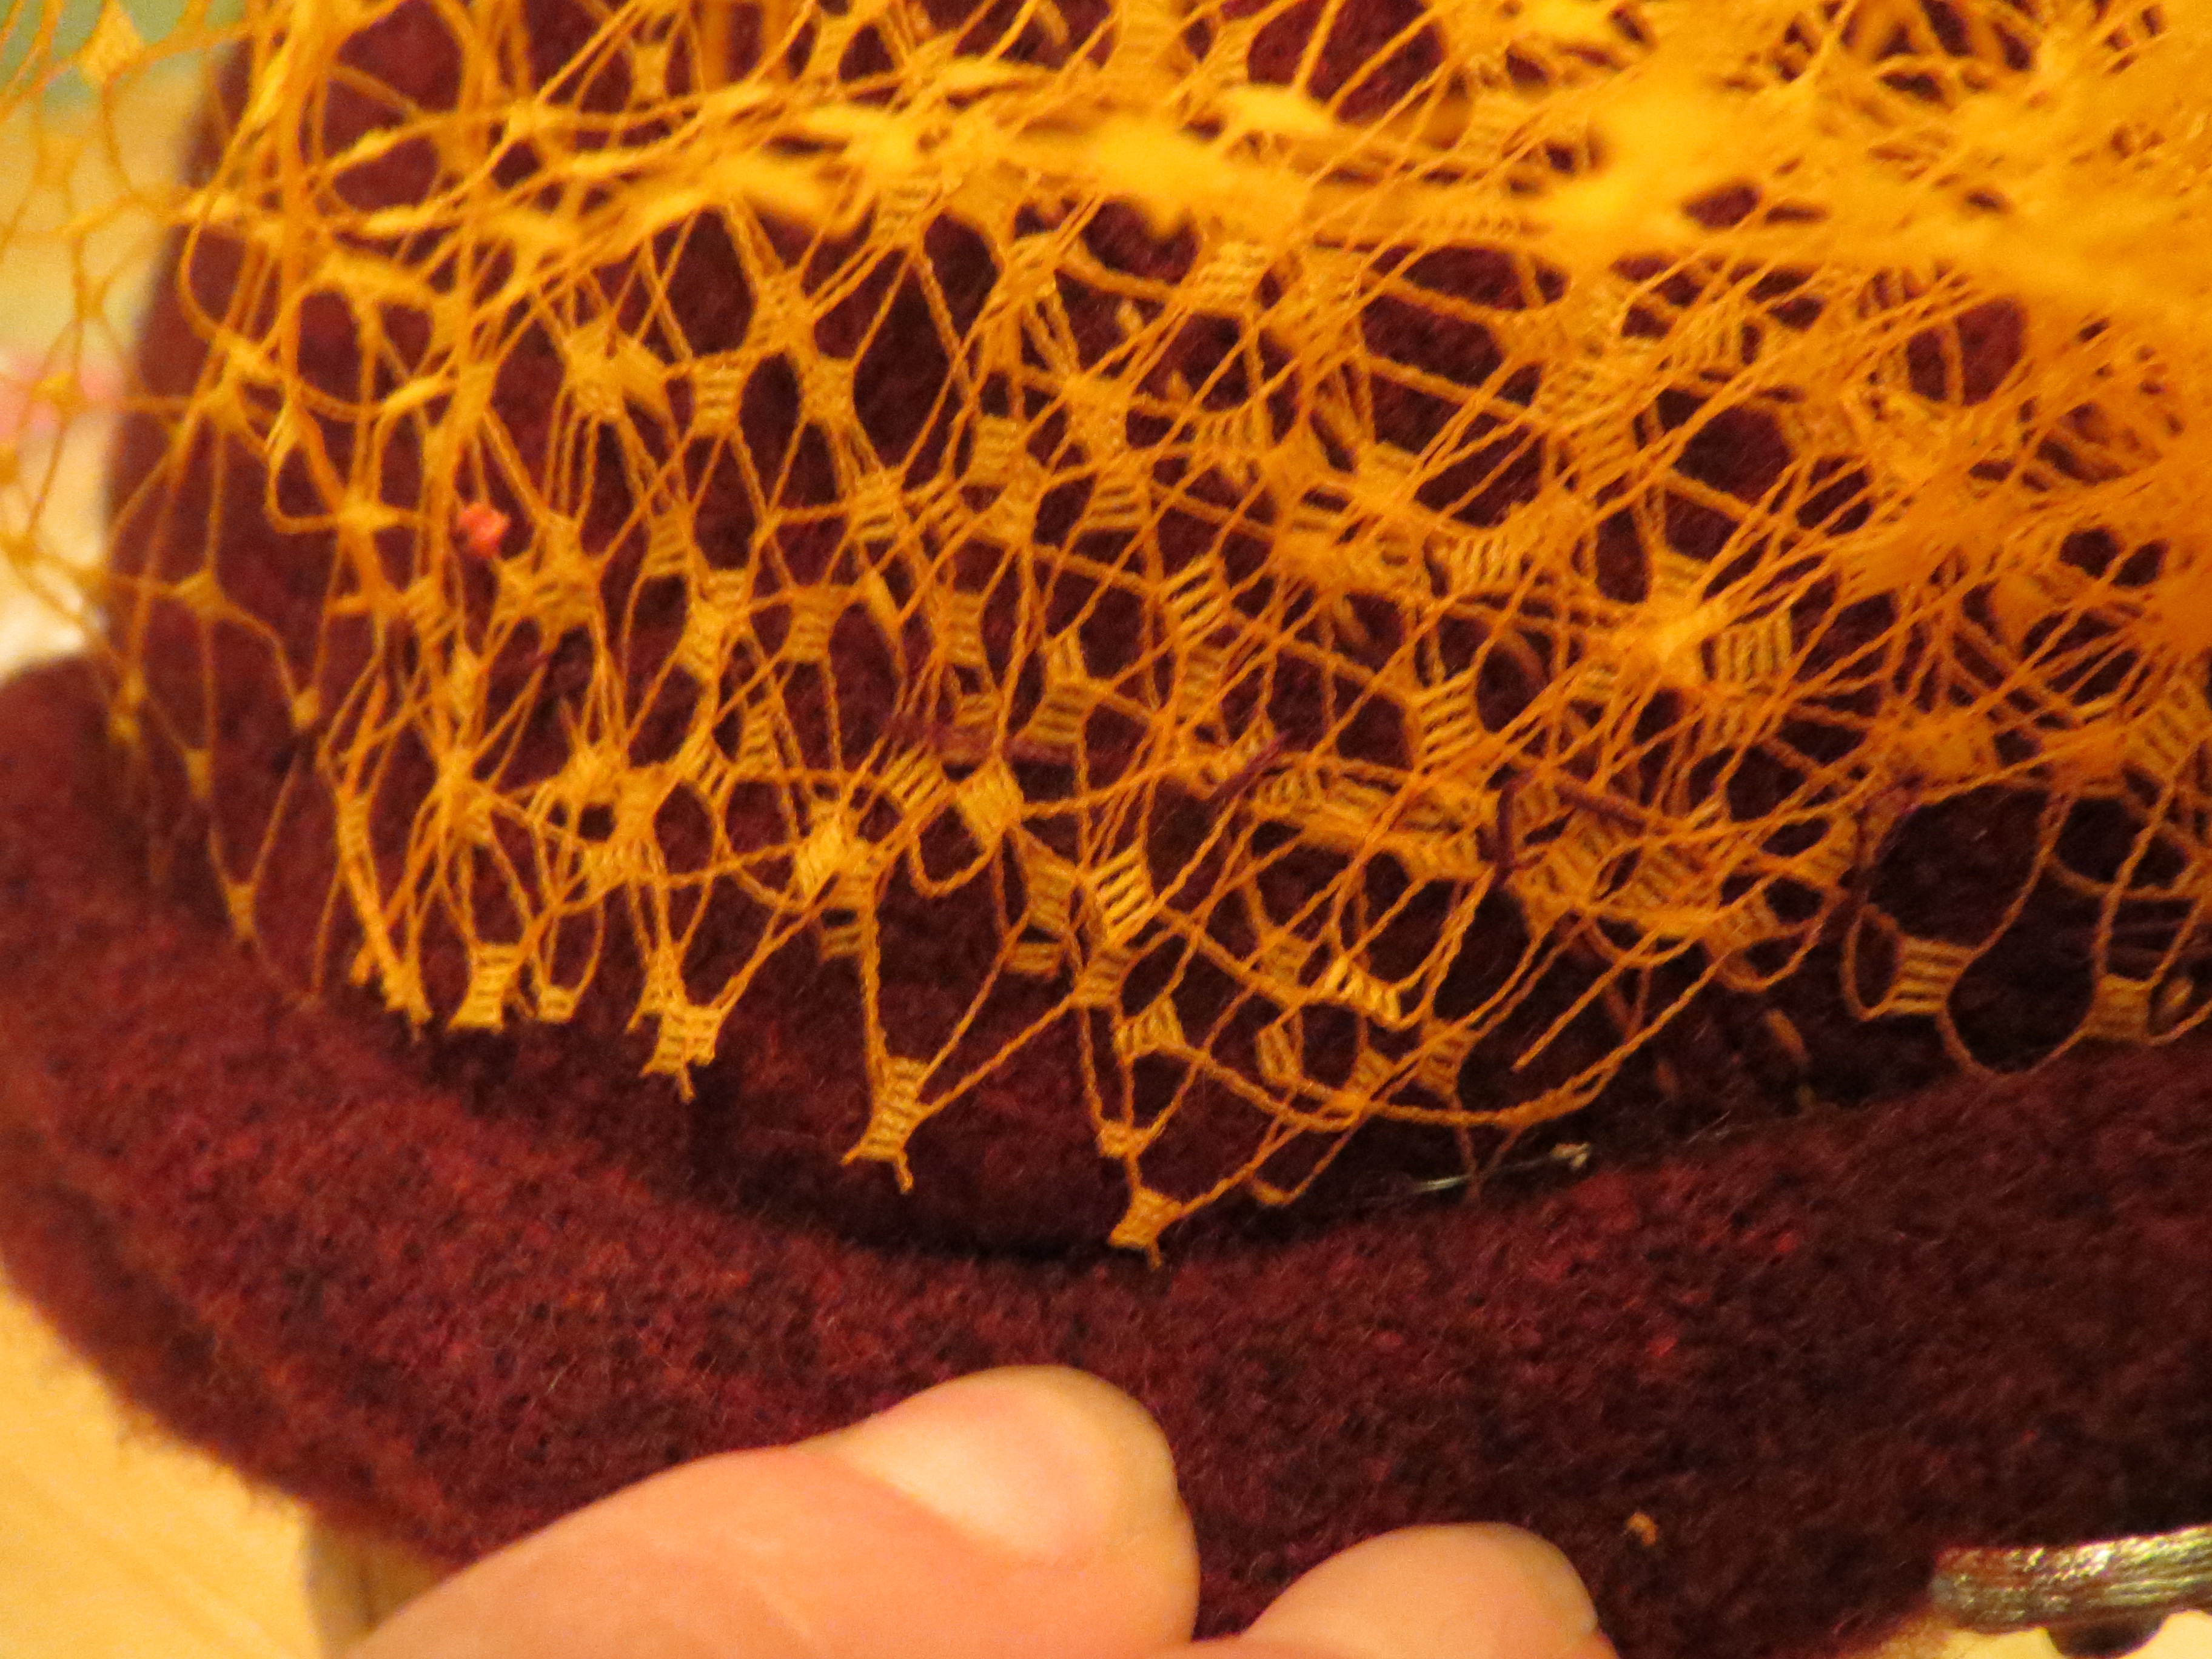
I dug into my millinery stash and came up with orange netting and some feathers, along with a vintage brooch. I *love* sparkle pins and buy them at just about every antique store I visit. I just gathered the netting into a semi-circle with hand stitching, and then hand stitched it to the hat, with the edge hidden by the brim.

The feathers I gathered into a bundle and secured with floral tape, then hand stitched the bundle to the hat (again, the join hidden by the brim) and then took a few hand stitches to splay the feathers into the netting the way I wanted them to look. Up close you can see the stitches, but they disappear at about 12 inches away. Normally you would use glue for this, but I wanted the embellishment removeable so I could use the components again and have the option of using the hat plain for just a regular winter hat.
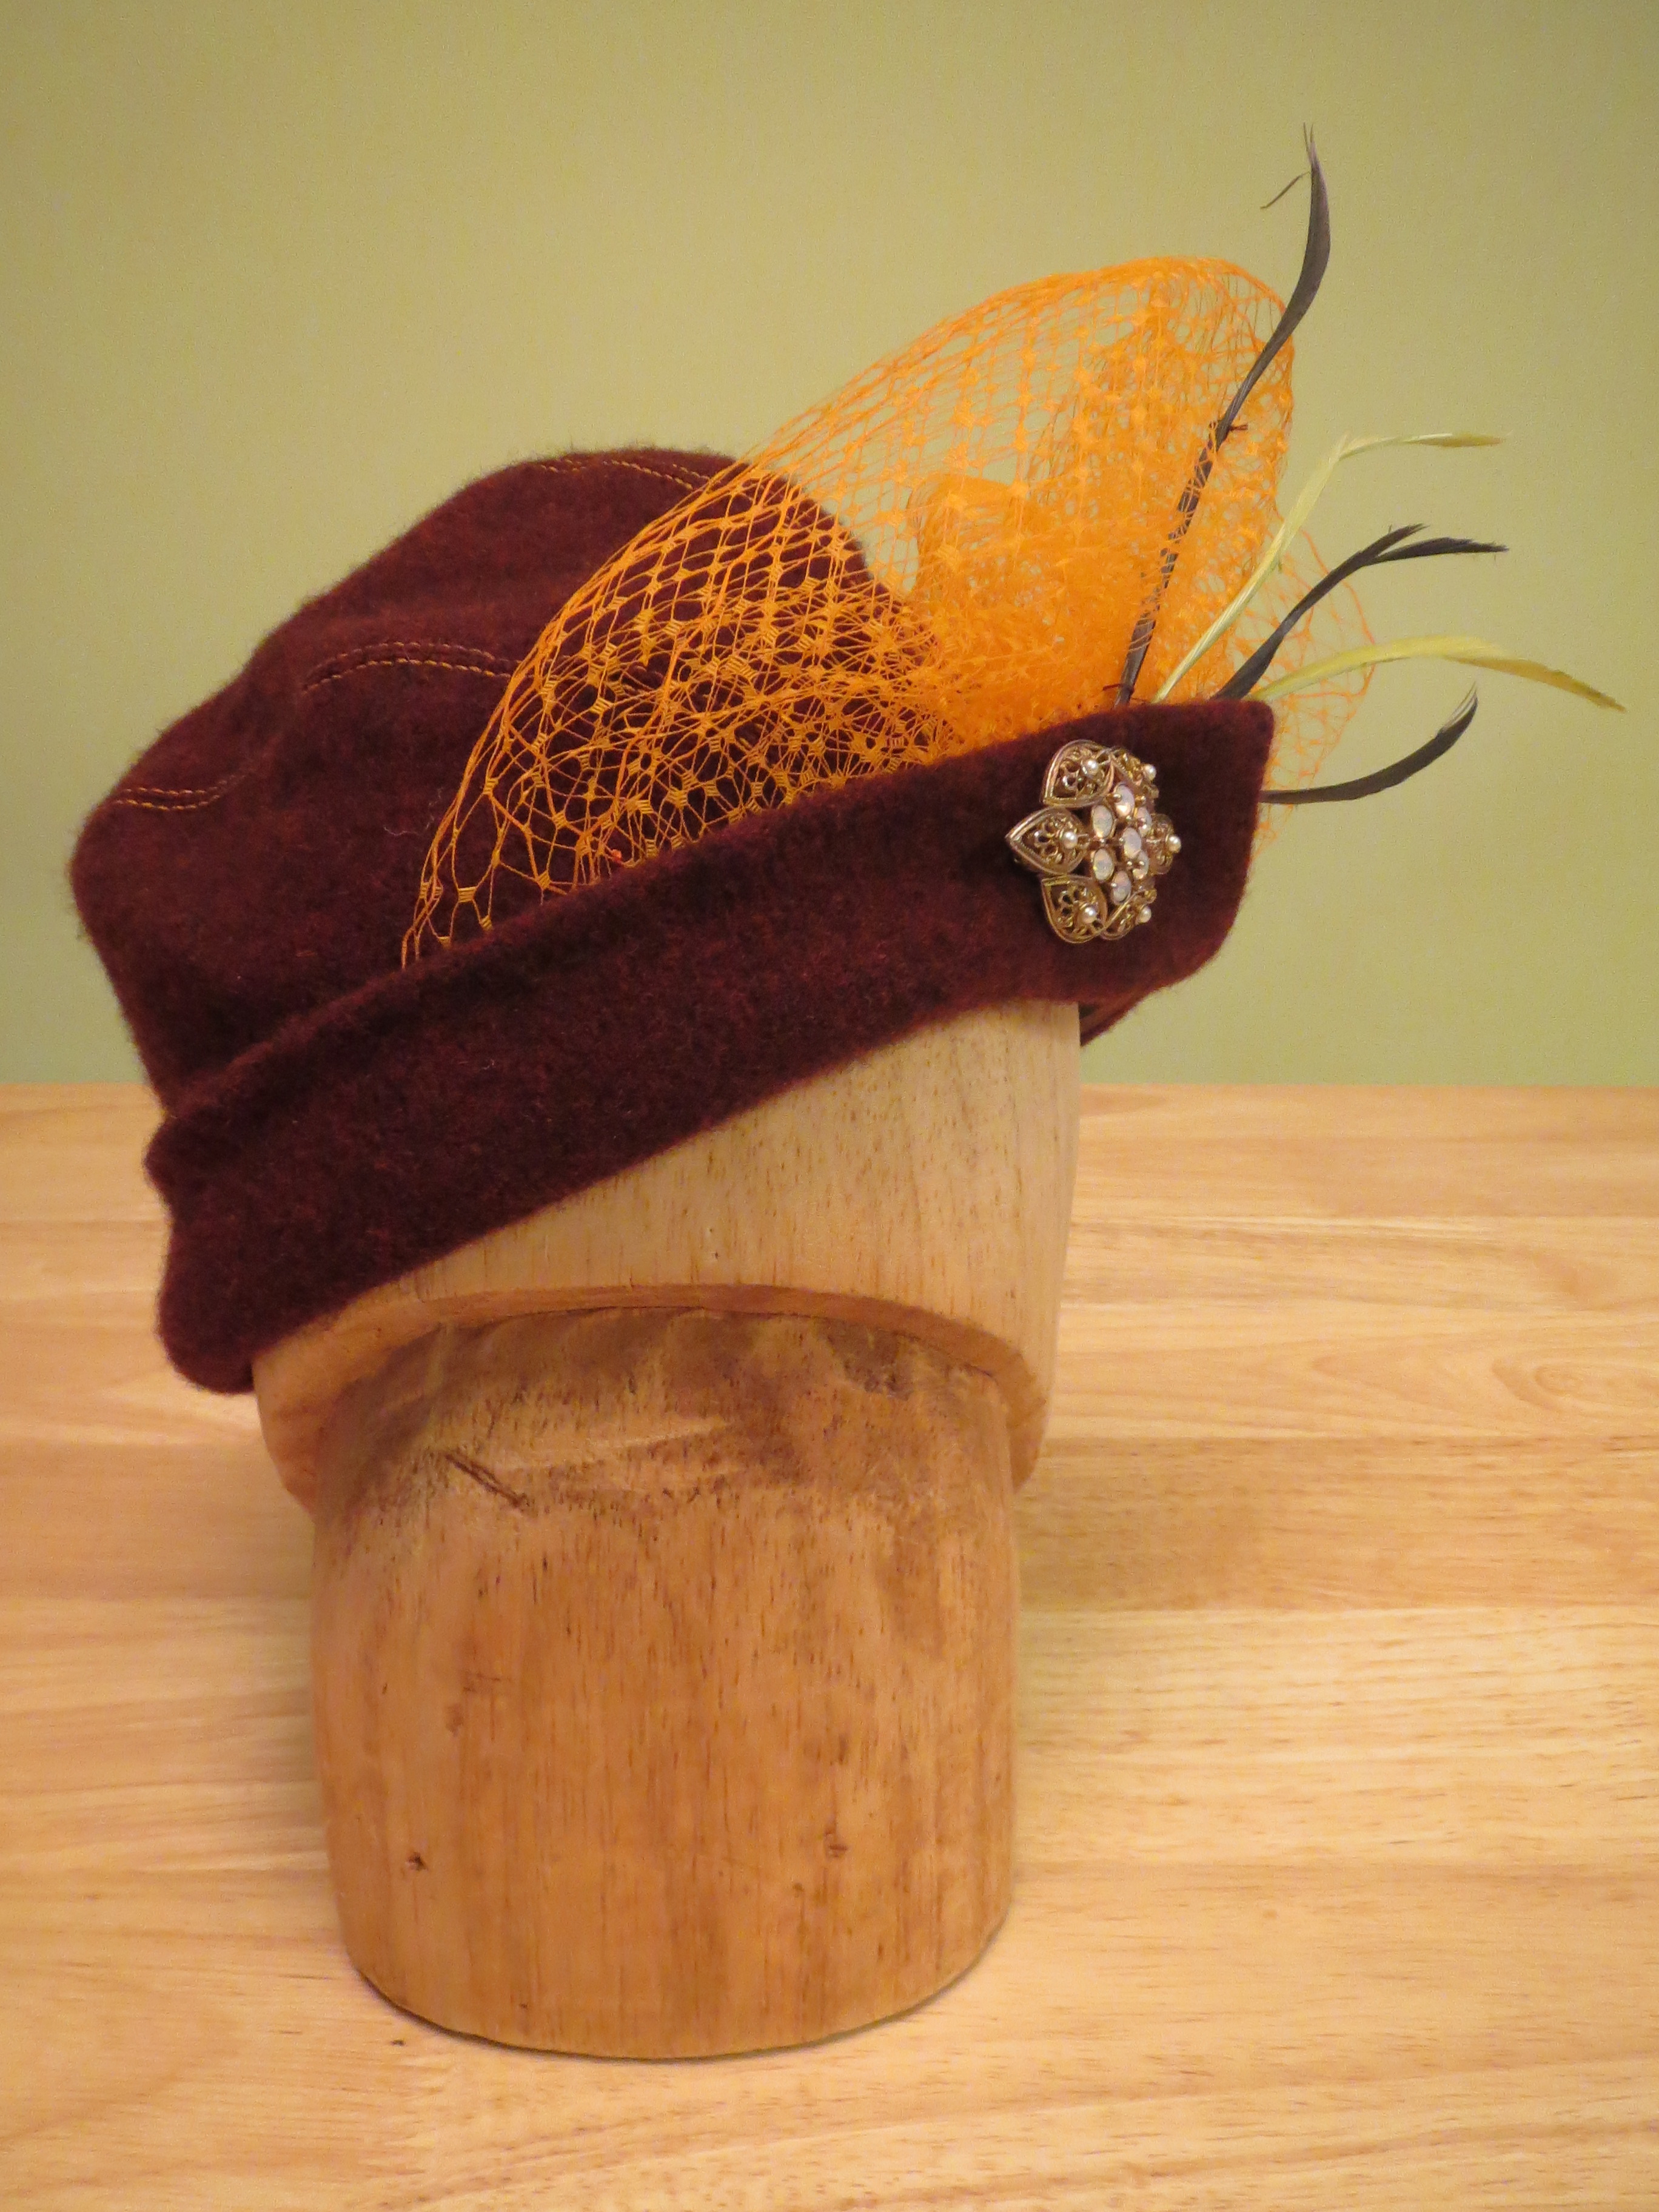
Asymmetry is usually more flattering to my face than symmetry--I'm not sure what that says about me--so I wore the hat with one "side" at the side of my forehead. Theoretically, it was supposed to swoop down as I have it arranged here on the head form, but in actuality the weight of pin made it sit pretty much straight across my forehead.

It ended up being the perfect crowning glory for my outfit and I received many compliments on it. It was another one of those simple projects that only takes a few hours but makes a big impact when you wear it. It also helped that it was toasty warm!
All photos are here and the pattern review is here.


Comments
Post a Comment