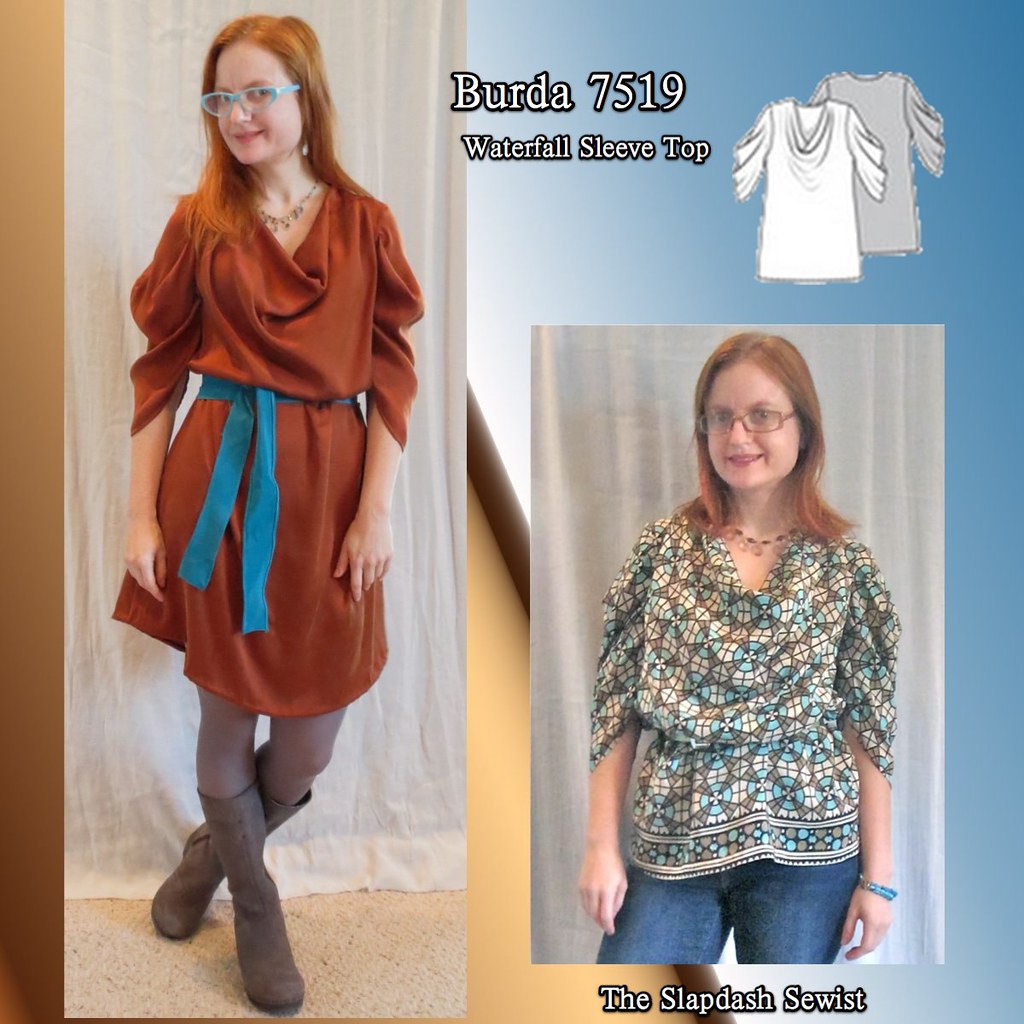
Burda 7519, Copper Cowl Carapace Dress
I didn't mean to be gone for so long! Sadly, no sewing here since early May--which is really a record. First there was packing at the old place, then there was moving, and then I was in a dilemma with my sewing room: I can't set it up because the roof hatch is in there, and we need some work done in the crawlspace on our roof beam and to insulate the crawlspace. So I don't want to unpack my sewing room until that's done because everything will get all dusty (and I don't know how much floorspace they need as a staging area). I did finally get more shelves and moved all the boxes around for the millionth time--I can at least walk in there now!
I have a couple old projects I haven't blogged but there's a reason for that--you're definitely getting the B-Roll here, folks.
Here's a dress from Burda 7519. I made this before (the top in the thumbnail) and I think I'm done. It's more interesting than flattering, especially for the amount of fabric it takes.
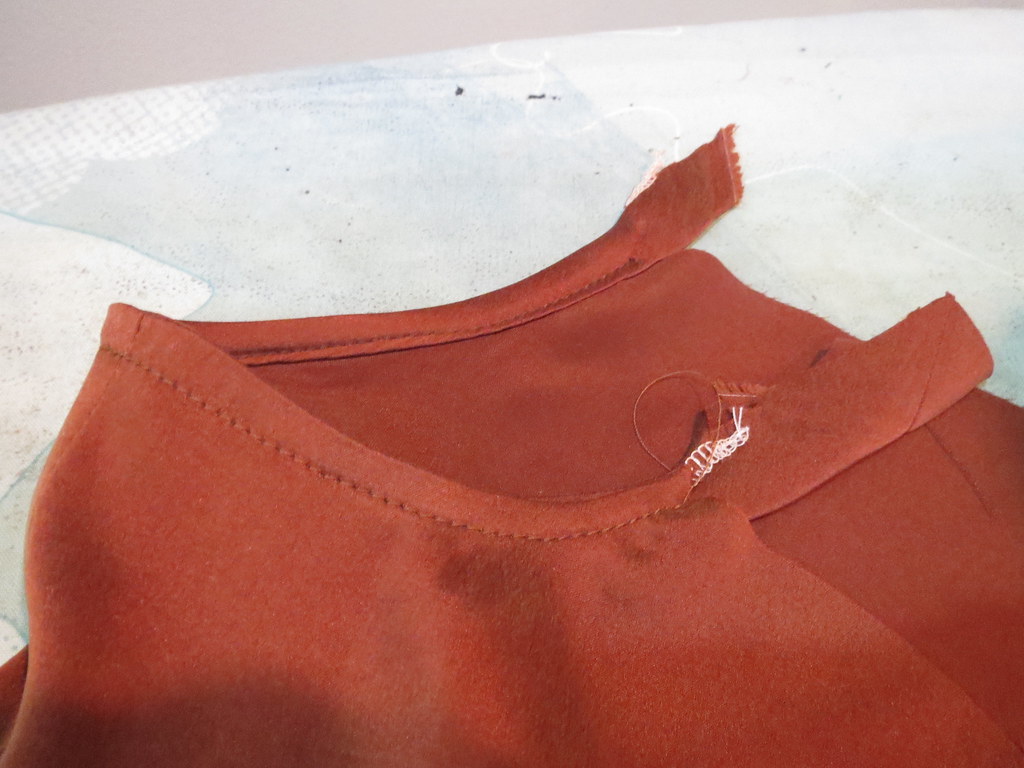
When I made this the first time, I fully lined the top and used the back lining to finish the neckline. This substantial fabric didn't need lining, so I made some self bias tape to finish the back neckline before sewing the shoulder seams.
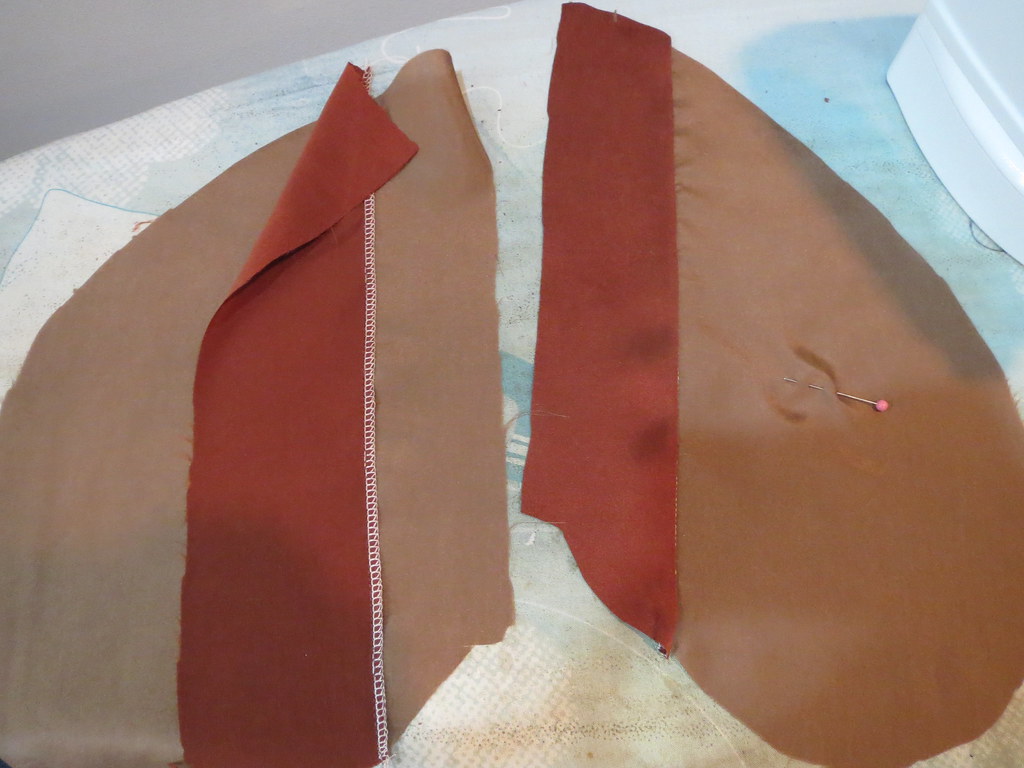
I found this gorgeous copper silk on G Street's $7.97/yd (now $8.97) silk table. I bought the whole piece and managed to get this dress and a t-shirt out of it, with no scraps to spare. I had to use a pocket facing because I didn't have enough of the fabric for the entire back pocket pieces, but didn't want the pocket lining fabric to show.
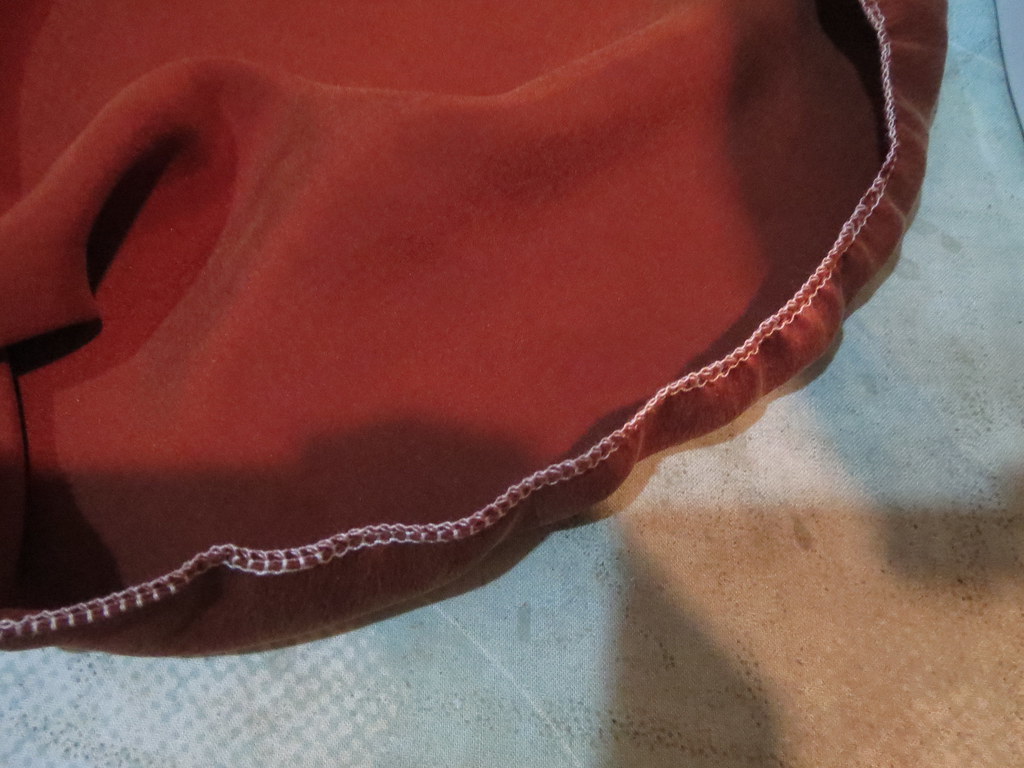
The sleeve hem is very long and very round, which is a pretty deadly combination for getting a nice flat hem. I experimented with the differential feed on my serger until I got a nice 3 thread gather to take up some of the volume at the hem.
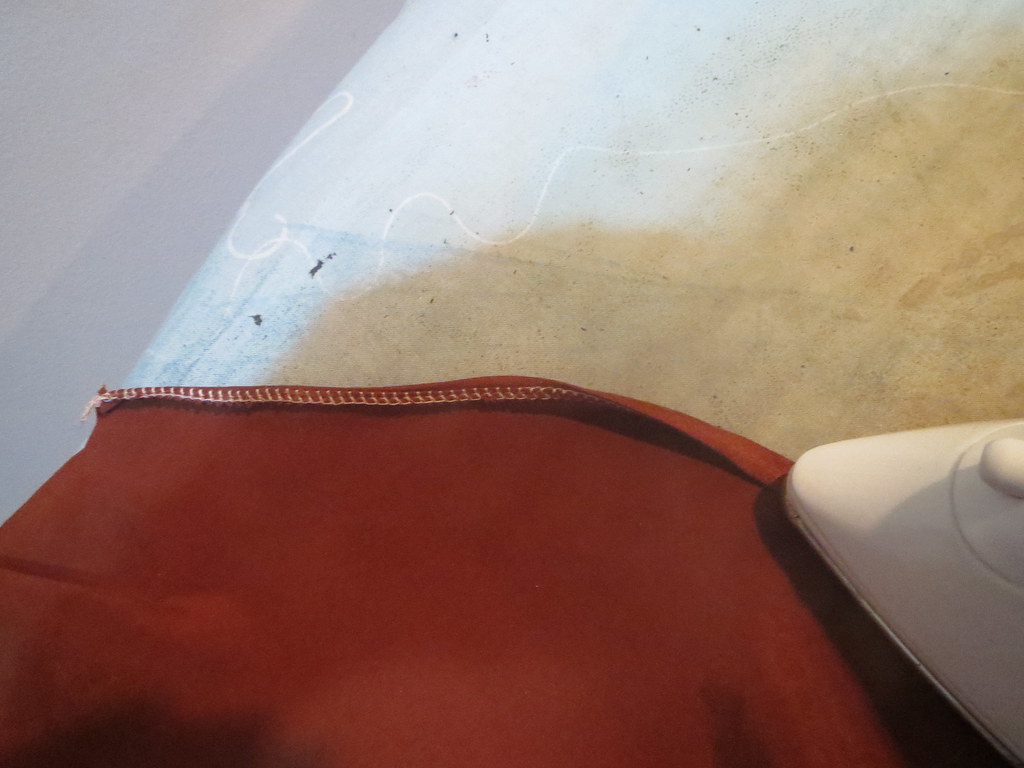
Then I pressed under the serged edge, and folded it over again on itself before stitching. I got a nice flat narrow hem in a tricky fabric on a tricky shape using this method and was quite pleased with myself.
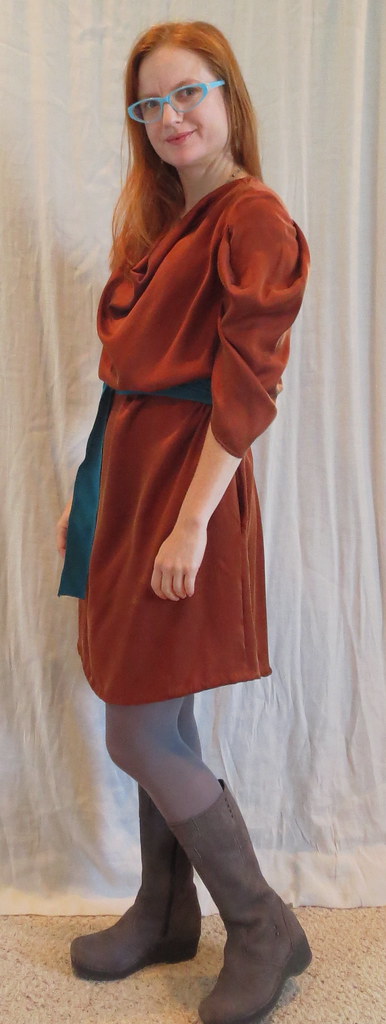
I got pretty good drape on the sleeves, but still not the three nice waterfalls you're supposed to get according to the line drawing. Maybe I'll try this sleeve again on a plainer, more fitted body. It certainly adds interest.
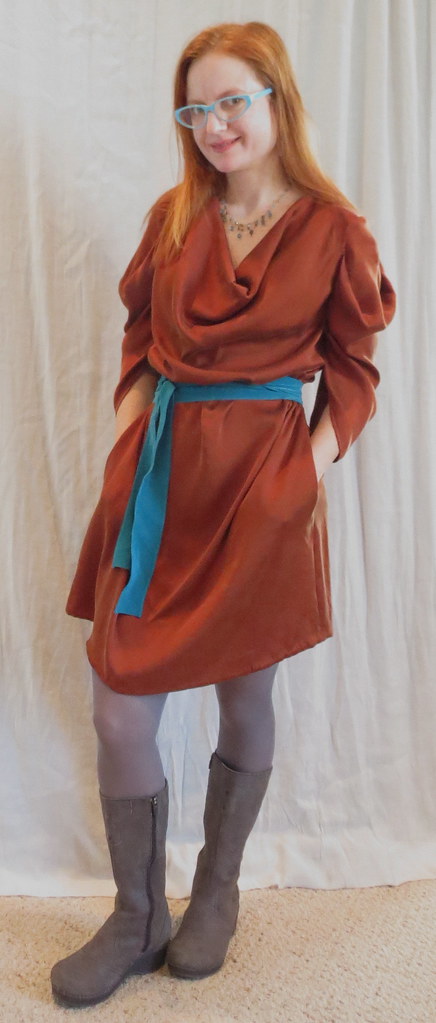
I was fairly disappointed in the dress when I finally put it on. It was my first project for Fall and it does look like a Fall dress--but more in a Pilgrim-y sort of way than a chic sort of way. Belting it helps, as does the shorter length, but it's much more dowdy than I expected. The volume just doesn't work on me. Which I already knew from the first time I made it. I don't know why I made it again.
I do like that it has pockets, though! And the accidental shirttail hem is a detail I also like. I guess with that much volume, when you add a belt it distorts the hemline. Another reason to avoid this style.
All photos are here and the pattern review is here.


Comments
Post a Comment